
Workflows in Ad Sales Genius allow events to trigger automatically as records inside the system change. Workflows are commonly used in conjunction with pipelines, but they do not need to be.
This article will discuss how to configure your workflows inside Ad Sales Genius.
Note: Due to the nature and complexity of workflows, Ad Sales Genius staff will not provide support for this feature.
Access Workflows
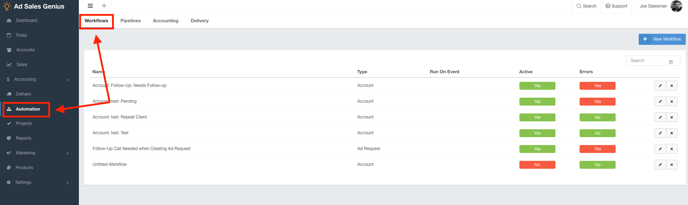
You can find Workflows under the Automation tab using the left-hand navigation menu. Then, make sure your Automation window is set to the Workflows tab.
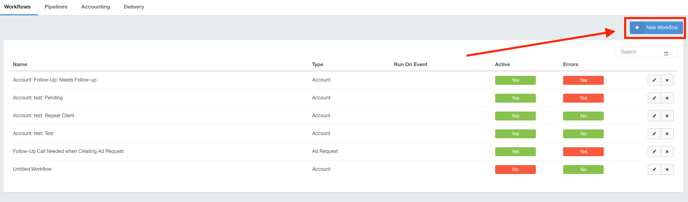
The Workflows Window
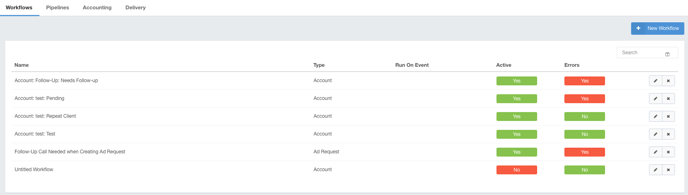
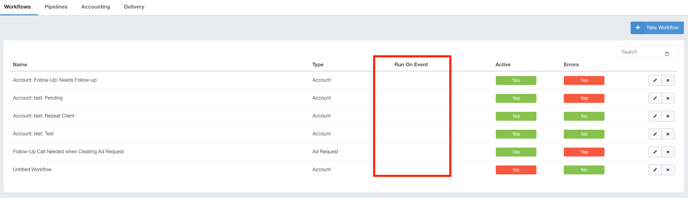
The Workflows window displays all of the workflows currently present in your system. You can use this page to add new workflows, edit or delete existing workflows, and view which workflows are currently set to active.
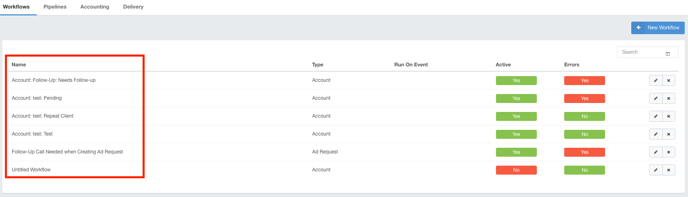
The first column displays the name of the workflow.
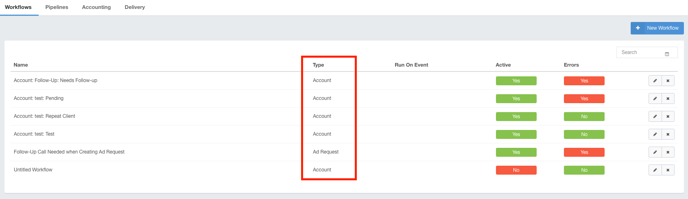
The Type column displays which records this workflow will be utilized.
The Run on Event column will display any events that trigger this workflow.
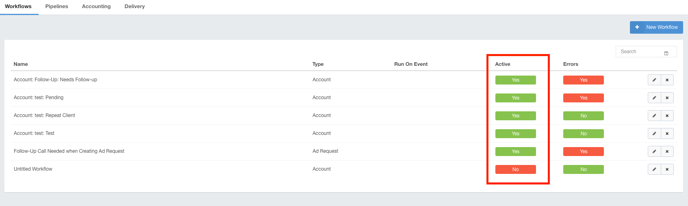
The Active column shows whether or not this workflow is set to active.
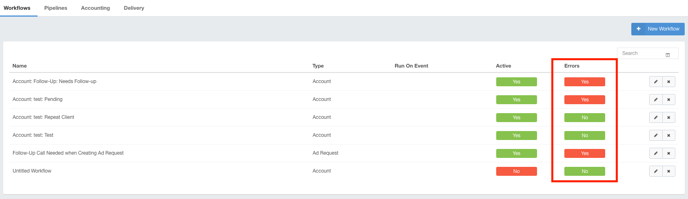
If there are any logic errors in the workflow, you will be alerted via the Errors column.
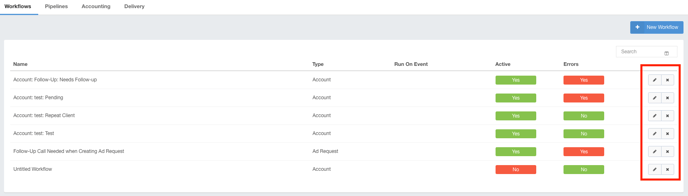
Use the final column to edit or delete the workflow.
Note: Due to the amount of data that is altered using workflows, it is not recommended that you delete workflows that have been processing. The best course of action would be to deactive the workflow.
Create a New Workflow
Complete the following steps to create a new workflow:
- Click the +New Workflow button to display the New Workflow dialog.
- Use the Workflow Event drop-down menu to choose which area of the software you want to create this workflow for.

- Use the checkboxes to select which action you would like to trigger this workflow. Click Save when you have made your selection(s).
Note: This list will change depending on which workflow is chosen from the Event drop-down menu.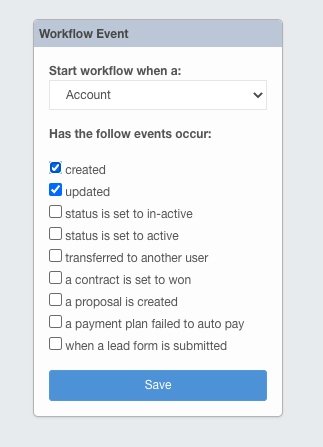
Now that you created your trigger event, you will see that you have a few more options: You can activate your workflow, provide it a name, manage settings, and add steps.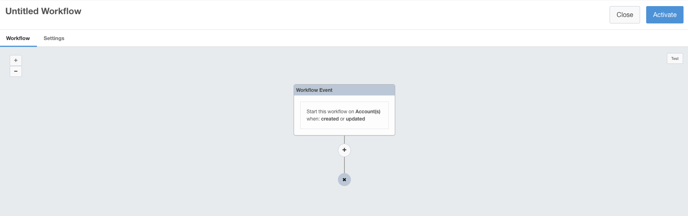
If you need to change the trigger event, you can click on the actions to edit the trigger.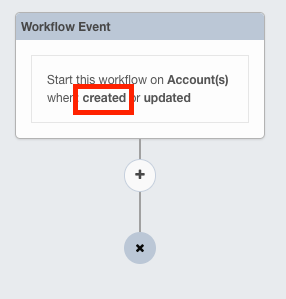
- Click the
 button to add a new step to your workflow.
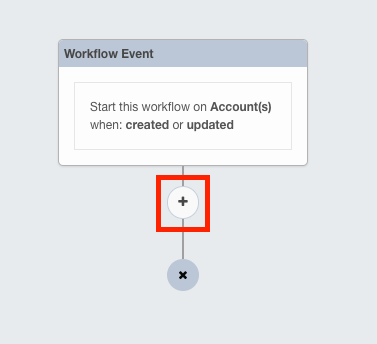
- You will now see the Steps menu. Use this to choose the next path step in your workflow path.
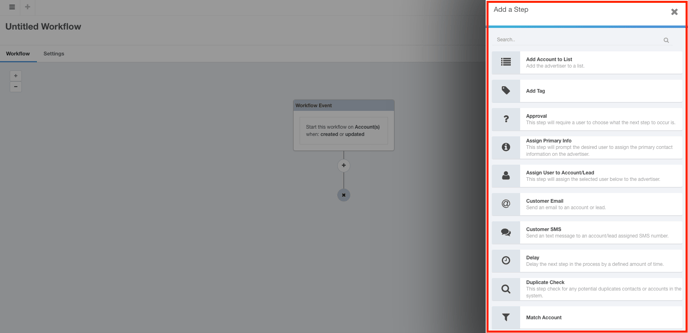
- Click the step to add it to your workflow.
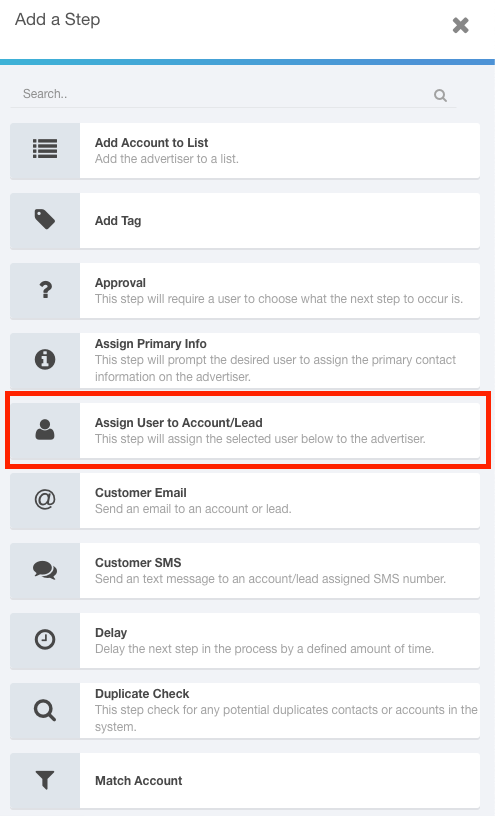
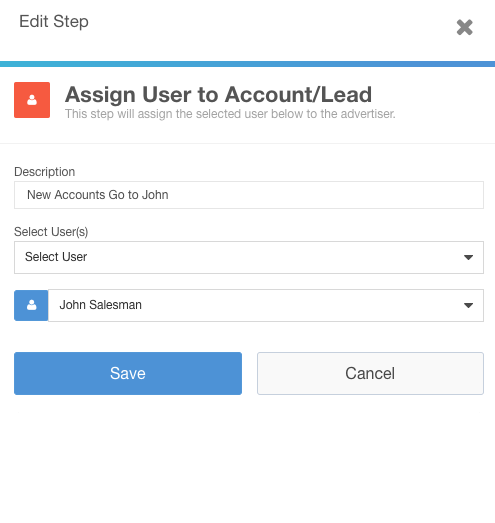
You will see that you now have a card added, but you will still need to configure that step. - Click the card to open the configuration for this step.
Note: The configuration options will change depending on what kind of step is chosen.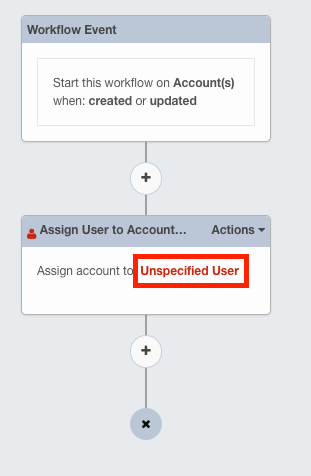
- Use the Edit Step slide-out menu to configure this step.
Repeat steps 4-8 until you have all of the required steps in your workflow.
Some steps will allow you to choose different branches your workflow could travel down. Click the Add Branch button to add the various paths for this workflow.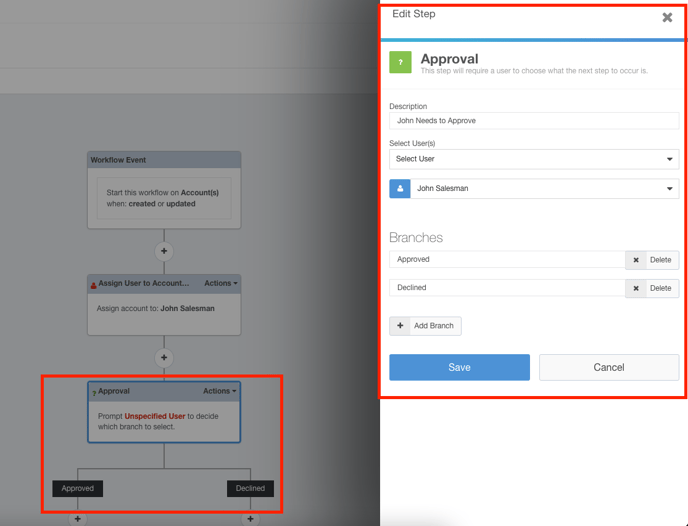
- When you have added all of the steps for your workflow, click the Settings tab to configure the general settings for this workflow.
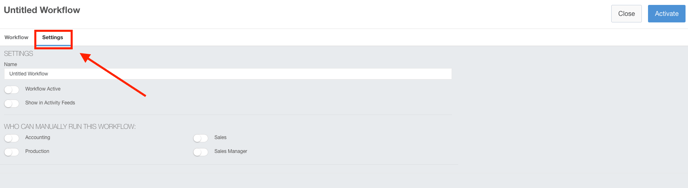
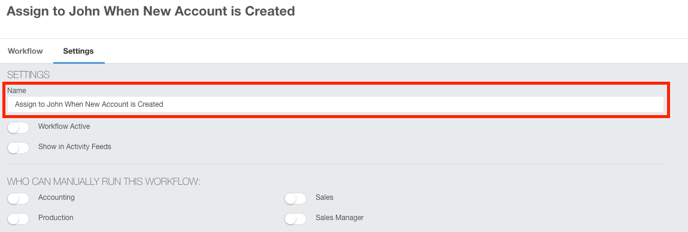
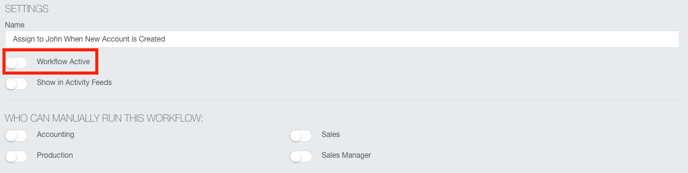
- Use the name field to name your workflow.
- Select the Workflow Active toggle switch to activate or deactivate your workflow (you will want to only activate this when you are sure your workflow is complete).
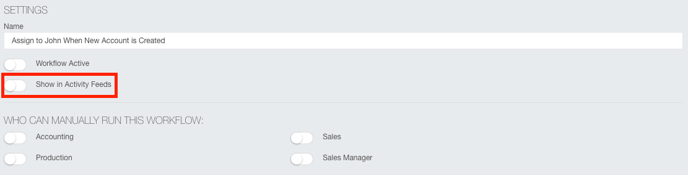
- Select the Show in Activity Feeds toggle switch to display the activity that results from this workflow in your feeds.
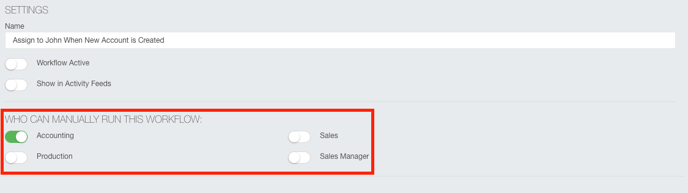
- Use the Who Can Manually Run The Workflow Section to choose which user roles can run this workflow manually.
- Click the Activate button when you are satisfied with your workflow configuration.
Note: If you are not quite ready to activate your workflow, you can click the close button and your progress will be saved.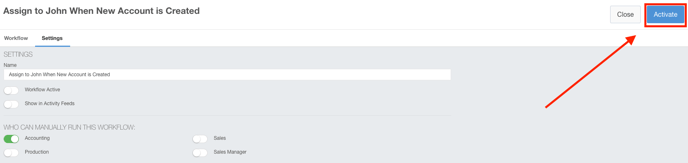
Addendum: Emails sent through workflow are NOT sent through the user's email and thusly will not appear in the sent folder or activity timeline, this is done in an effort to make sure any email limits or spam filters are not affected in the sending of email.
Note: Due to the nature and complexity of workflows, Ad Sales Genius staff will not provide support for this feature.