Pipelines in Ad Sales Genius is a powerful organizational tool that will allow you to move various items throughout the system. Pipelines can be used to trigger workflows, manage statuses and production, and more.
You can create pipelines for accounts, agencies, contacts, contracts, line items, ad requests, invoices, flat plan pages, payments, and tasks.
This article will discuss how to configure pipelines and move cards between statuses.
Accessing Your Pipelines
Before you can start using the pipeline feature, your pipelines must first be configured.
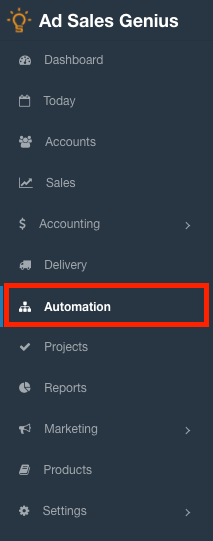
- Click Automation using the left-hand navigation menu.
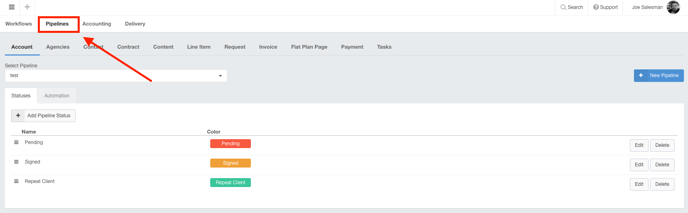
- Click the Pipelines tab to manage and create your pipelines.
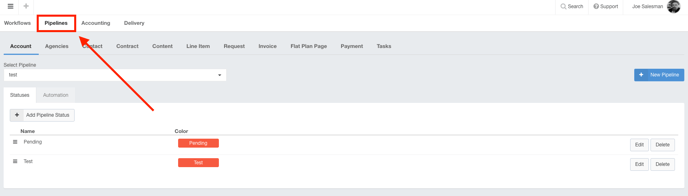
Here, you will see the various options you have for creating pipelines, any existing pipelines you have configured, and options for automation.
Using the Pipelines Window
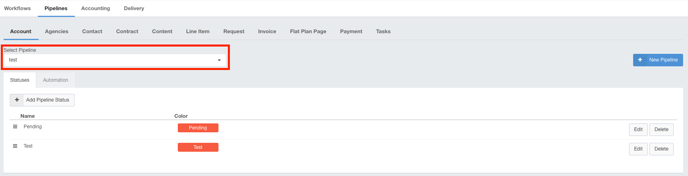
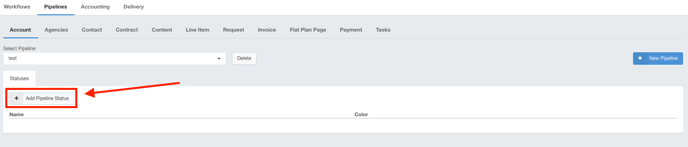
Across the top of the Pipelines window, you will see the various areas of the software that utilizes the pipeline feature.
Click the menu items to manage and create pipelines for that respective area.
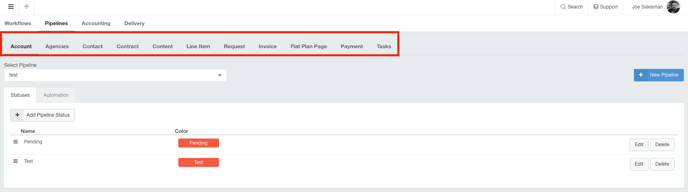
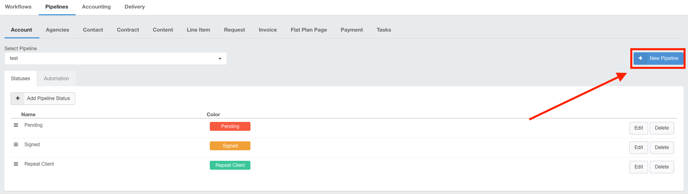
Use the Select Pipeline drop-down menu to choose between any of your pipelines for that area.
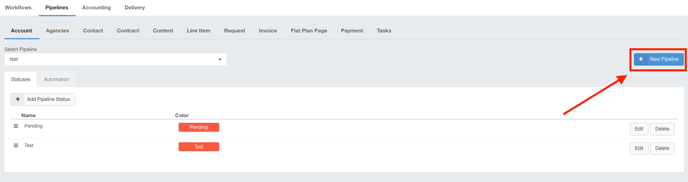
Click the +New Pipeline button to create a new pipeline for this area.
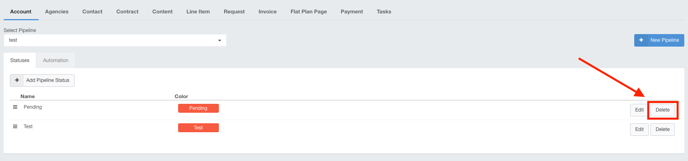
The Status Tab
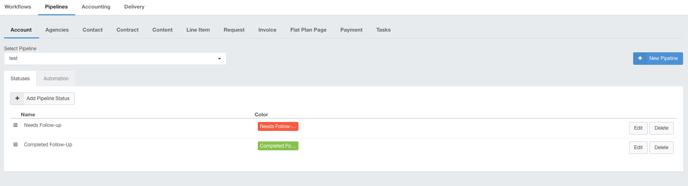
Use the Status tab to view, add, edit, or delete the statuses for the selected pipeline.

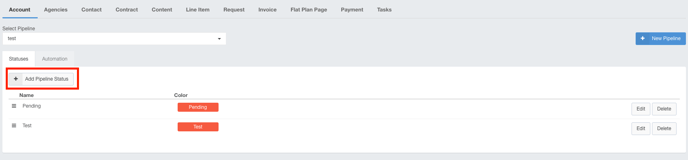
Click the +Add Pipeline Status button to create a new status for the selected pipeline.
Click the Edit button to edit this pipeline status.
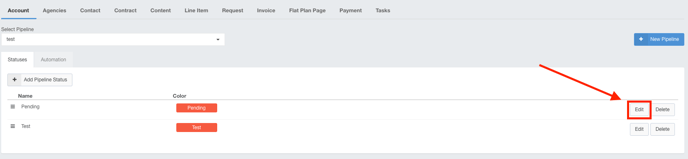
Click the Delete button to delete this pipeline status.
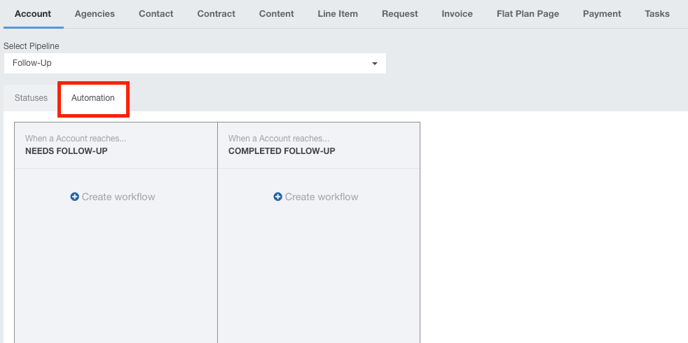
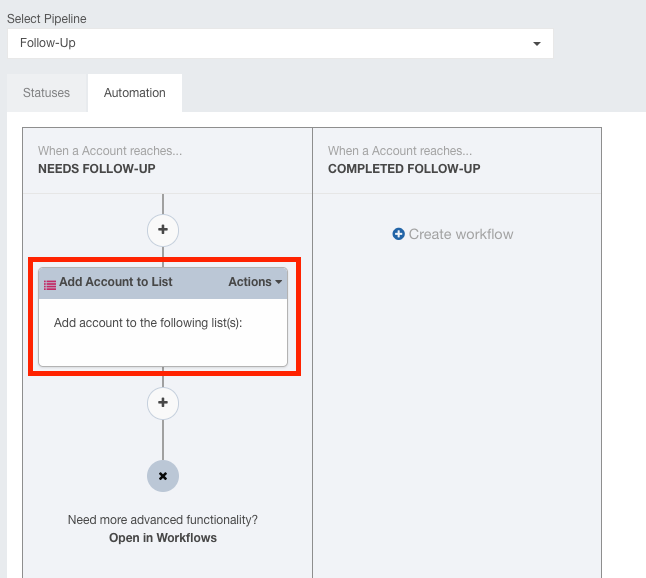
The Automation Tab
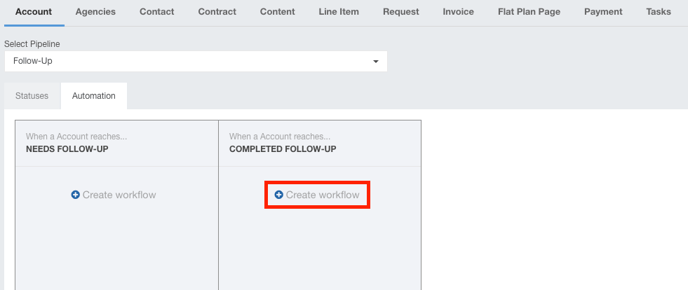
Click the Automation tab to view any workflows associated with this pipeline. When an item moves between statuses, the configured workflows will automatically trigger.
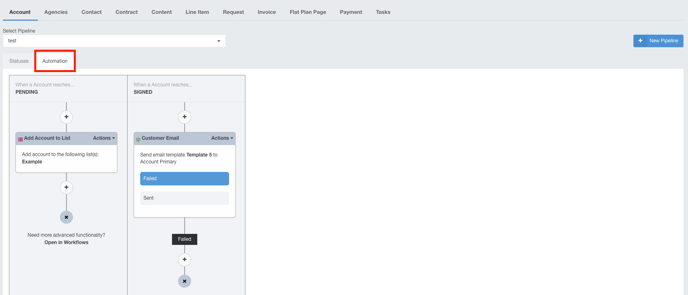
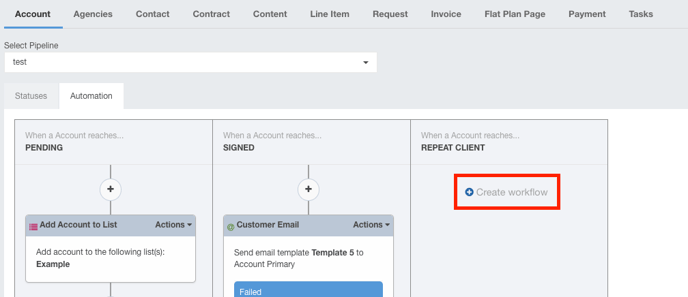
Click the Create Workflow button to begin building out a workflow for this status.
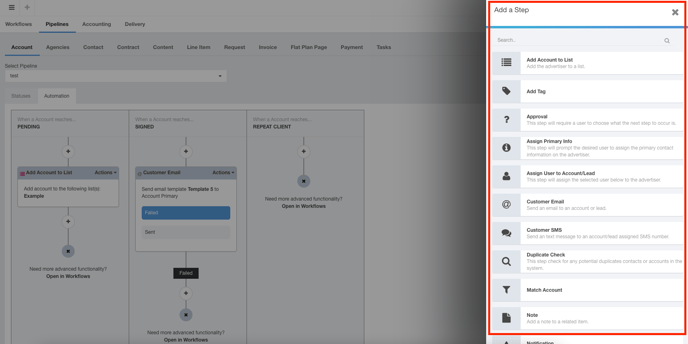
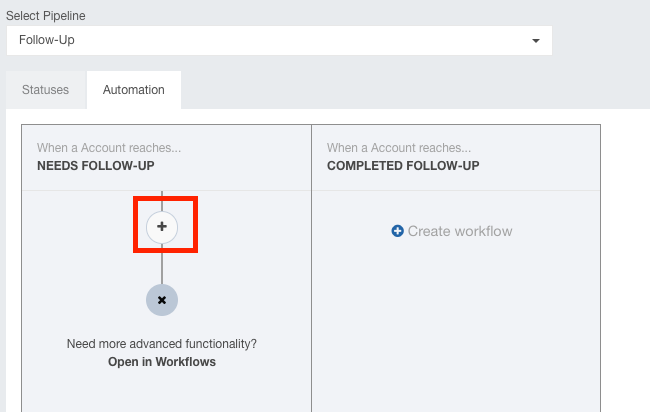
Click the + button to add a step to this workflow.
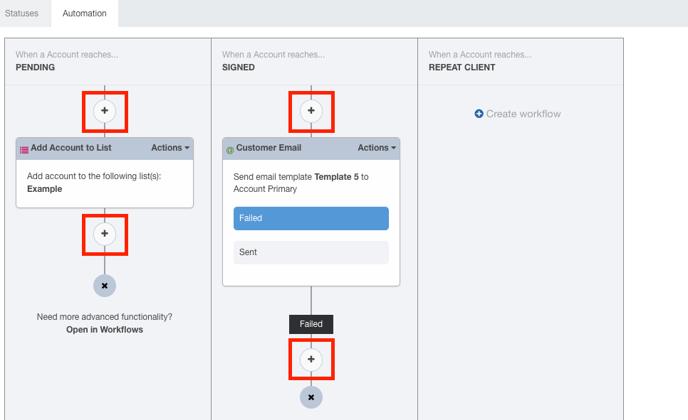
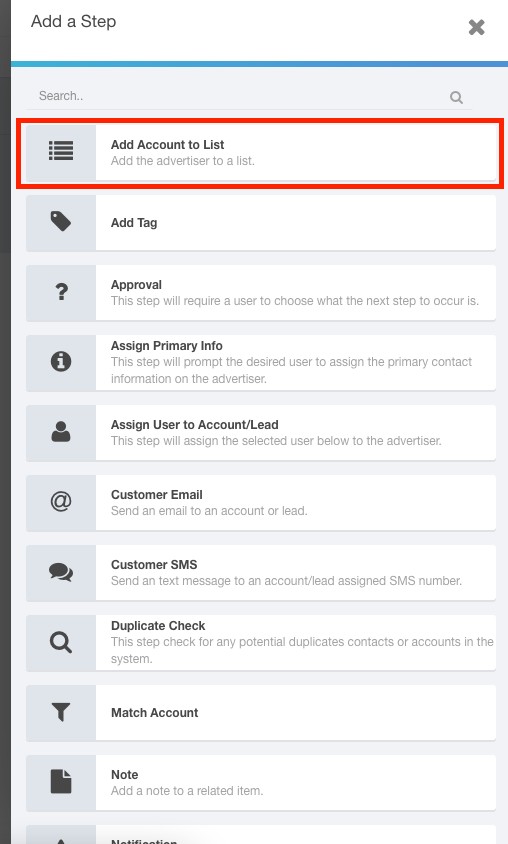
Choose which step you would like to add for this workflow using the slide-out panel.
 For a full list of workflows and steps, please check out this article
Creating a Pipeline
Follow these steps to create a pipeline in Ad Sales Genius:
- Click Automation using the left-hand navigation menu.
- Click the Pipelines tab to switch to the pipeline view.
- Choose which area of the software this pipeline will be used in.

- Click the +New Pipeline button to begin creating your pipeline.
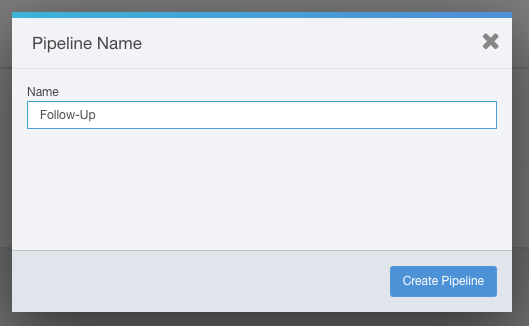
- Complete the Name field and click the Create Pipeline button.
- Click the +Add Pipeline Status button to create your first status.
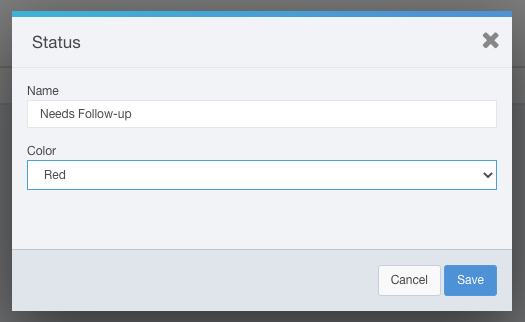
- Use the Status dialog to name your status and assign it a color.
- Repeat steps 6 and 7 until you have all of your desired statuses for this pipeline.
- If any of the statuses in your pipeline will be utilizing workflows, click the Automation tab
- Click the +Create Workflow button to begin building your workflow for this status.
- Click the + button to add your first step.
- Choose which first step you would like to be completed from the slide-out panel.
- Click on the newly created step to add the details for this step.
- Use the slide-out to complete the necessary details for this step.
Note: These options will change depending on what action you choose to perform. Check out this article for full details regarding creating workflows.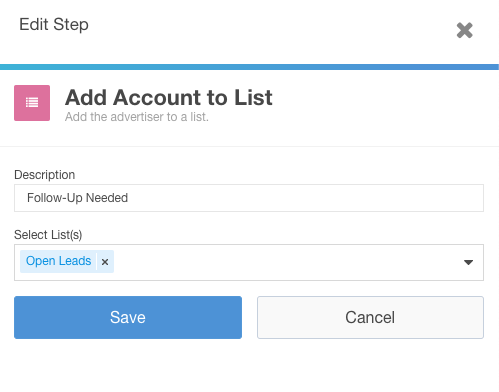
- If you need to create more steps to your workflow, repeat steps 11-14.
View your Pipelines
Now that you have your pipeline configured, you can assign your various records the correct status, and they will show up in the pipeline of your choosing.
Configure Your Records for Pipelines
The next thing we need to do is configure our records to display in the pipelines.
In the example above, we created an Account pipeline, so we will need to access our accounts, but these same steps are done for each type of record in the system.
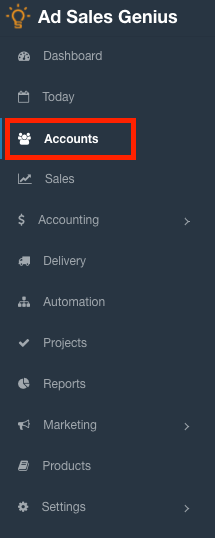
- Navigate to the account that you would like to be displayed in the pipeline. Click Accounts using the left-hand navigation menu.
- Click on the account that you would like to add to the pipeline.
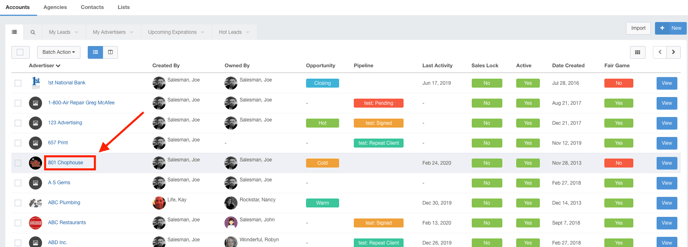
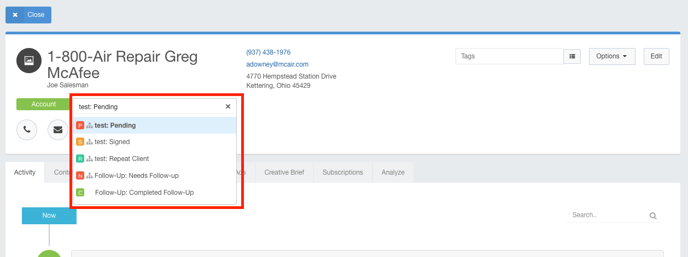
- Click the Pipeline drop-down menu to choose which pipeline and status you would like this record to be a part of.
- Close the record.
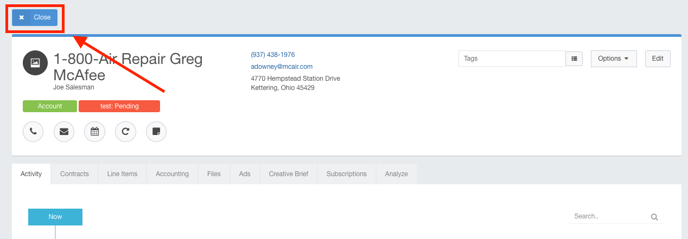
You can see that this record is now in the correct pipeline.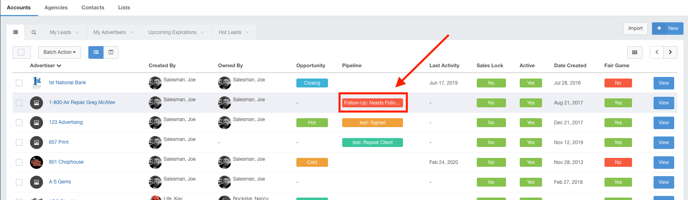
For ease of use, you can also click the status on the pipeline column to choose the record for this pipeline.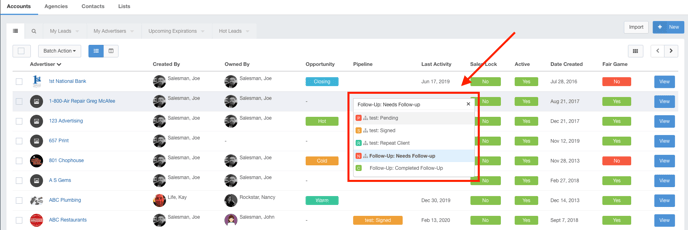
Enable Pipeline View
When you have your pipelines and records configured, you can now enable your pipeline view.
- Click the Pipeline button found anywhere pipelines are supported.
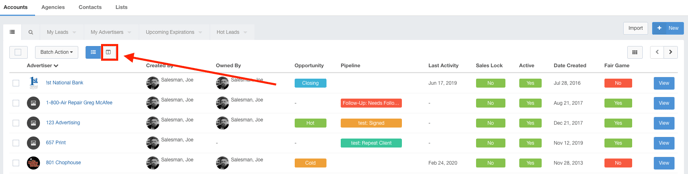
- Use the Pipeline drop-down menu to choose which pipeline you would like to view.

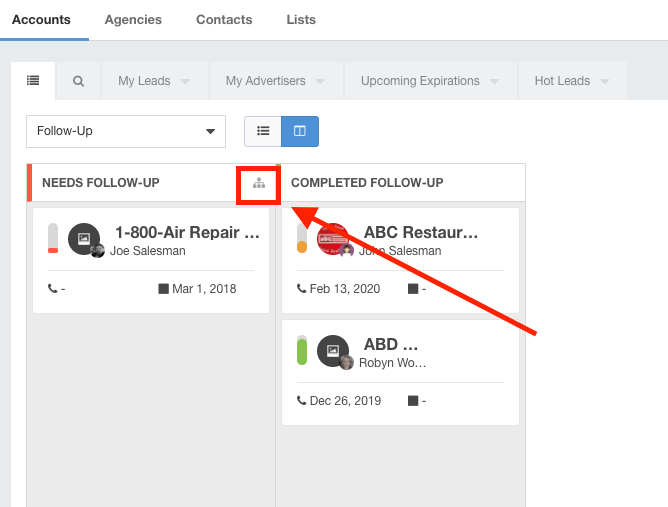
You can now drag and drop your records from status to status within the pipeline view.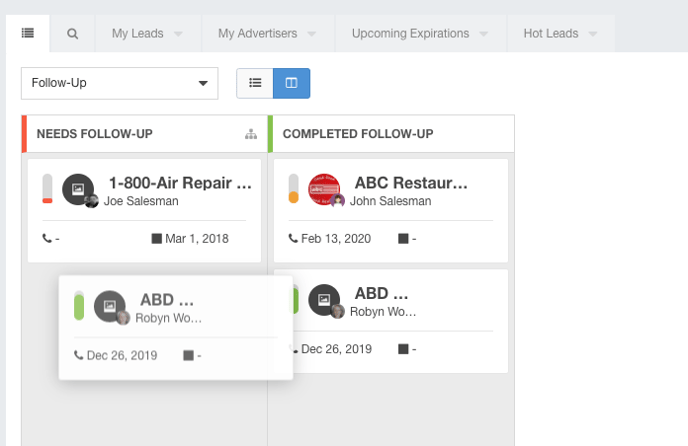
Any status that shows the ![]() icon means that there is a workflow associated with this step. You can click the icon to be brought directly to that workflow.
icon means that there is a workflow associated with this step. You can click the icon to be brought directly to that workflow.