
Distribution in Ad Sales Genius allows you to automate billing and management of issues to each of your drop-off locations.
This article will discuss how to configure distribution inside the system.
Configure Your Distribution Product
The first thing you will need to do is configure your product for distribution.
- Click Products using the left-hand navigation menu.
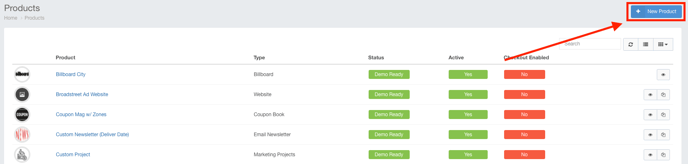
- Click the + New Product button to launch the New Product Wizard.
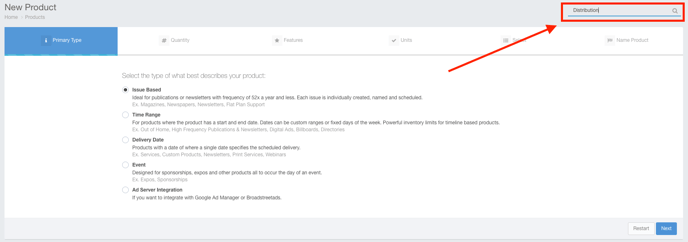
- Use the search feature to search for the distribution product type.
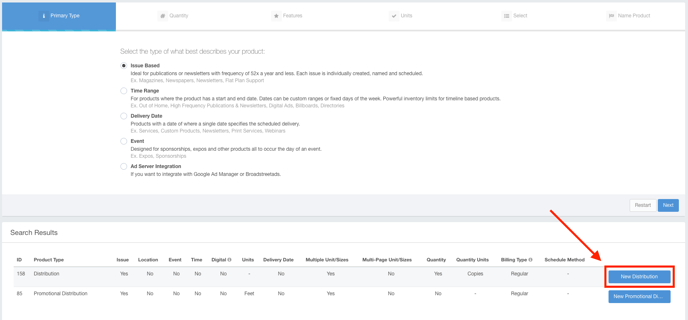
- Click the New Distribution button to begin configuring your product.
- Provide a name for your new product.

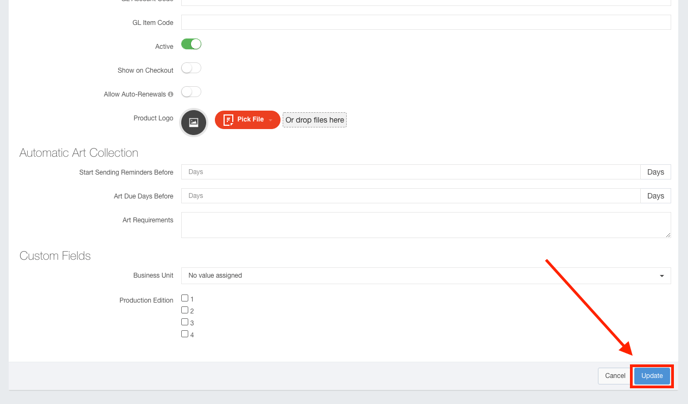
- You can ignore the first page where you configure your product for now. Click the Update button.
- Use the Edit Issue dialog to complete the following fields:
- Issues Per Year
- The date the first issue is mailed
- How Many Days Prior to your mail date do you stop selling ads for this issue
- How Many Days Prior to your mail date do you send to press
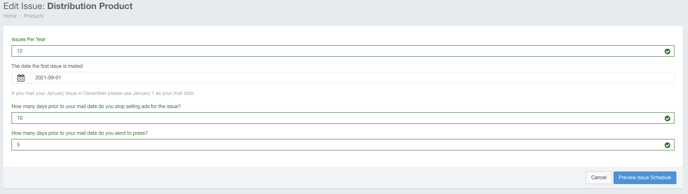
- Click the Preview Issue Schedule button to configure your issues.
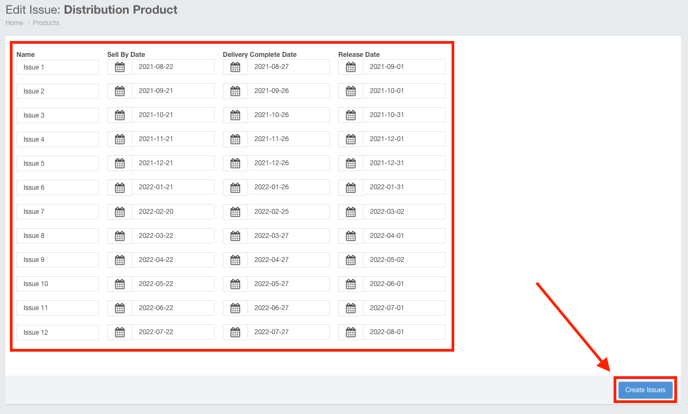
- Configure your issue schedule using the grid, then click the Create Issues button.
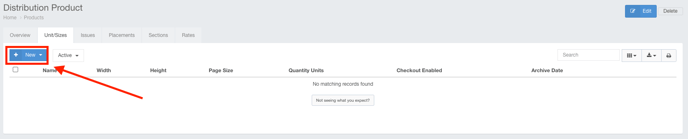
- Click on the Unit/Sizes tab to configure your units.
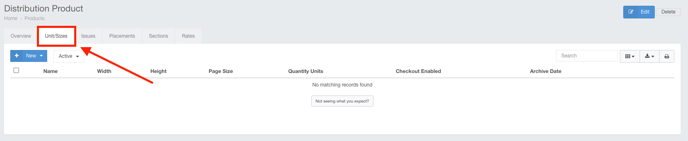
- Click the +New button to add an ad unit.
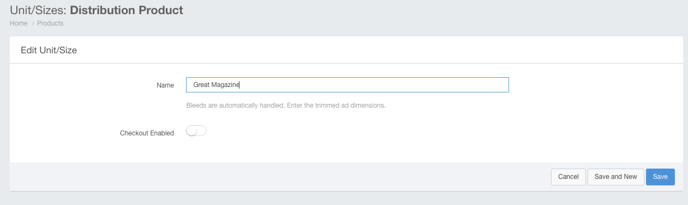
- Complete the name of your ad unit. Click Save when you are satisfied with the name.
- Provide a name and rate for the ad rate. Click Save when you are satisfied with your rate.
Note: The ad rate should be set to the cost of the publication.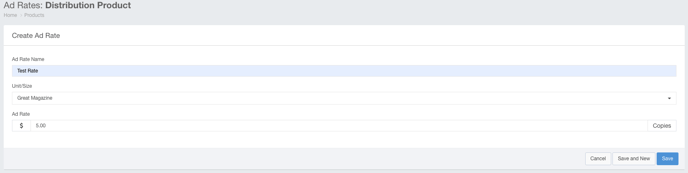
Creating Contracts for Your Distribution Products
When you create your contracts for your distribution products, you must create your re-seller as an account in the system.
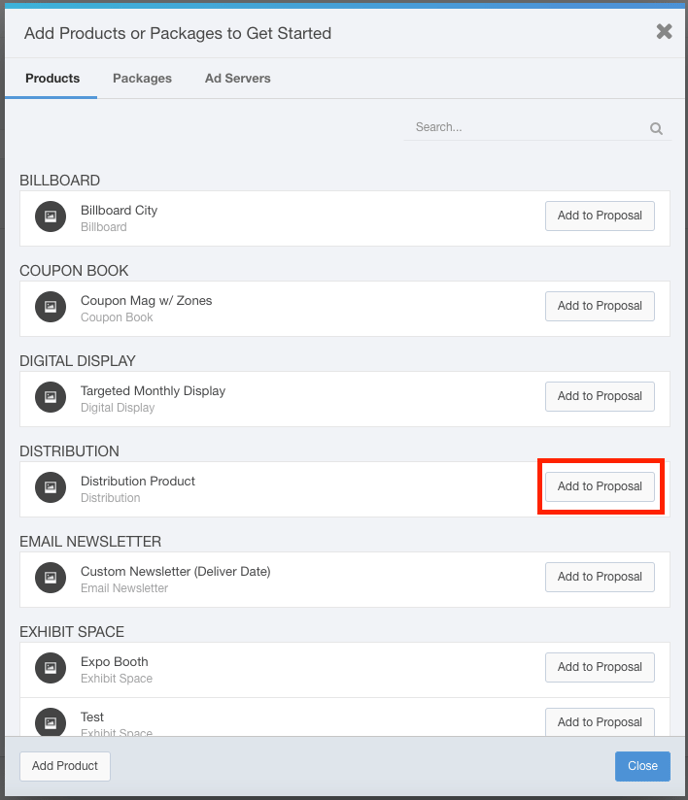
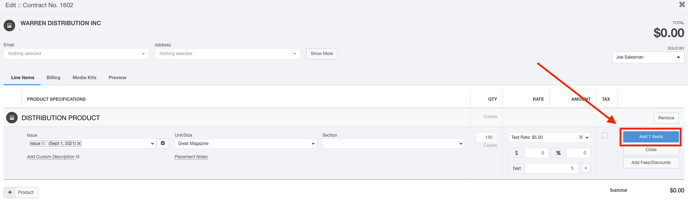
- Add your Distribution product to your contract.
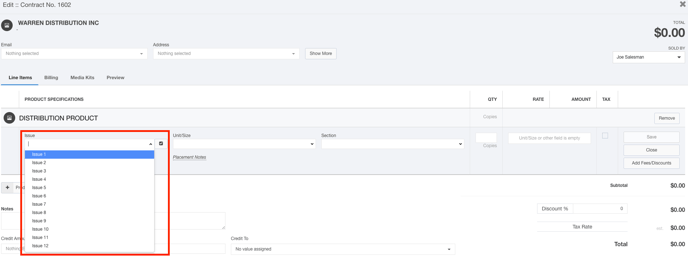
- Use the Issues selector to choose the first issue this distributor is going to sell.
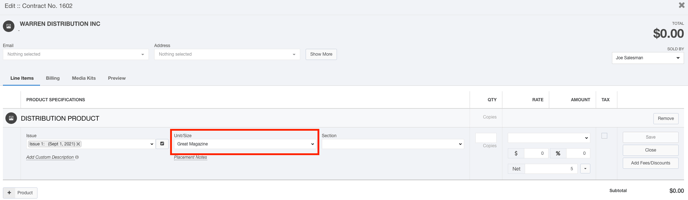
- Use the Unit/Size drop-down to choose the configured ad unit.
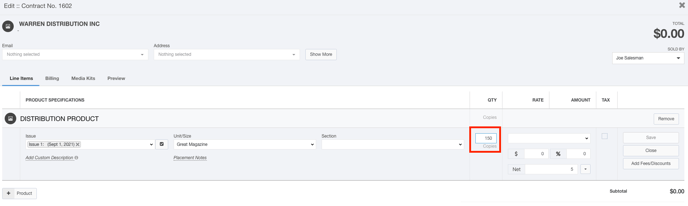
- Use the QTY field to input how many copies of this publication the re-seller will be receiving.
- Choose the rate from the Rate drop-down menu.
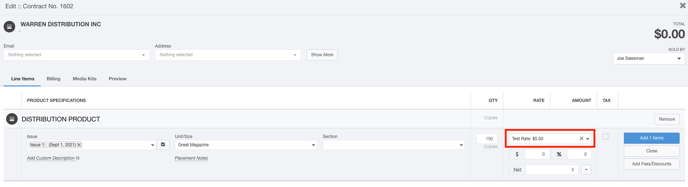
- Click the Add item button to add this line item to your proposal.
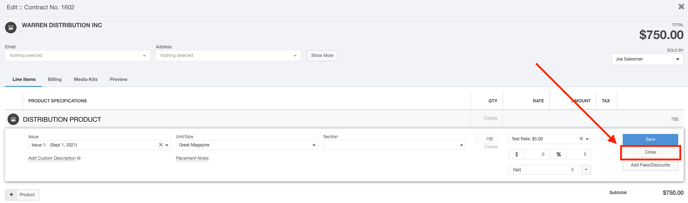
- Click the Close button to see the auto-renewal options.
- Hover your mouse over the line item to see your additional options. Click the
 button to configure auto-renewal for this product.
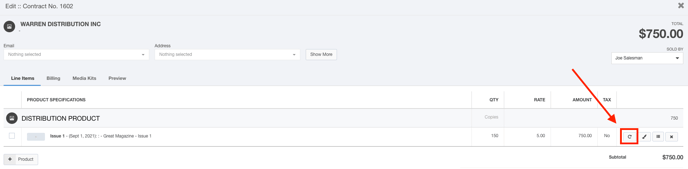
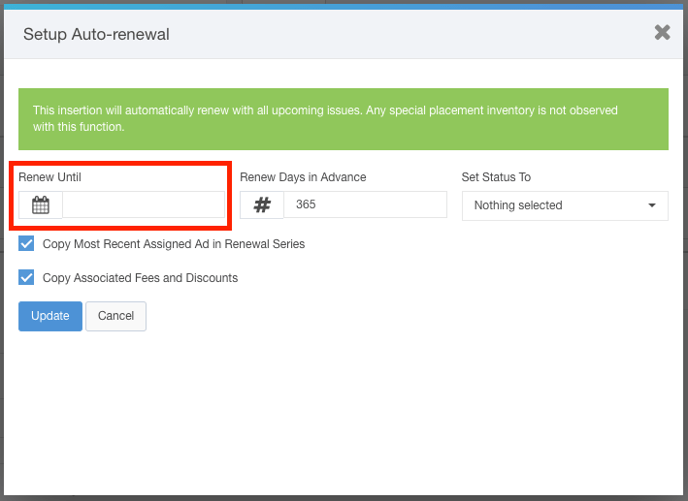
- Click the Setup button to configure your auto-renewal.
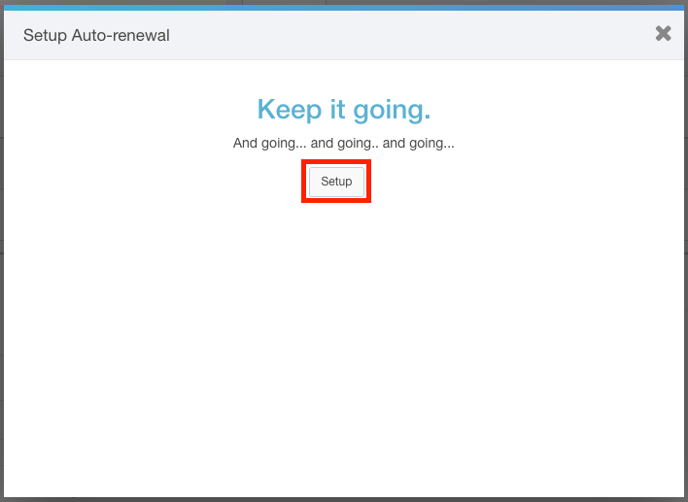
- Leave the Renew Until field blank to tell the system that you will be renewing forever.
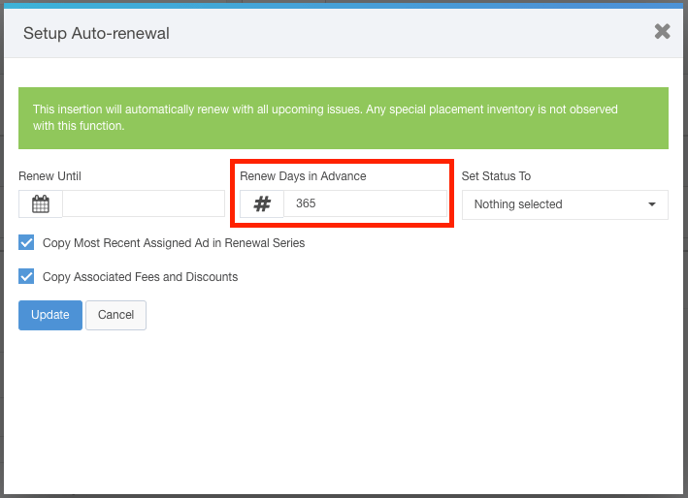
- Input 365 in the Renew Days in Advance field so this contract will renew every year.
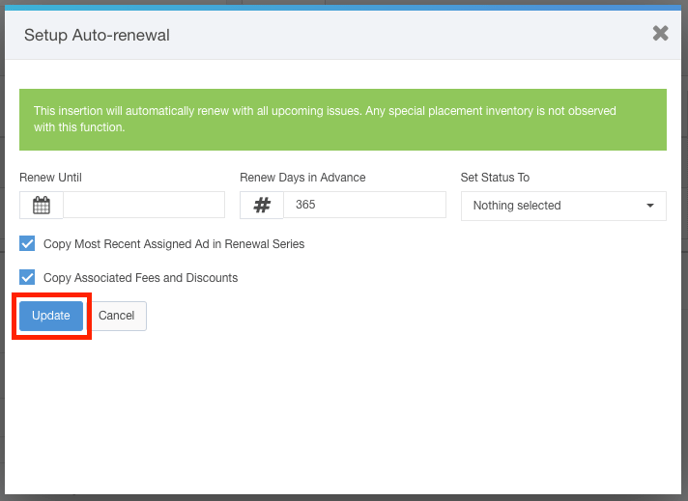
- Click the Update button to save this auto-renewal.
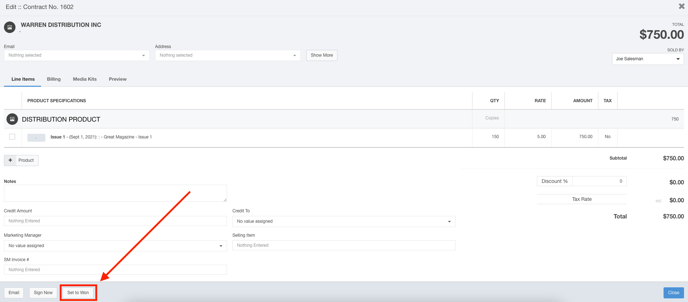
- Click Set to Won to set this contract to the Won status.
You can now manage your inventory by clicking on the Distribution Matrix.
Click Delivery using your left-hand navigation menu.
Click the Distribution tab to see the Distribution Matrix.
The Distribution Matrix is what is used to invoice your publication. Enter in the amount of sold copies in this matrix to confirm the amount that is billable.
You will see now when you access Billable Line Items that you can bill for the amount of sold copies that are listed in this matrix.