
Uploading a Proof to an Ad Request
Before you can upload your proofs, you must first have an ad request.
Navigate to the Ad Request
You must first be on the Ad Request and Projects window for this ad request.
- Click Delivery using the left-hand navigation window.

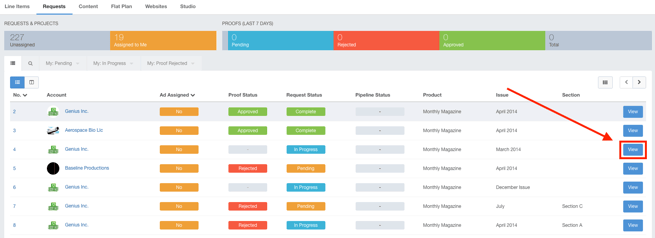
- Click the Requests tab to see your Ad Requests.

- Locate the Ad Request that you would like to upload the proof to and click the View button.
Using the Ad Request details panel, scroll down to the Proofs section. 
To upload a proof
- Click the Upload Proof button to display the New Ad Proof dialog or use the Multi-File Proof to upload a proof that contains multiple files.

- Use the Choose File selector to browse for your proof. You can also drag and drop the file from your computer directly to this page to upload the proof.

- Enter a description in the Description field.

- Click the Save Proof button to upload your proof.

The proof has now been generated.
Viewing a Proof
Click View Proof, you will be taken to exactly what the customer will see. 
Summary of the Proof Page:

Clicking on Approve or Decline will determine the next steps of the Proof. Rejecting it will mark it as Rejected, Approving it will complete the Ad Request.
