
Payment Plan Invoices are not actual real invoices. The best practice for accounting is to recognize revenue earned at the time the product is actually delivered or invoiced.
Payment Plans allow you to still maintain accurate receivables and assets in your bookkeeping while the payment plans help manage when payments are to be paid according to the sales agreement.
Payments received from clients will be applied to the regular invoices as you direct; however, the payment plan will only pay the oldest payment first and work forward. Applying payments to a specific payment plan invoice is not supported.
This article will discuss how to access and configure payment plans.
Accessing Payment Plans
Payment Plans can be found by clicking Accounting using the left-hand navigation menu. 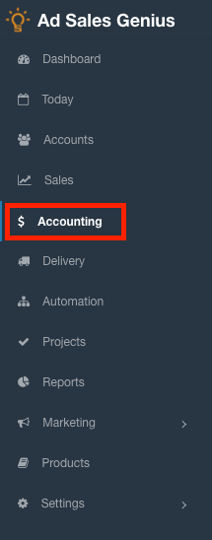
Then, click the Payment Plans tab to see a list of all of the payments that are broken into plans.

Use this window to view, edit, and delete existing payment plans. You can also export selected payments as PDFs or CSV.

You can see from the above screenshot that there are several payments listed for contract number 1611. If we look at that contract, you will see that it is on a payment plan.

Create a Payment Plan
Payment Plans are created at the contract level. To add a payment plan to a contract, complete the following steps:
- Click Sales from the left-hand navigation menu.

- Click the Contracts tab to see a list of your contracts.

- Click the View button next to the contract that you are applying the payment plan on.

- While viewing the contract, click the +Payment Plan button to display the payment plan creation window.

The Payment Plan Creation window automatically creates four equal payments totaling the full amount owed.

Using the Payment Plan Creation Window
Use the Due Date fields to input the date that each payment in this plan is due.
Use the Notes fields to input any notes for each payment on this plan.

Use the Amount field to designate the amount required for each payment.
Note: The totals of all amount fields must equal the total owed. If a change is made to one field, the others will automatically adjust to ensure your total amount is met.
You can lock payments so they will not automatically adjust. This is particularly useful if you require the first payment to be larger and the remaining amounts to be evenly divided.

Click the Trash Can button to remove payments from the plan.
Note: Locked payments cannot be deleted.

Use the Hide line item amount details on invoice toggle to remove the line item details on your invoice.

Add additional payments to this plan by selecting the number of payments you want to add, then click the +Add Payments button.

Click the Divide Evenly button to distribute the unlocked payments equally.

Click the Update button when you are satisfied with your selections.

The payment plan now appears on the contract.
