
Saving Reports
The ability to save a configured report is a great way to access your reports in a quick and efficient manner. Saving reports takes out the need to re-configure your report every time you access it. Saved reports are also great because you can add them to your dashboard for quick access.
This article will walk you through the steps of saving a report.
To Save a Report
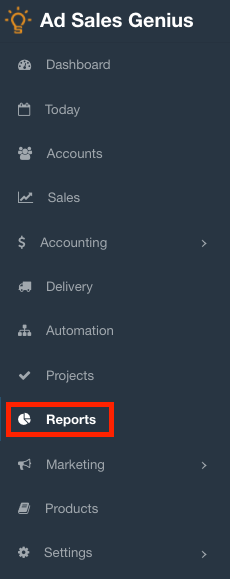
The first thing you need to do is access the reports module.
- Click Reports using the left-hand navigation menu.
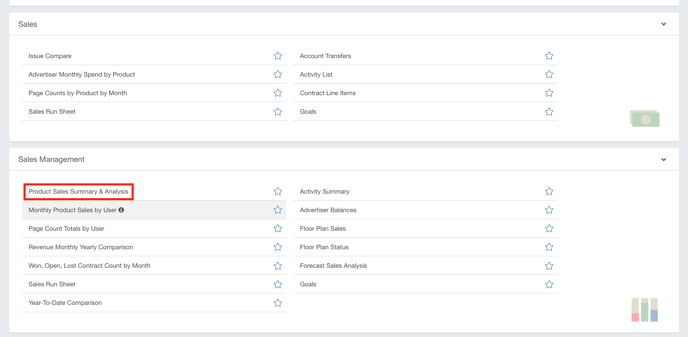
- Click on the report that you would like to configure and save.
- Configure the parameters of the report using the available fields.
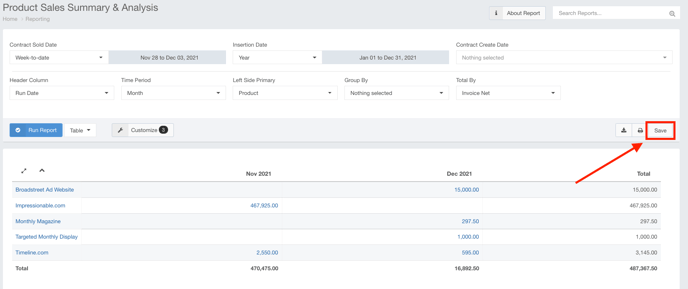
Note: In the screenshots provided, we are looking at the Product Sales Summary & Analysis report so your configuration options may differ depending on which report you're running.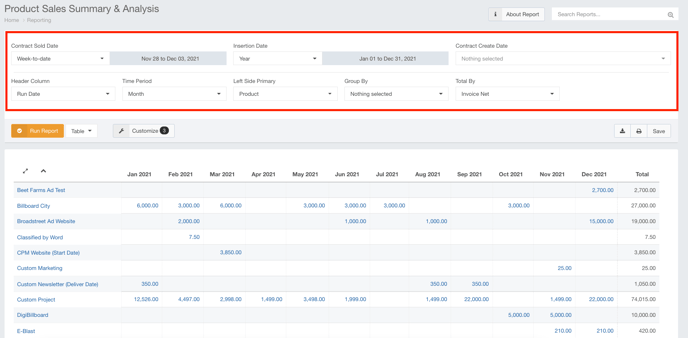
- Click the Run Report button when you are satisfied with your filtering options.
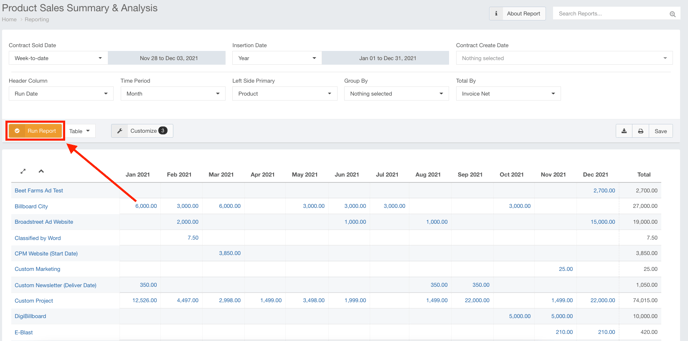
- Click the Save button to display the Save Customized Report dialog.
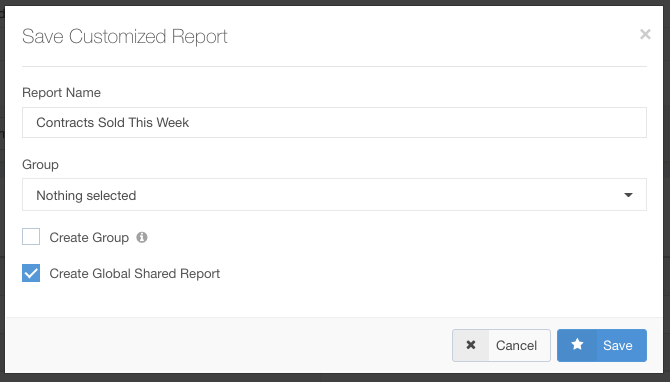
- Use the Save Customized Report dialog to provide a name for the report and decide which user groups you would like to share this report with. You can also create a group from here or choose to share this report with all of your users. Click the Save button when you are satisfied with your selections.
You will find the saved report on the Custom Reports tab of the Reports module.
You can edit the parameters or delete the report here.
