When a client completes an insertion order, they will begin receiving production emails per the rules that are created in the Production Automation Rules module.
The client will receive an email containing a secure link to access the portal. With the portal, clients will be able to preview and upload ads, pay invoices, view their contracts, and more.
Previewing and Uploading Ads:
If there is an ad request, your client can click the Preview/Change Ad button to preview the file for this ad request, or, if there is no ad assigned, they can click the Upload Files for Design button to display the upload dialog.

If there is no ad request present, the client has a couple of options:

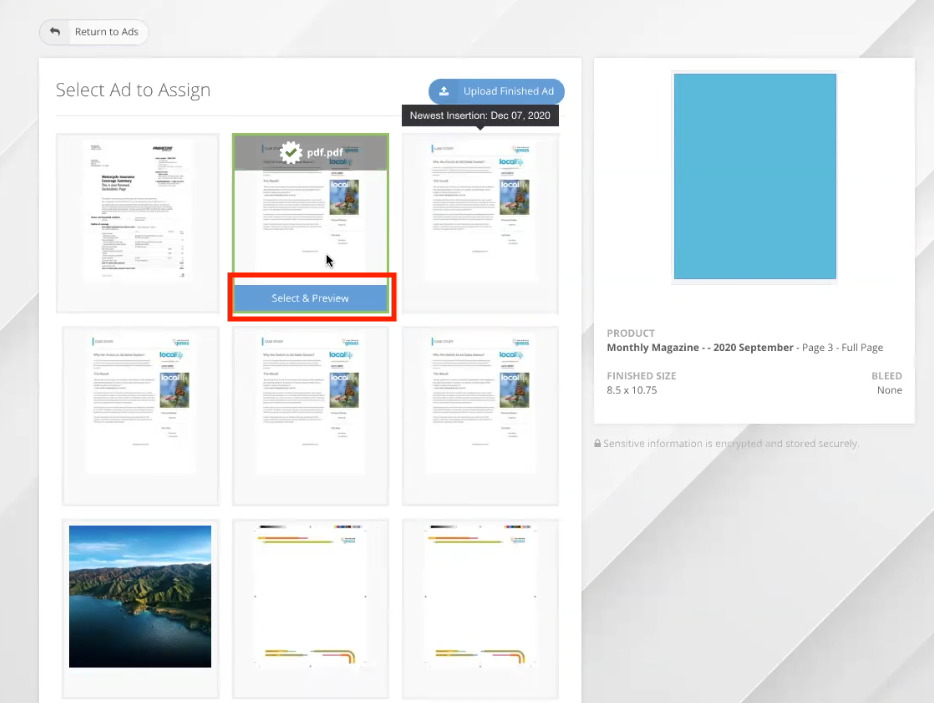
Click the Select Previous Ad button to display all of the prior ads that the client has previously run.
Note: Only the ads that have a similar aspect ratio will be displayed. If there are no dimension parameters associated with this ad insertion, all previous ads will be displayed.
Clients will hover over the ad they want to assign and click the Select & Preview button to display more information about the ad.
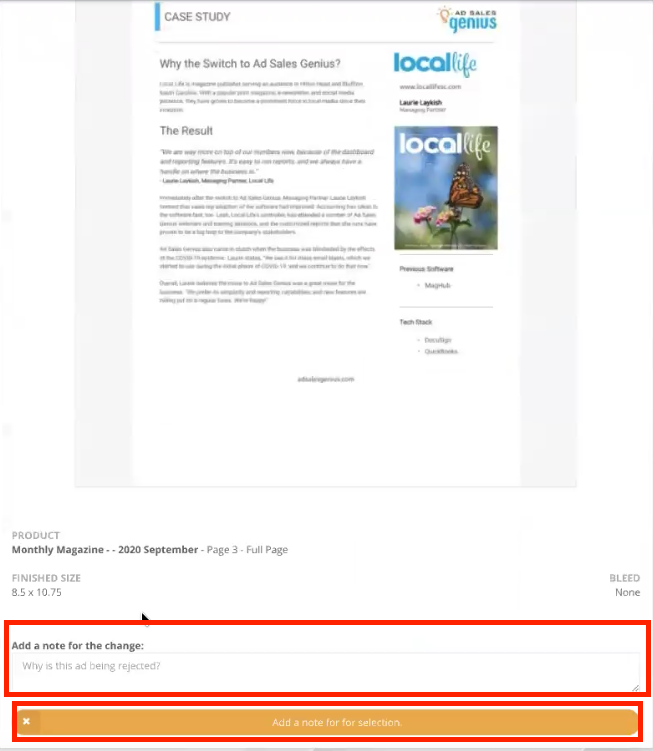
Clients will now be able to preview the ad, view the details of the selected ad, and make a note to the production staff.
Note: Clients MUST input a note regarding this ad before it will allow you to proceed.
After the note is input, the client will click the Confirm Selection button. Doing this will assign the ad to the insertion order and will open an ad request. It will set the status from Complete to Pending, and notify the Production Team of the changes.
If there is no Ad Request present, clients can also click the Upload Finished Ad button to display a window that allows them to pick a file to upload.
Here, the client will see the instructions that you input in the Production Automation Rules module.

They will click the Pick File button to browse for the finished ad.
Note: This file MUST be a .pdf in the event that there are pre-flight rules. If you do not have pre-flight rules, the file just needs to be an image.
The client will click the Continue to Review button to begin the pre-flighting process. Pre-flighting rules are determined in the Production Automation Rules module in Ad Sales Genius.

Here, the client will see a preview of their ad. They will also see a list of the errors, warnings, and auto-corrections as determined by the pre-flighting rules.
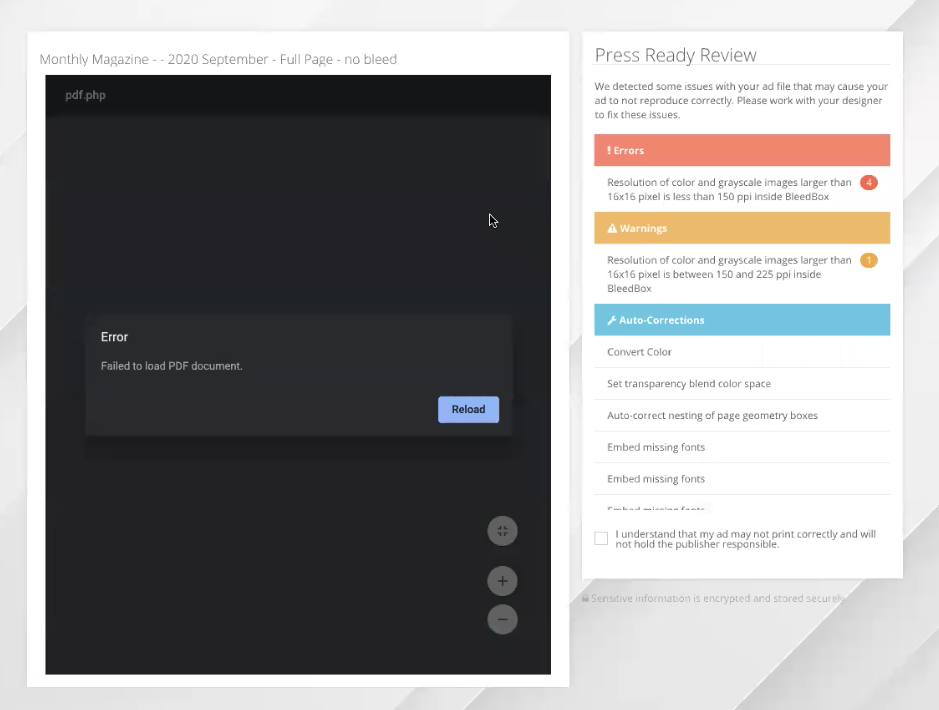
If the customer is happy with the uploaded file, they can click the checkbox stating that they are responsible for the ad, then click the Approve with Errors button.
Note: The client will not be able to approve files with errors unless the Production Automation Rules allow them to.
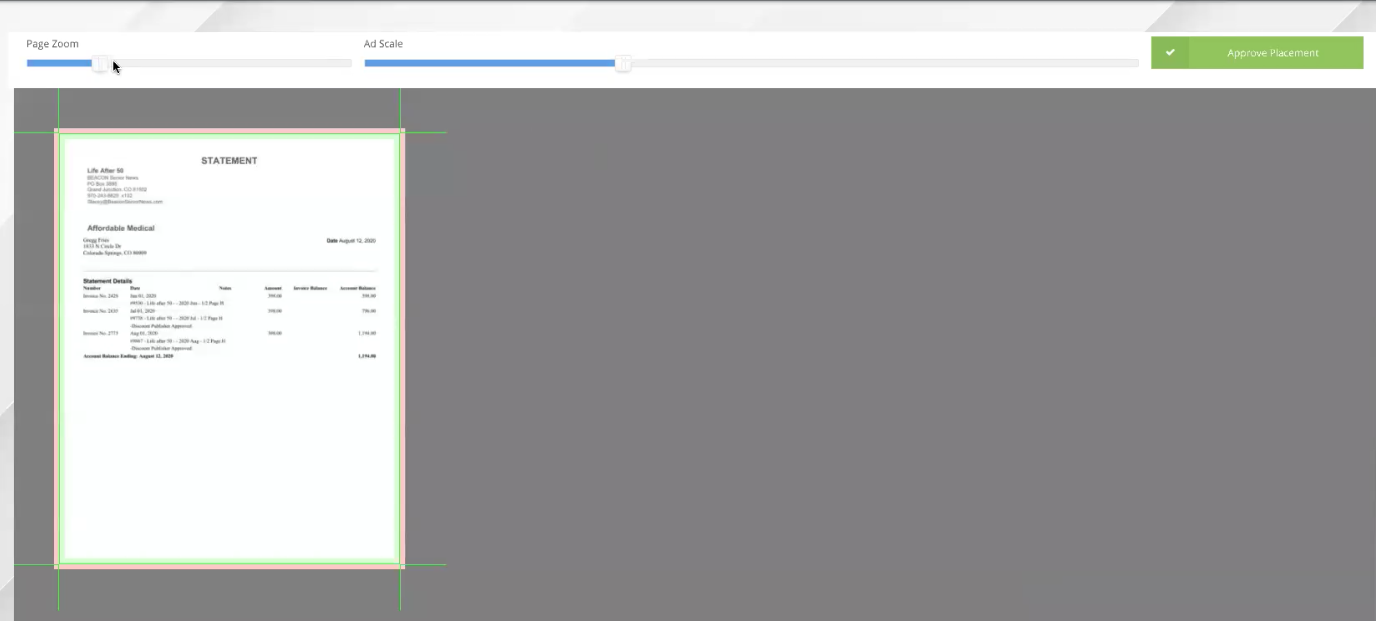
The client will then be able to ensure the placement of the ad is correct. They will be able to zoom in and out of the ad, scale the ad, and approve the placement.
The green margins are considered the safe zone, so all text must be inside of these parameters. The red margins are the bleeds.
Viewing Contracts
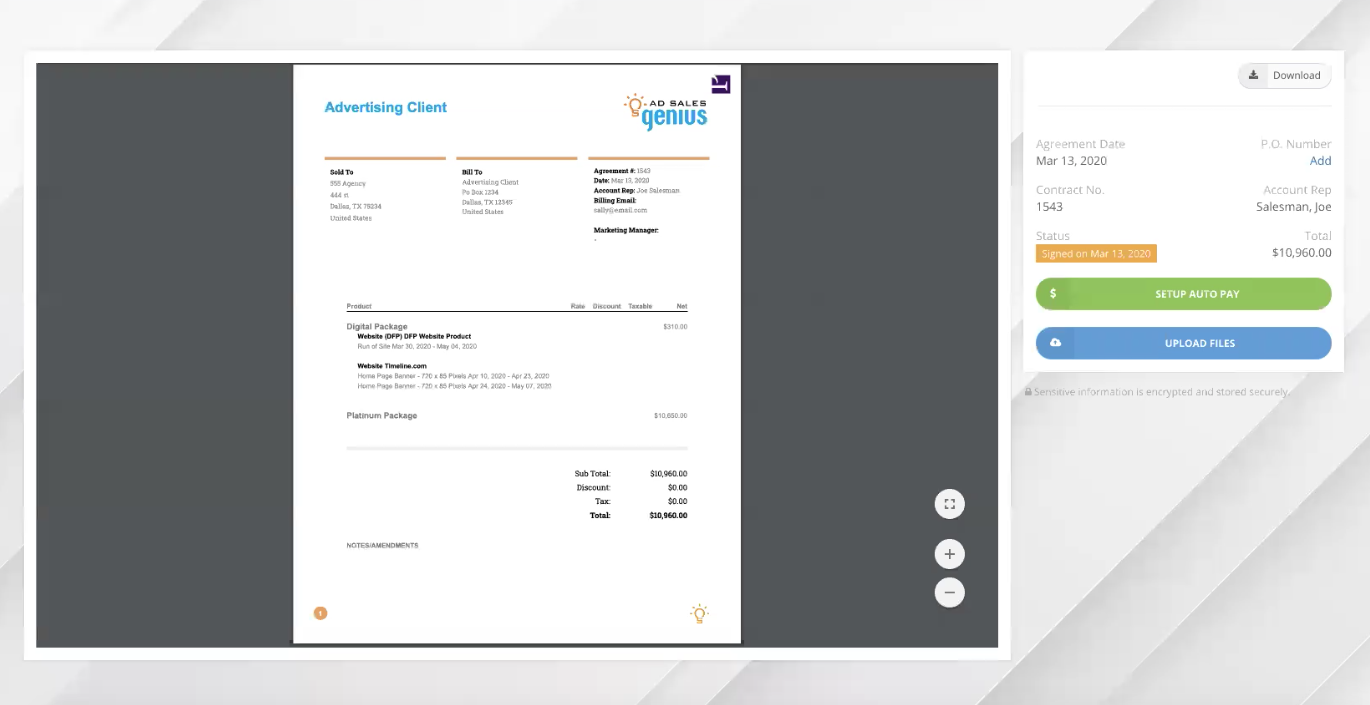
Clients can click on the contract number to preview and pay their contracts.
Clicking the contract link displays a preview of the client’s contract, along with pertinent details. They can upload files from this page, download a copy of the contract, add a P.O. Number, and set up autopay.
Note: In order to complete payment, the client must use Authorize.net or Stripe. If the customer wants to enable ACH, it must be enabled via Authorize.net