This feature is used to set up the way production emails are sent to your clients. Once this is configured, your clients will have access to the Account Portal. View this article for more information on what your clients will now see when they receive production and invoices-related emails.
Getting Started
To access the Delivery Automation Rules, click Automation using the left-hand navigation menu. Then click the Delivery tab to view your automation options.
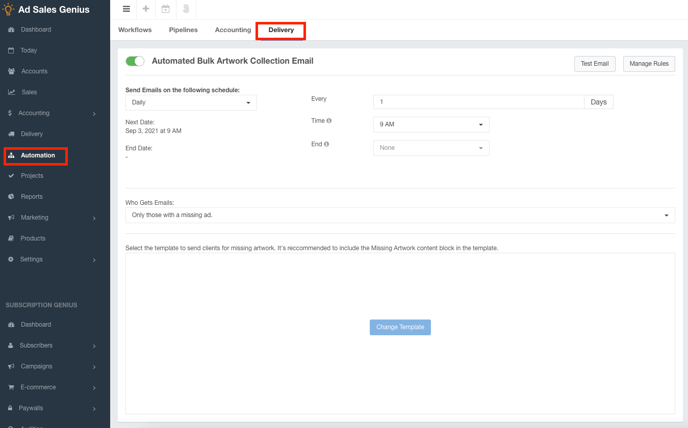
This is where you can configure production-related emails that are sent to your clients.
- Use the Send Emails on the Following Schedule drop-down menu to choose the schedule in which you would like to send your emails.
- Use the Every field in correlation with the Send Emails on the Following Schedule drop-down to denote how frequently you would like to send emails based on the schedule.
- Use the Time drop-down menu to denote the time of day that you would like to send your emails.
- If you would like this schedule to have a finite end date, you can denote that using the End drop-down menu.
- Use the Who Gets Emails drop-down menu to choose whether you want to send emails to just the clients who have artwork missing or everyone who has an upcoming insertion.
Templates
Click the Change Template button to display the Template configuration window.
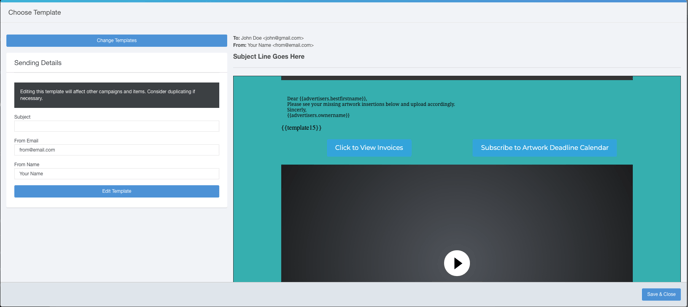
Here is where you can configure your email details.
Use the Choose Template button to choose which template you would like to send to your customers. For more information about templates, check out this article.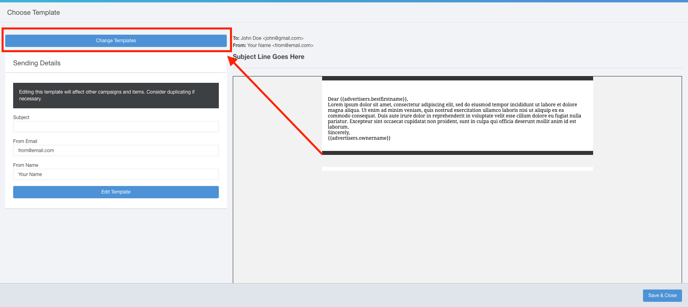
Use the Sending Details section to complete the Subject line of the email, as well as the From Email address and Name.
If you would like to edit the template shown in the right-hand window, you can do so by clicking the Edit Template button.
Note: Make sure your template includes the Missing Artwork dynamic content block to allow your customers to access their portal.
When you are satisfied with your selections, click the Save & Close button to be taken back to the Automation window.
Manage Rules
From the automations page, click the Manage Rules button. 
The Manage Delivery Rules page now appears:
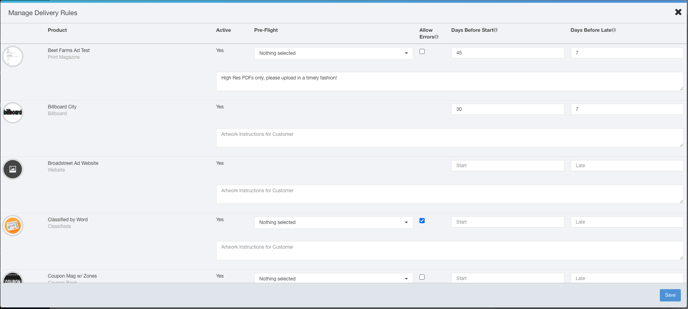
Here, you will see a list of all of your active products. For each product listed, you can choose the following information:
- If this is a print-based product, click the Pre-flight drop-down menu to choose the pre-flight rules you would like to set up for this client.
- Click the Allow Errors checkbox if you want to tell the systems that you will allow errors during pre-flighting.
- You MUST input a number in the Start field to denote how many days before the insertion date that you would like to start asking the client for ad materials.
- Note: If there is no value in the Start field, emails for this product will not be sent to the client.
- You MUST input a number in the Late field to denote how many days before the insertion date that you want to send the final past-due notice.
- Note: Once the client has reached the late date, they will no longer be able to make any changes to the insertion order on the Account Portal.
- Use the Instructions field to include instructions for the client to see when they access the Accounts Portal.
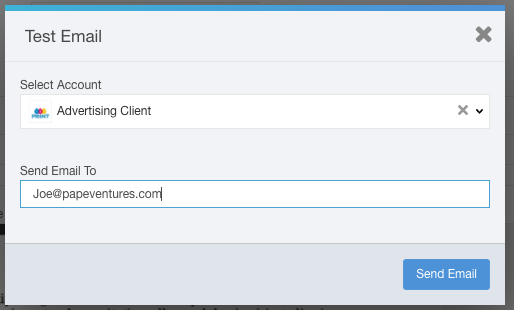
Test Email
You can also send a test email by clicking the Test Email button. 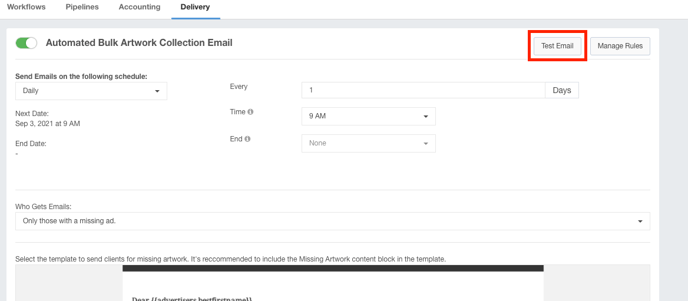
From here, you would choose which account you would like the email to come through as, and choose which email address you would like to send the test to.