Pre-flighting Line Items
Pre-flighting is the process of confirming that the files required for the printing process are all present, valid, correctly formatted, and of the desired type, is an additional feature that can be added to your account. Pre-flighting within Ad Sales Genius, whether it is initiated by an ASG user or a client uploading their ad, helps reduce the likelihood of problems that cause production mishaps.
Setting up Pre-flight
In order to set up pre-flighting, you need to set your pre-flight profile for your products.
- Click Automation using the left-hand navigation menu.

- Click on Manage Rules.

- Click the Pre-Flight Profile dropdown for the product that you would like to activate pre-flighting for and choose your Profile

- Click the Allow Errors checkbox if you want to tell the systems that you will allow errors during pre-flighting.

- Use the Instructions field to include instructions for the client to see when they access the Accounts Portal.

- Click Save.

Using Pre-flight
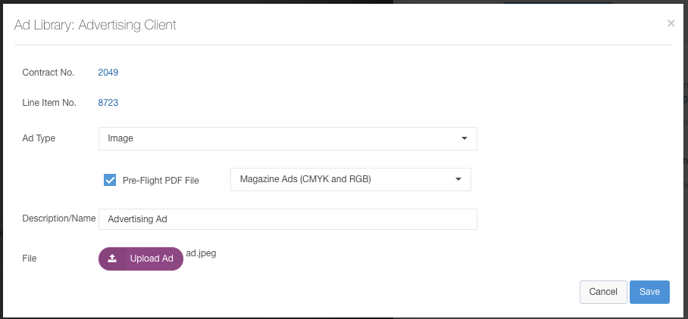
- Upload an ad as you normally would, whether it's through the Delivery > Line Items window, the Line Items tab, or the Ads tab on an advertiser's account page
- When choosing the specifications before uploading, check the Pre-flight box and verify the Profile or use the drop-down menu to choose a new one.
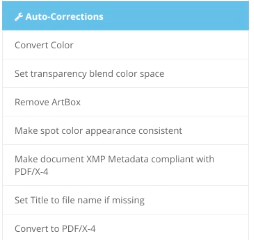
- Review the Errors, Warnings, and Auto-Corrections after the upload is complete
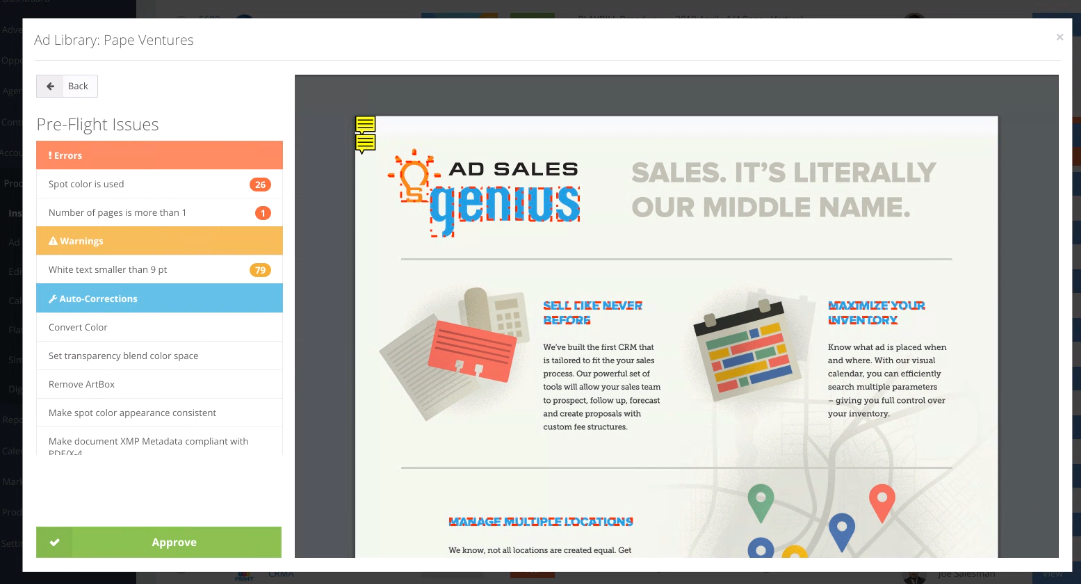
- Errors that will prevent the ad from printing correctly are outlined in red dashes

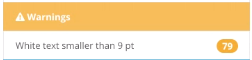
- Warnings are outlined in yellow dashes
- Auto-Corrections are automatically corrected upon upload
- Errors that will prevent the ad from printing correctly are outlined in red dashes
- Once these are reviewed, you can either make your adjustments to the file or you can approve despite the outstanding errors

- Once the ad is uploaded to the Ad Library, it will have an approved symbol next to the file name when hovering over the image. You can now assign this as the primary ad for the insertion