- Ad Sales Genius Knowledge Base
- Accounting
- Individual Invoices
Managing Line Items on an Invoice
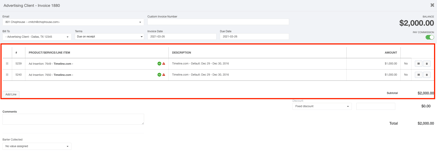
The Invoice Edit Window within Ad Sales Genius allows you to quickly view and edit all invoice line items at a glance. If you have QuickBooks Online integrated with your system, you can see the status of each of these line items directly from this page. This article will discuss the line items section of the Invoice Edit Window and its capabilities.
The first thing you will need to do is access the Invoice Edit Window per the instructions found here.
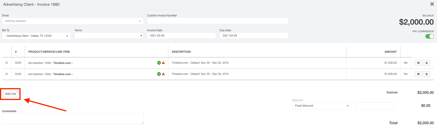
The line items section displays the invoice number, the product/line item, the line item description, and the amount. You can also view your custom fields and remove the line item from this invoice in this section.
The first column allows you to drag and drop that row so you can sort information to your liking.
Drag-and-drop the ![]() icon to your desired location.
icon to your desired location.
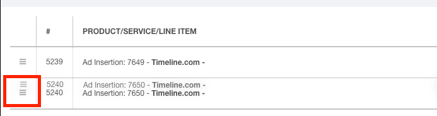
The ![]() column displays the line item number.
column displays the line item number.

Click the line item to display the edit options for this particular insertion:
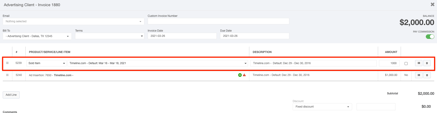
Use the Product/Service/Line Item drop-down field to select the product for this insertion.

You can also quickly see which line items are connected to QuickBooks, if applicable, by referencing the icons found on the Products field. The  icon means that there is an issue with this line item that must be addressed in your QuickBooks mapping. Click here for more information about integrating QuickBooks Online.
Use the Description field to enter the description for this line item.

The Amount field is where you can enter the dollar amount for this line item.
Click the Tax check-box field if this line item is taxable.

Click the ![]() button to display your custom fields.
button to display your custom fields.
Click the ![]() button to remove this line item.
button to remove this line item.
Click the Add Line button to add another line item to this invoice.
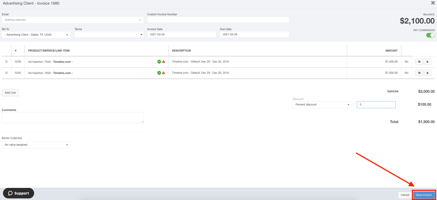
Click the Save Invoice button when you are satisfied with your selections.