Adding an Account or Agency Contact
Your accounts likely have multiple contacts that you can reach out to. This article will discuss how you can add contacts for accounts and agencies from the details window.
Adding a Contact From the Details Window
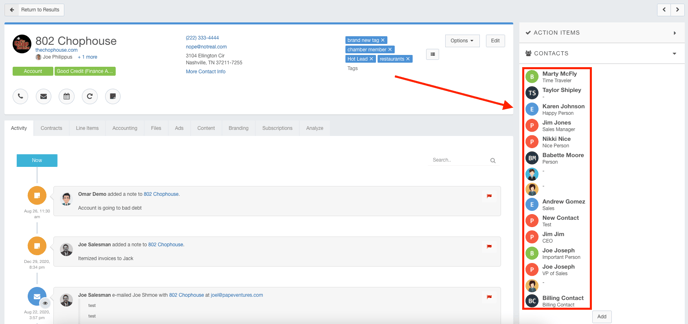
When you first access an account or agency, you will see that the contacts appear on the right-hand side of the window.
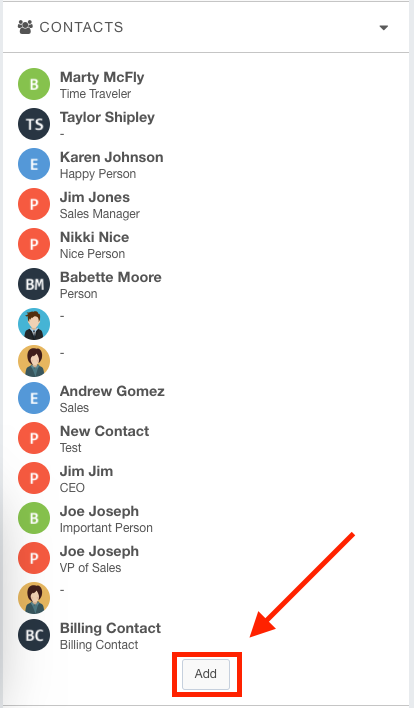
To add a new contact, click the Add button found under the Contacts heading.
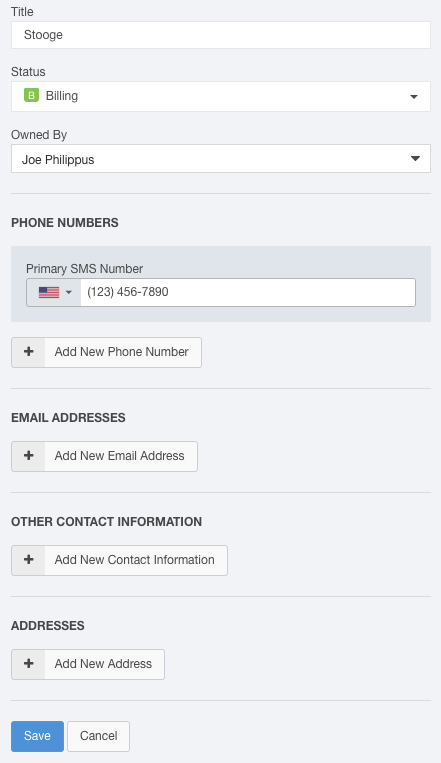
Use the Create Contact panel to complete the preliminary information for this contact. You will add additional information in subsequent steps. Click the Save button when you have completed this information.
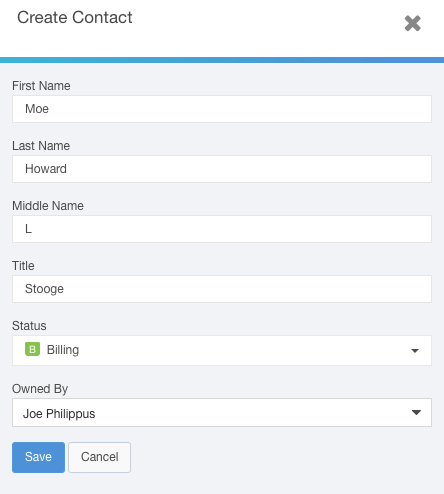
Upon clicking Save, you will see that you now have options to add phone numbers, email addresses, physical addresses, and additional contact information.
Click the + Add New buttons to add the related information for this contact.
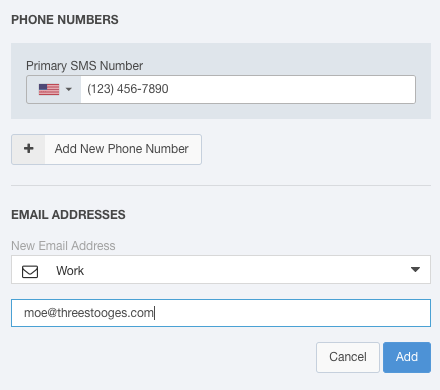
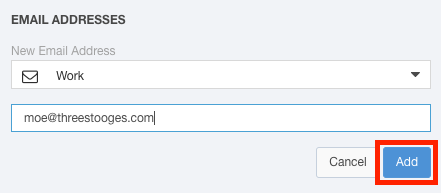
Click the Add button when you have completed each piece of contact information.
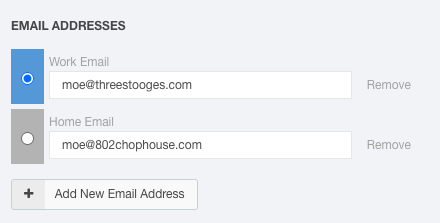
You can continue to add more contact information for each contact type by clicking the + Add New buttons.
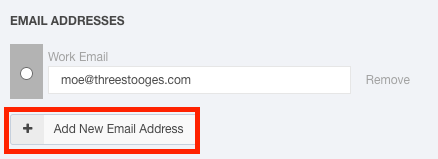
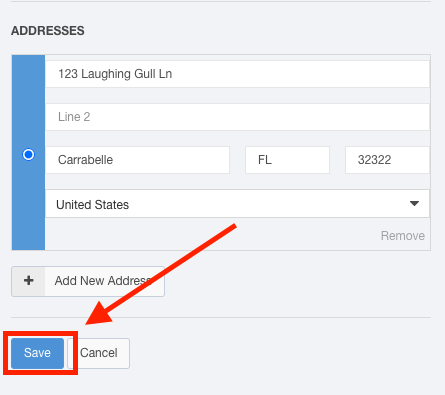
Use the radio button to select which address you would like to designate as primary.
Complete these steps for the remaining address types.
Click the Save button at the bottom of the Create Contact window to save your selections.