
Studio services in Ad Sales Genius allow you to leverage our team of designers to create ads and pagination for your clients at a fraction of a price! Before you can use studio services, you must first purchase credits. Click here to learn more about buying Studio credits.
Using Studio Services
Once you have your studio credits applied to your account, you can use them in the same manner as creating an internal ad request.
- Navigate to the line item you would like to send to Studio. You can do this by clicking Delivery then Line Items using the left-hand navigation menu.
Note: These steps are assuming that you have already created your contract.
- Click the View button for the line item you would like to send to Studio to launch the Line Items details panel.

- Scroll to the Delivery section of the Line Items details panel. Click the View Request button to see your ad request options and send this line item to Studio.

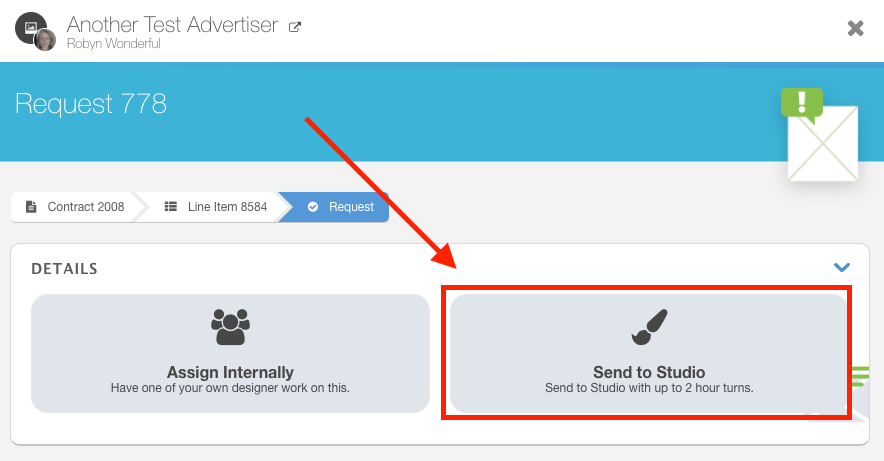
- Click the Send To Studio button to begin the studio process.
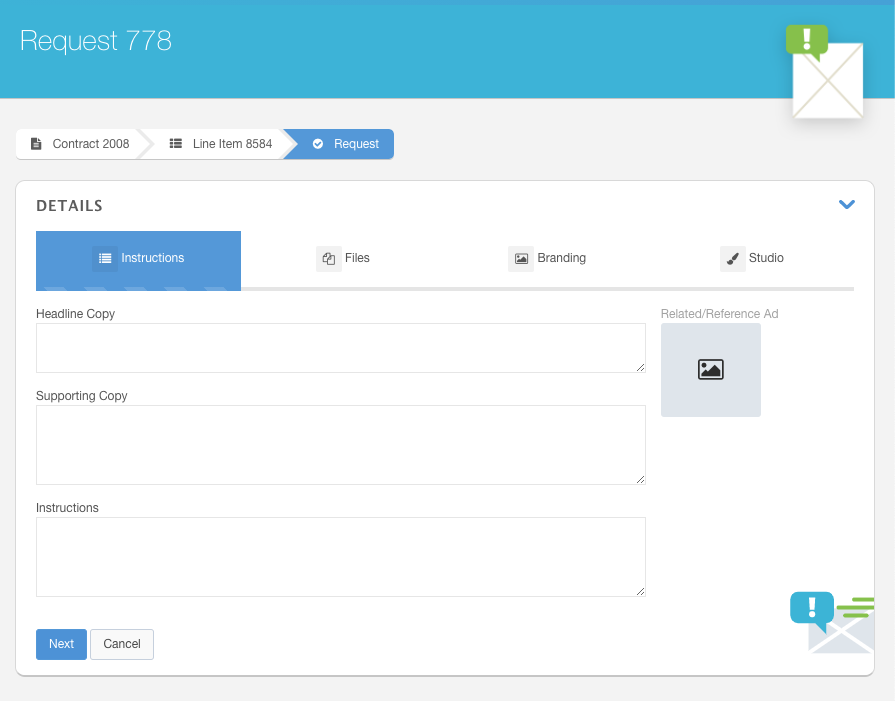
- Use the Instructions tab to provide pertinent details for your ad. You can also upload a reference ad by clicking the Related/Reference Ad thumbnail. Click the Next button to upload any files that are needed for the designers.
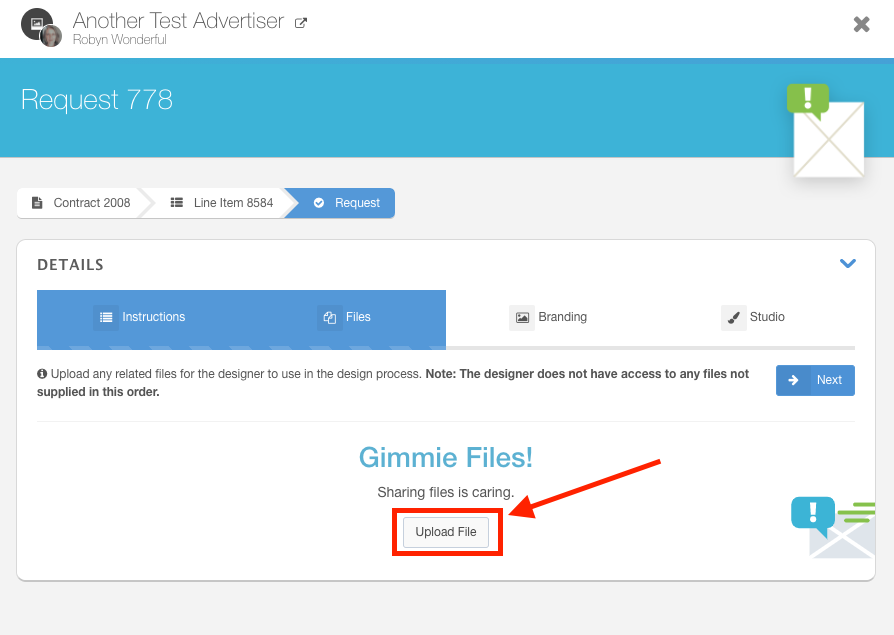
- Use the Files tab to provide the designer with files that are necessary to complete this order. Click the Upload File button to choose which files to upload here. Click Next when you are finished uploading files.
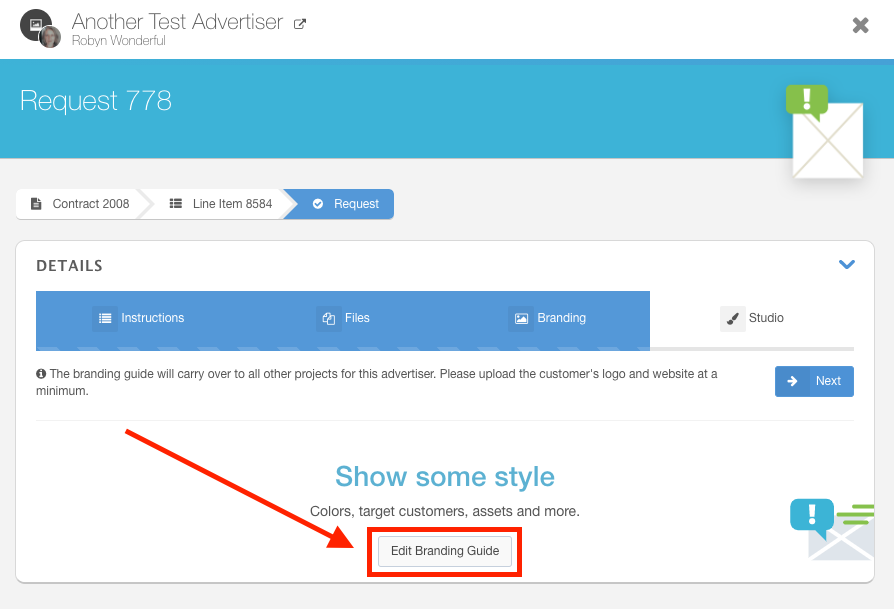
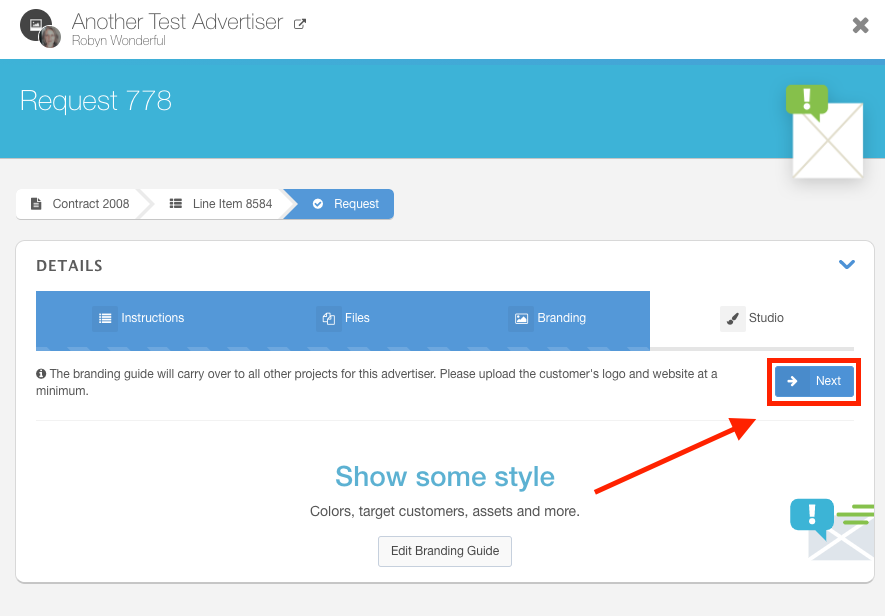
- Use the Branding tab to edit the branding guide for this account. The branding guide allows you to upload the advertiser logo, choose color schemes, select brand themes, and more. Click the Edit Branding Guide button to launch the Branding Guide dialog.
- Use the Branding Guide dialog to upload the client's logo and website. You can also choose the brand's colors and themes here. Complete the wizard on the left-side panel and click the Save button to save your selections. Click the Close button to move on to the next step.
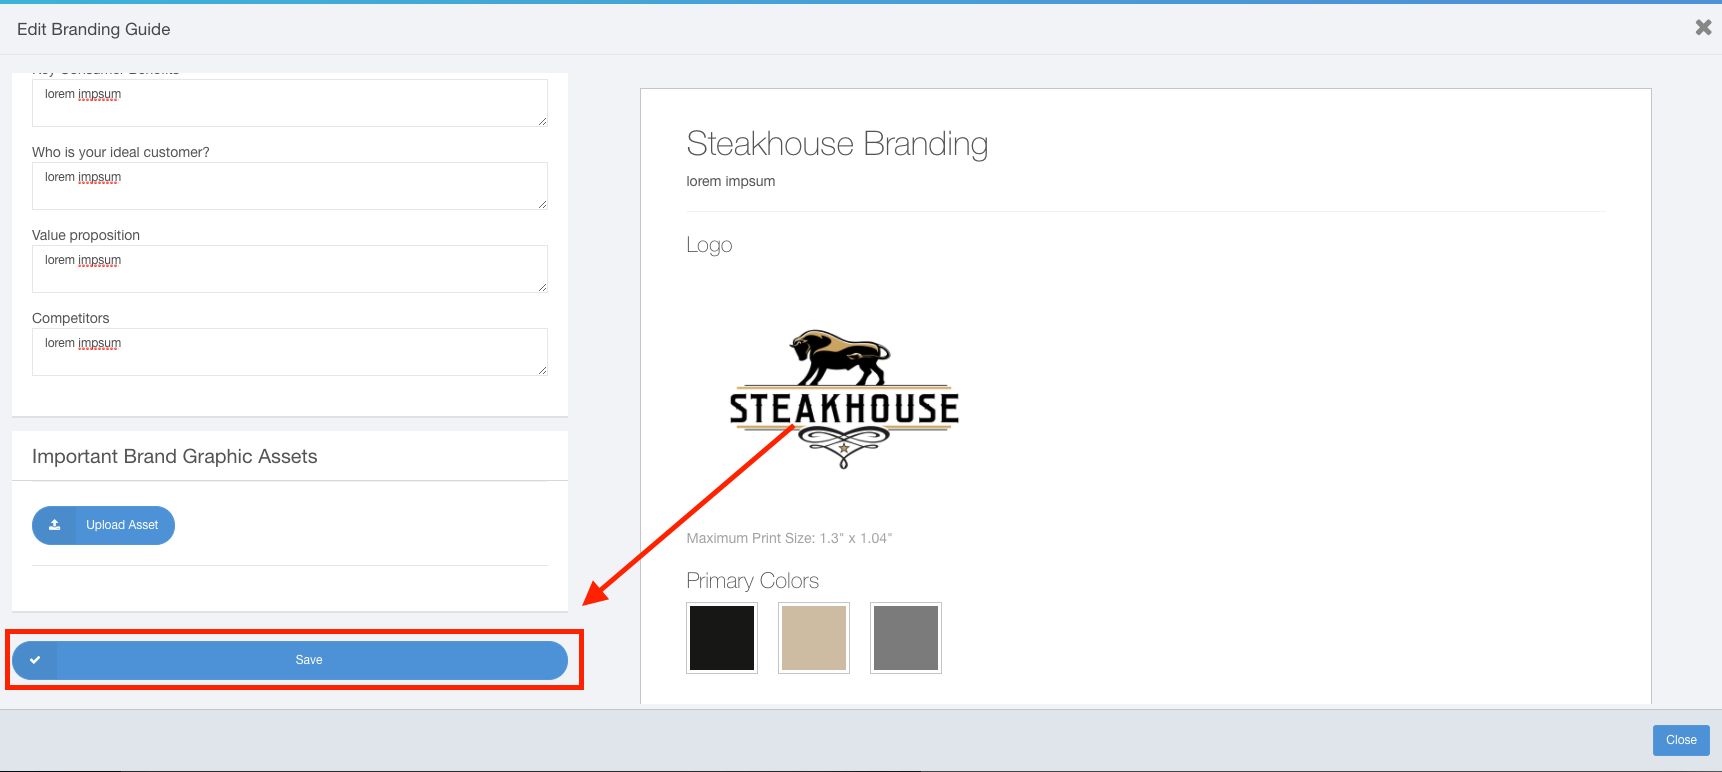
- After closing the Branding Guide dialog, Click the Next button to move on to the Studio section.
- Use the General options across the top to choose whether you would like to rush this ad, use stock photography, and/or mimic the customer's website styling.
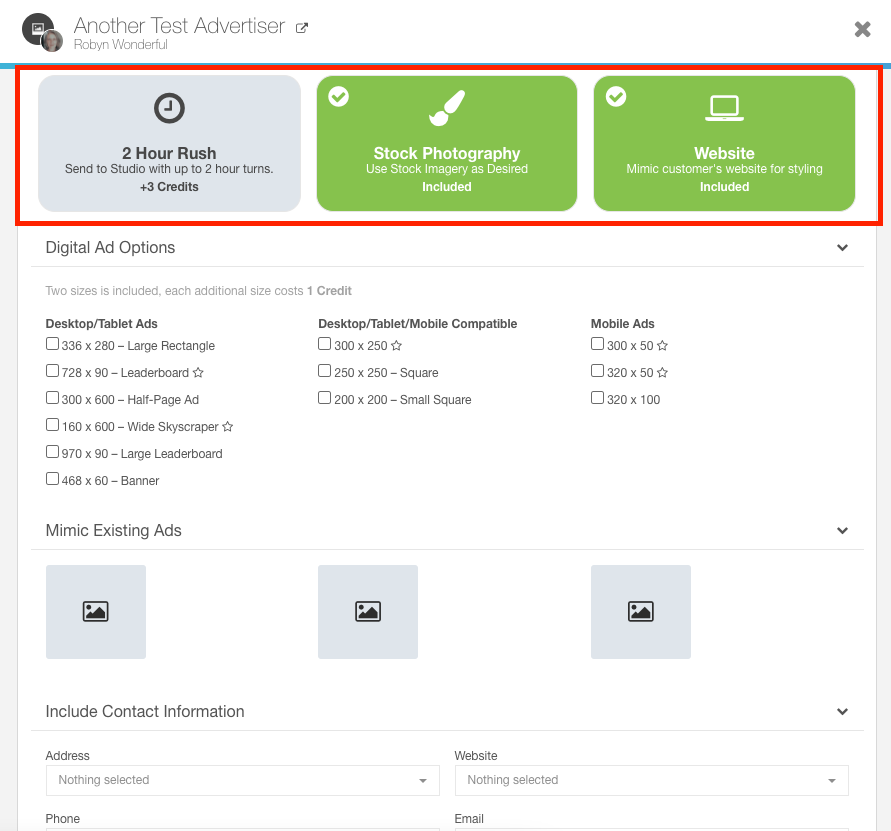
- If this is a digital ad, you can select your required sizes using the Digital Ad Options checkboxes.
Note: The standard rate includes two sizes. Each additional size beyond that costs 1 credit.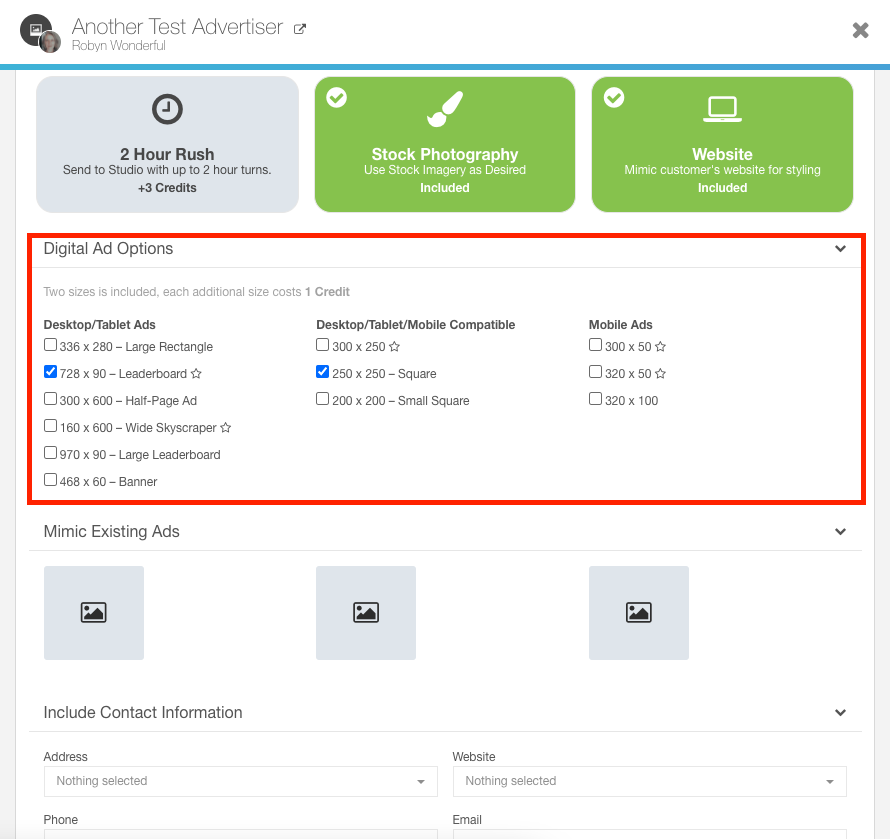
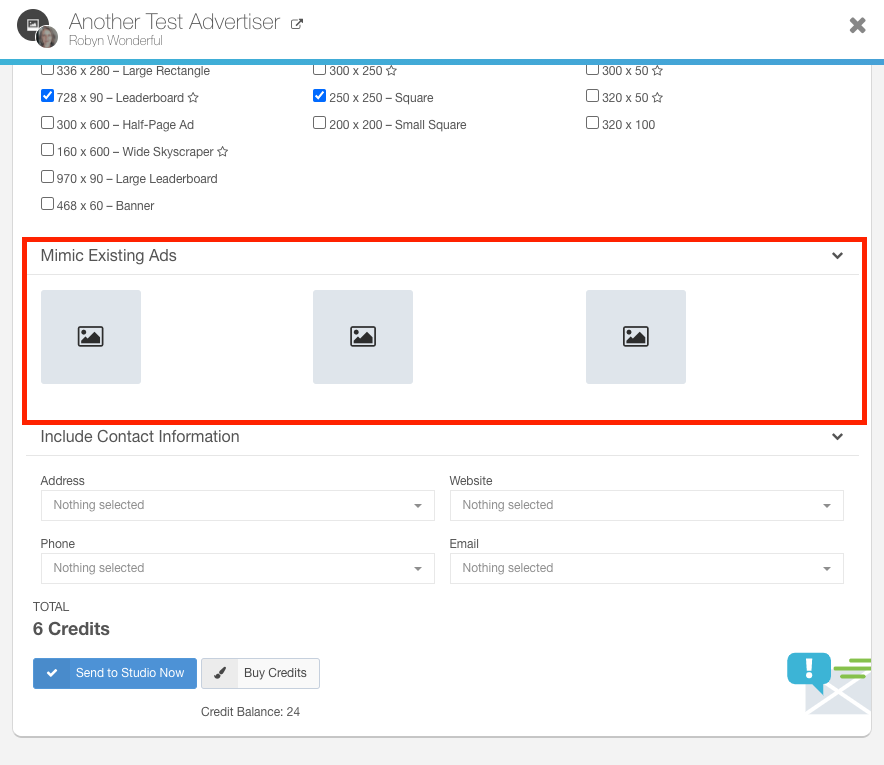
- Use the Mimic Existing Ads section to choose other ads from this account's Ad Library if you would like to include these as a reference.
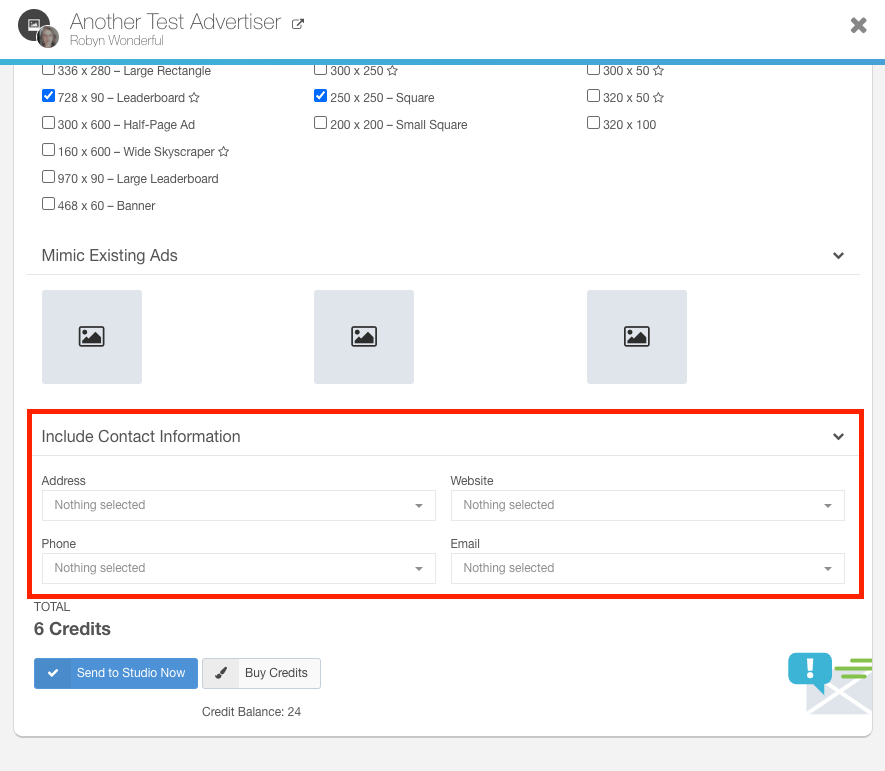
- If you would like to include contact information for the client's production team, you can do that using the Include Contact Information section. This information is configured on the Account Details page.
- Click the Send to Studio Now button to send this ad request to our design team.
What Happens Next
An Ad Proof will be sent back to Ad Sales Genius. You will receive an email notification and notice in Ad Sales Genius of any updates or messages from the designer.
Be sure to submit as much information and direction at the time of submitting the request. They should expect the next communication to be the first proof.
To view the proof
To see the proof that the designer created open the ad request associated with this line item.
- Click Delivery then Requests using the left-hand navigation menu.

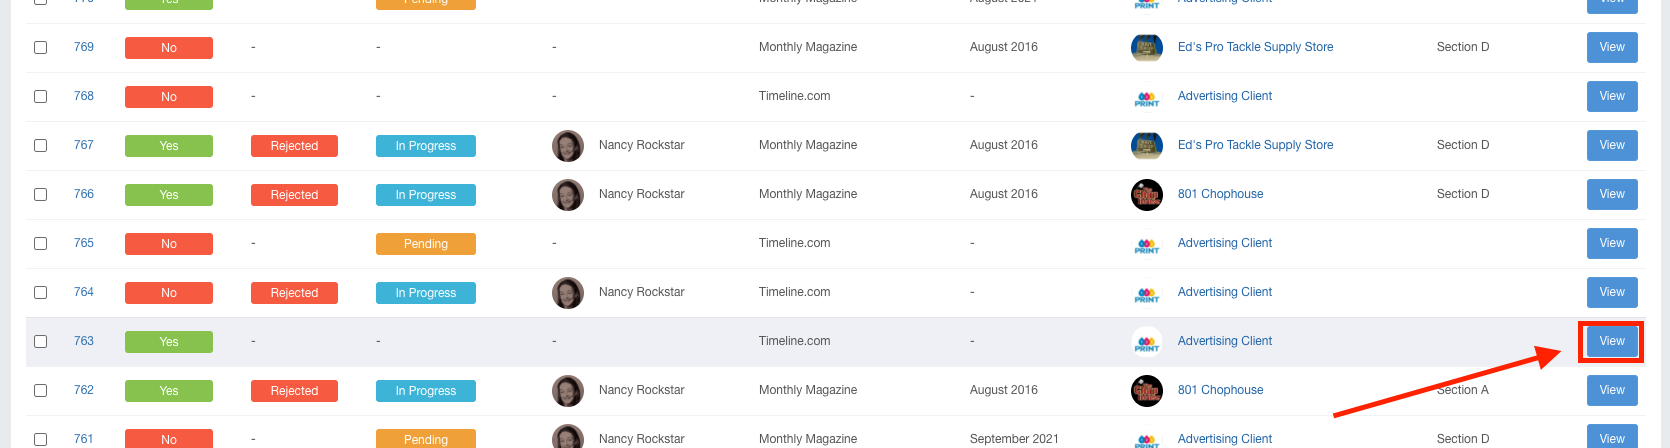
- Click the View button for the returned ad request to display the Ad Request details panel.
- Scroll to the Proofs section to see the uploaded proof.
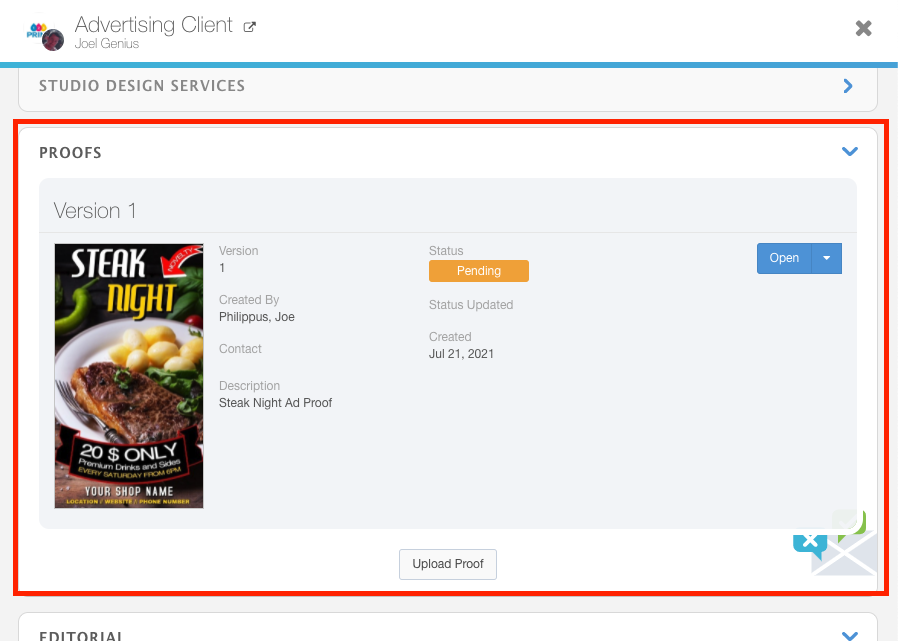
From here, you would continue the process of accepting or rejecting the proof by the usual means. If you reject the proof, the designer will be notified of the requested changes.