- Ad Sales Genius Knowledge Base
- Legacy Articles
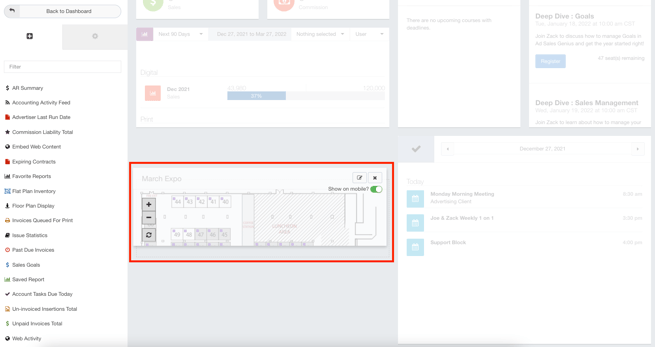
Floor Plan Display Widget
The Floor Plan Display Widget allows you to view and access floor plan information for an upcoming expo or conference.
This article will walk you through how to configure the Floor Plan Display Widget.
Add The Floor Plan Display Widget To Your Dashboard
Follow these steps to add the Floor Plan Display Widget to your dashboard:
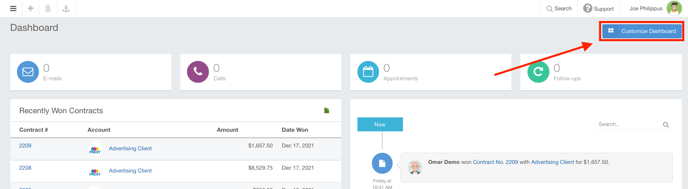
- Click the Customize Dashboard button found in the upper right-hand corner of your Dashboard.
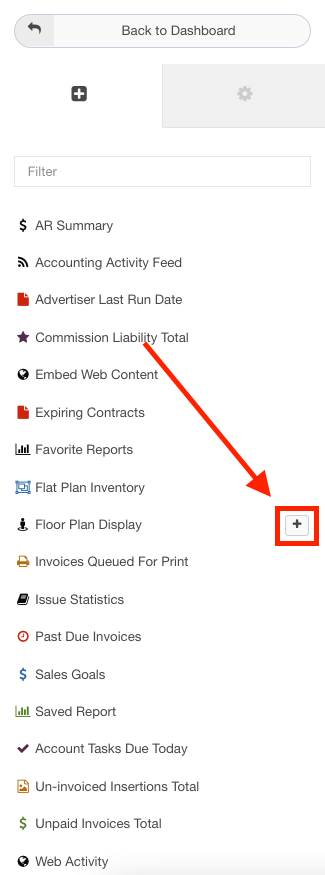
- Click on the Floor Plan Display Widget to open the Widget Settings dialog where you will begin configuration.
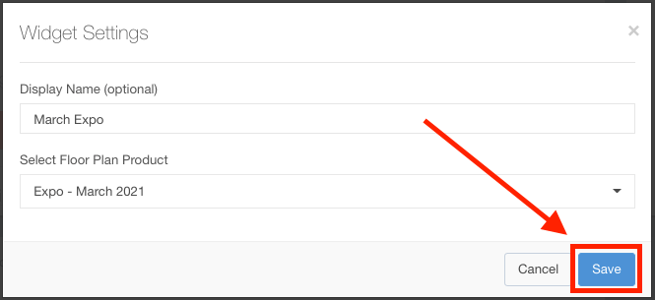
- Use the Widget Settings dialog to complete the following information:
- Display Name - This is an optional field and will be the title for this widget on your dashboard. If you leave this blank, the title will show the data you have selected to display.
- Select Floor Plan Product - use this field to choose the product that you would like to see displayed on this widget

- Click the Save button when you have configured your widget.
- You can now drag and drop the widget to the area of your choosing.
- You can also click and drag the
 button to resize the widget.
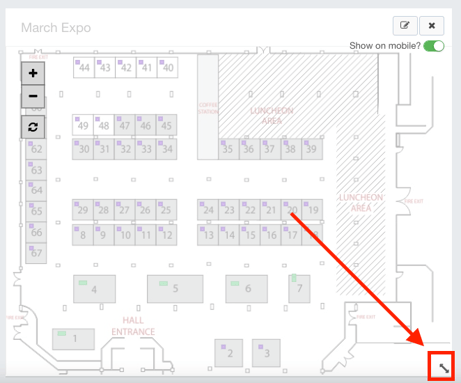
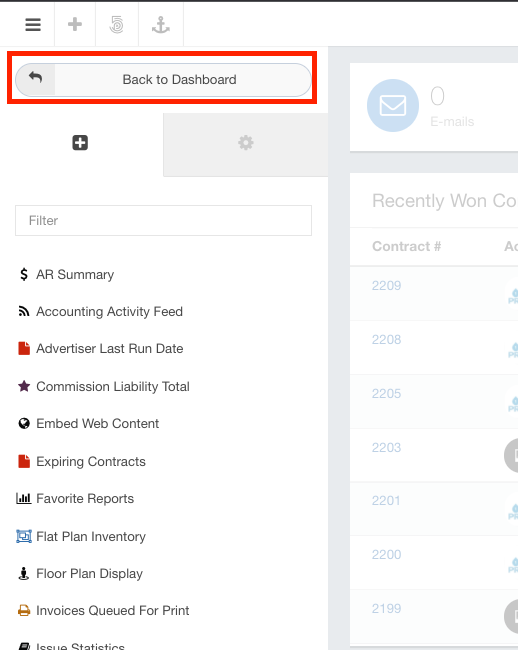
- Click the Back to Dashboard button when you are finished with your selections.