- Ad Sales Genius Knowledge Base
- Legacy Articles
Embedded Web Content Widget
Embedded Web Content Widget
The Embedded Web Content Widget allows you to view a website as a widget on your dashboard.
This article will walk you through how to configure the Embedded Web Content Widget.
Add The Embedded Web Content Widget To Your Dashboard
Follow these steps to add the Embedded Web Content Widget to your dashboard:
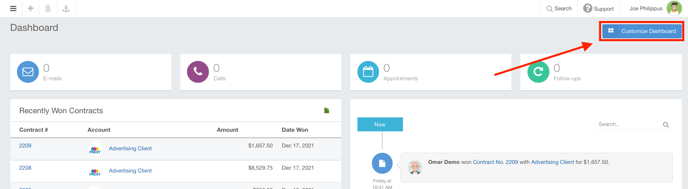
- Click the Customize Dashboard button found in the upper right-hand corner of your Dashboard.
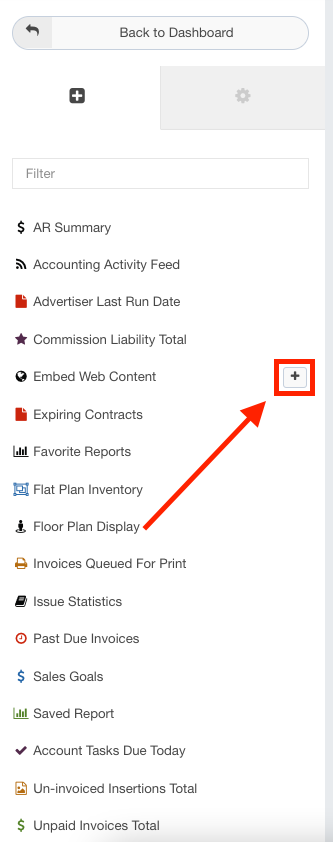
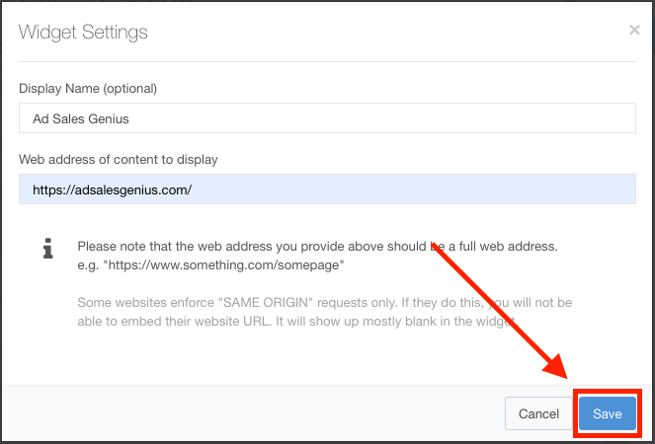
- Click on the Embedded Web Content Widget to open the Widget Settings dialog where you will begin configuration.
- Use the Widget Settings dialog to complete the following information:
- Display Name - This is an optional field and will be the title for this widget on your dashboard. If you leave this blank, the title will show what data you have selected to display.
- Web address of content to display - Here, you will enter the full URL for the website you wish to embed. Note that this address should include the 'HTTP://' or "HTTPS://" before the URL.
Note: Some websites cannot be displayed due to how they handle requests.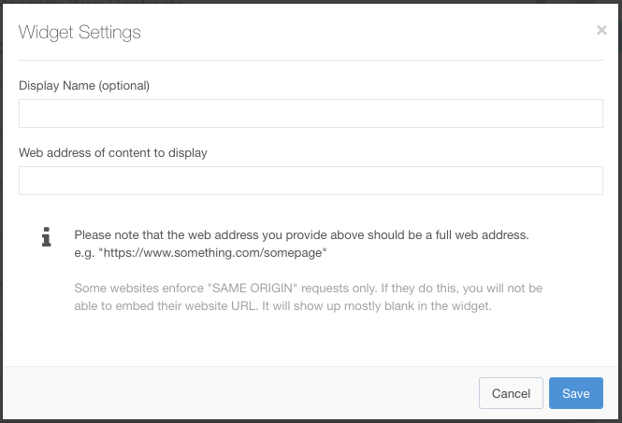
- Click the Save button when you have configured your widget.
- You can now drag and drop the widget to the area of your choosing.
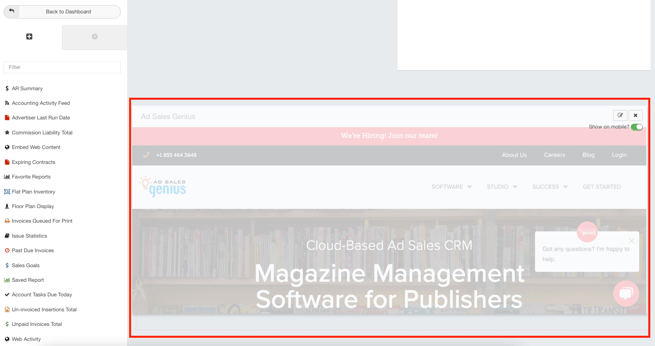
- You can also click and drag the
 button to resize the widget.
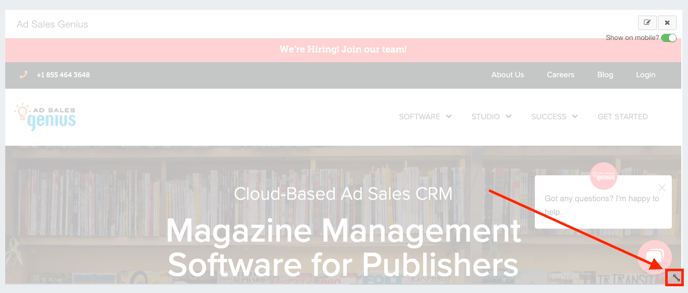
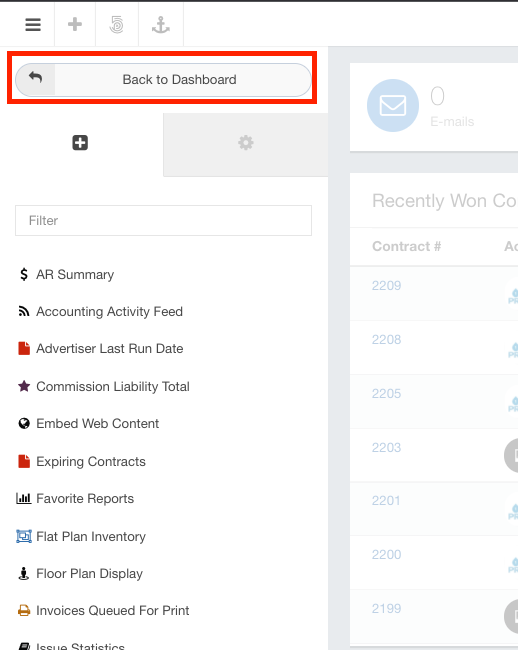
- Click the Back to Dashboard button when you are finished with your selections.