- Ad Sales Genius Knowledge Base
- Products
- Print Products
Creating Sections for Products
Using Ad Sales Genius, you have many options for how to sell your products. One of the ways to create a deeper level of organization is to add sections to your issue-based products.
This article will walk you through the steps of creating a new section.
To create a new section:
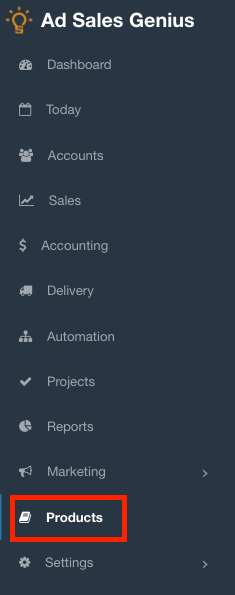
- Click Products using the left-hand navigation menu.
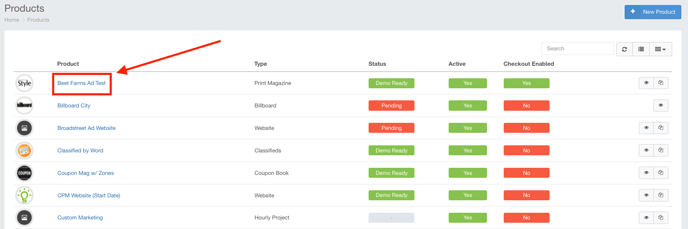
- Click on the Product for which you would like to create a new section.
- Click on the Sections tab to see any configured section for this product.
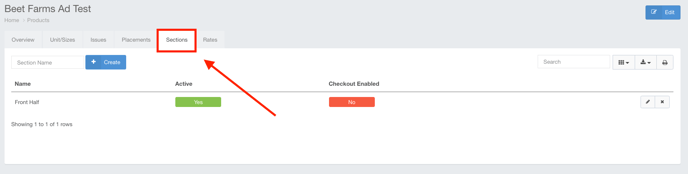
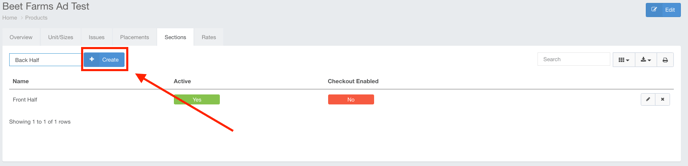
- Enter the name of the section you would like to create and click the +Create button.
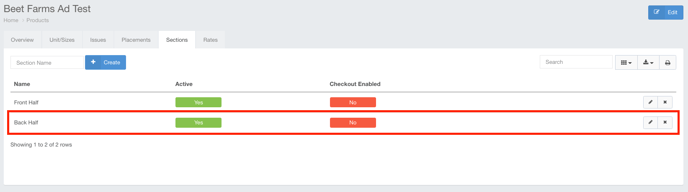
You will see that the newly created section is now displayed under the sections tab.
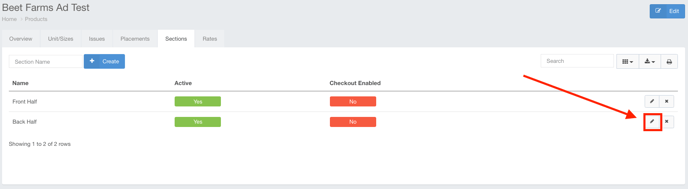
You can now edit the new section by clicking the pencil icon.
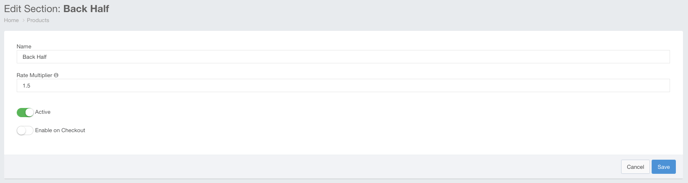
Using the edit window, you can update the following information:
- Name - Here, you can change the name of the section. Updating this field will also update all line items on contracts that are assigned to this section to the new name.
- Rate Multiplier - This will multiply the selected ad rate by this number when creating a proposal.
- Active - Toggle this switch on to make it active or off to make it inactive in the system. Inactive sections cannot be chosen when building a proposal.
- Checkout - Toggle this switch on if you would like the section to be selectable when using Checkout.