Content in Ad Sales Genius allows you to create a word processing document and attach it to certain areas in the software. You can add them to your flat plan, insertions, ad requests, and more.
Access Content
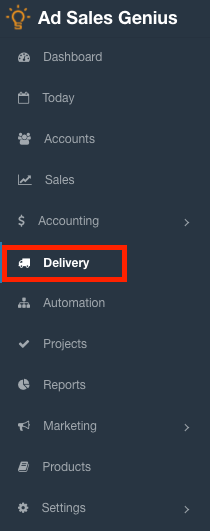
- Click Delivery using the left-hand navigation menu to display the Delivery window.
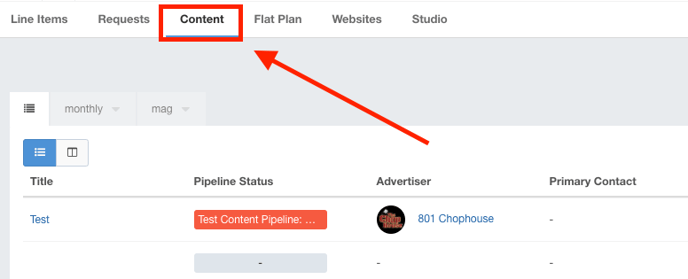
- Click the Content tab to see your content.
- Use the Content Window to create, view, and edit items.
Content Window Overview
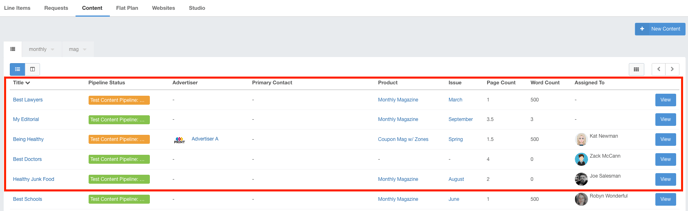
The Content window is where you can view your existing editorials, as well as create new pieces of content.
You can see the name of the content, which account it is assigned to, any statuses that have been created, as well as the primary contact and product this content is assigned to.
You can also see specific details of each content such as page count, word count, and the status of the Document.
Like with many places in Ad Sales Genius, you can click the  button to hide and show columns.
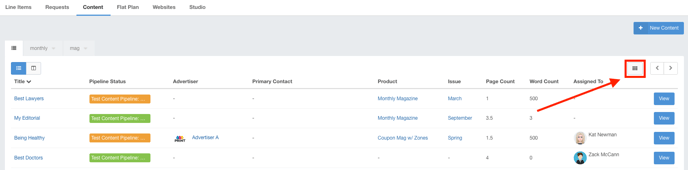
Click the View button at the end of each content to display the details view where you can view, edit, or delete this item.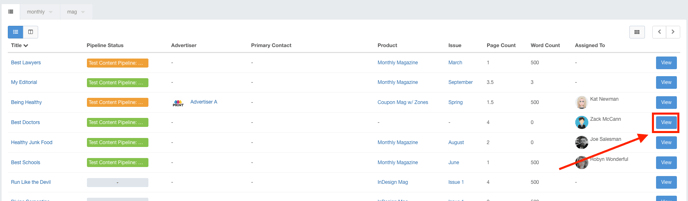
Create New Content
Click the + Content button to display the New Content window.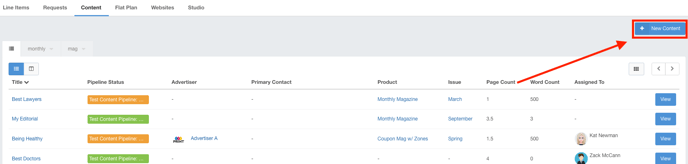
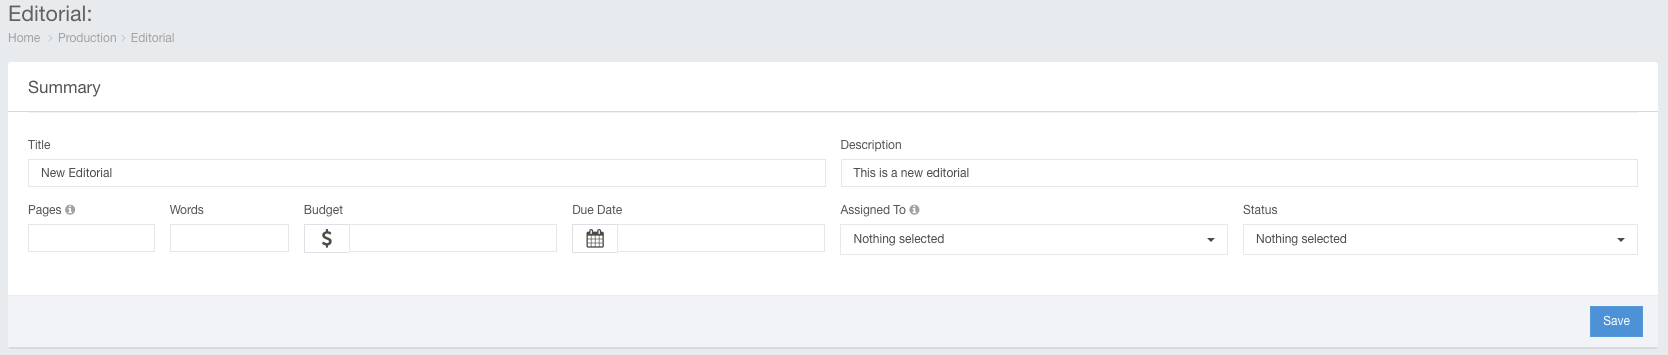
The top portion of the Editorial page is where you set up general editorial settings.
- Title - This is the title of the editorial.
- Description - this is a short description of the editorial.
- Pages - If you're going to be using this editorial in a flat plan, you can say how many pages you want it to be.
- Words - You can say how many words the editorial is.
- Budget - If you have a certain budget for this editorial, you can input that here.
- Due Date - Input the date that the editorial needs to be completed by.
- Assigned To - if you are assigning this editorial to an Ad Sales Genius user, input that here.
- Status - You can assign this editorial a specific status.
Click the Save button to be able to input the rest of the editorial information.
Click the Add Article Draft button to be brought to a word processor.
Here you can use standard word processing tools to write and format your editorial. When you are done, you can click the Return button to leave the editorial in a draft status. You can also approve, reject, or create a new version for archiving purposes.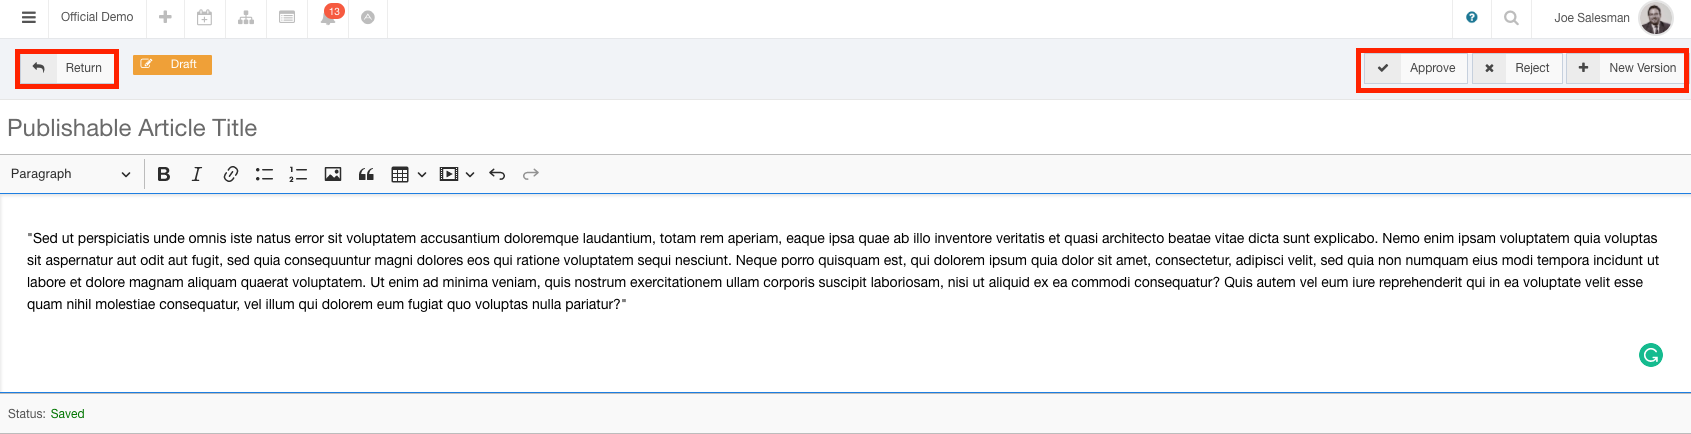
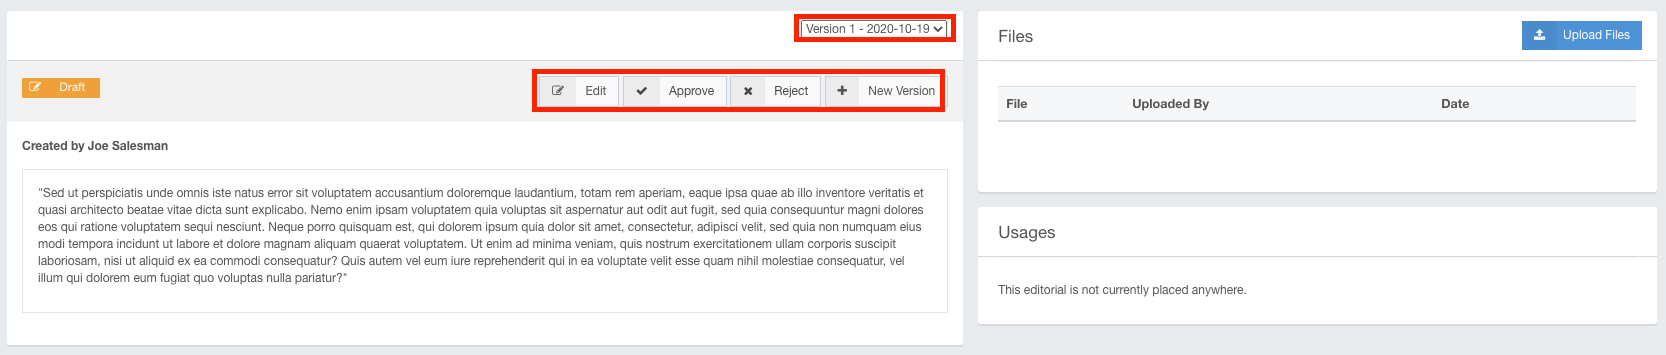
After the editorial has been written, you can still edit, approve, reject, or create a new version. You can also use the drop-down menu to view previous versions of this editorial.
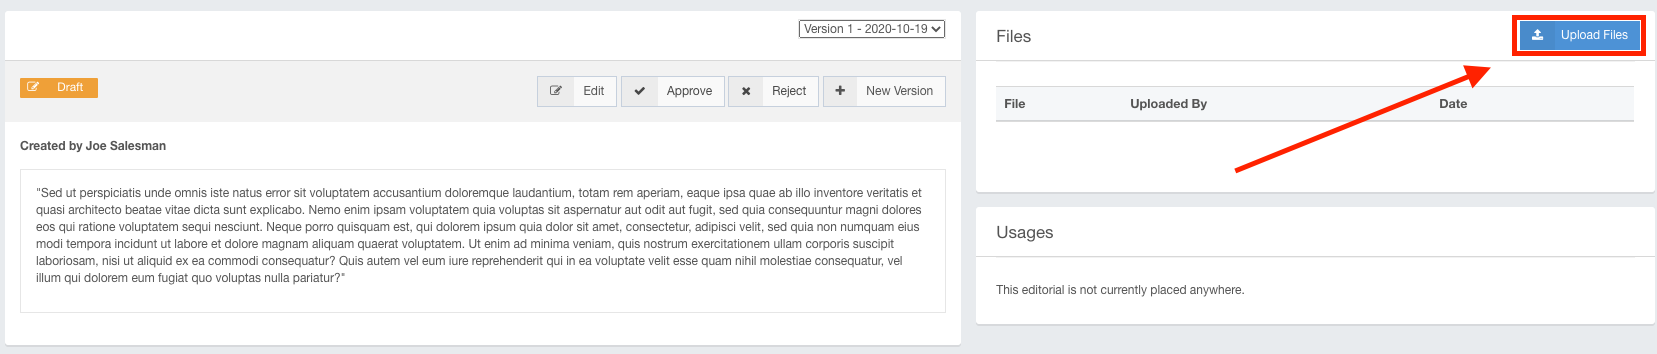
Click the Upload Files button to upload an existing document to this editorial.
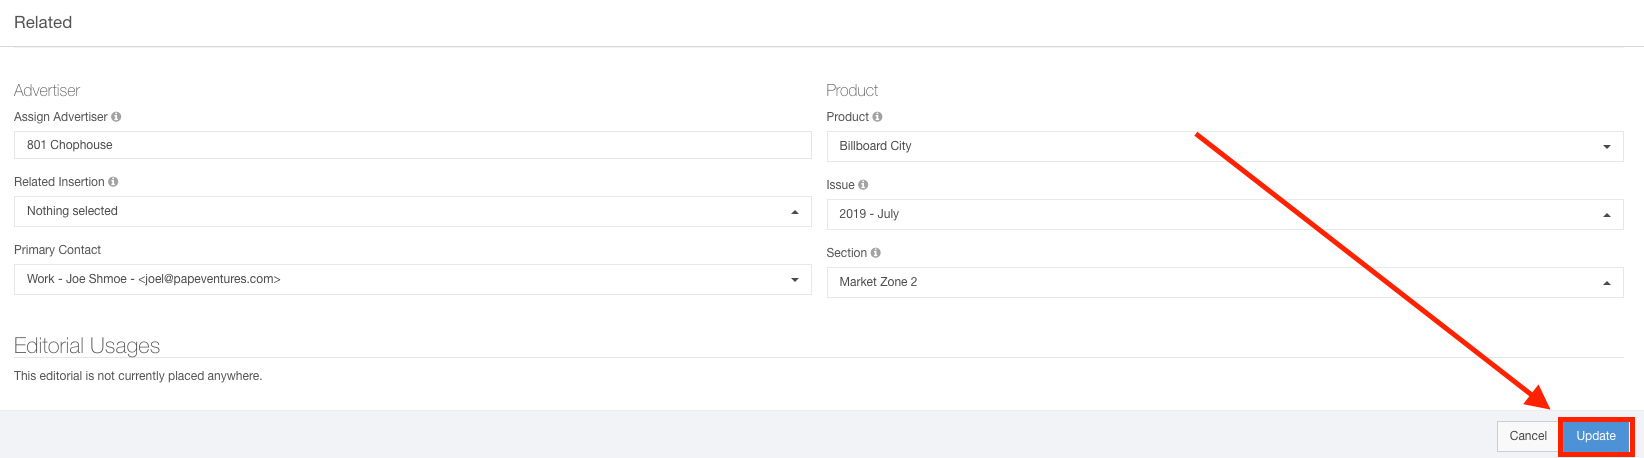
Use the Related section to complete the following information:
- Assign Account - This is the related account if this is an advertorial or editorial connected to a specific account.
- Related Insertion - Use this if you are tracking advertorials.
- Primary Contact - This is the contact associated with the editorial.
- Product - Use this to track which product this editorial is being written for.
- Issue - Use this to choose which issue this editorial will appear in. This will also add the editorial to the related issue's flat plan.
- Section - Use this if the article will appear in a specific section.
Click the Update button when you are finished with your selection.