
Creating accounts in Ad Sales Genius is instrumental to the growth of your business. This article will walk you through the account creation process.
To Create an Account
Complete these steps to create an account:
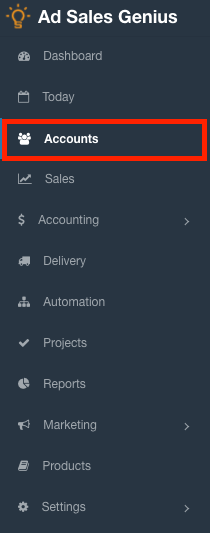
- Click Accounts using the left-hand navigation menu.
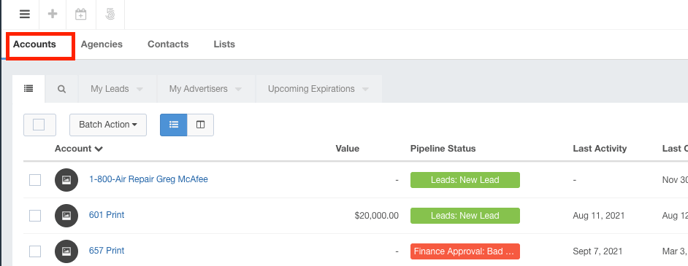
- Click the Accounts tab to see a list of all of your accounts in the system.
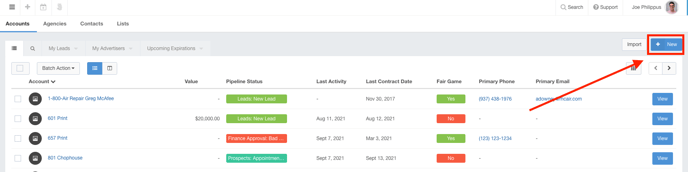
- Click the +New button to enter the new account details.
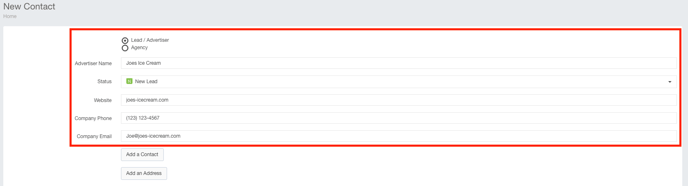
- Use the New Contact page to complete the following information:
Note: Your options may differ from what is shown in the screenshot, as your system likely has different custom fields.
- Lead/Advertiser or Agency radio button - Use this to choose whether the account you are adding is a new account or a new agency.
- Advertiser Name - This is the name of the company that you are adding.
- Status - If you have custom statuses configured, you can enter them here.
- Website - Enter the URL for the company here.
- Company Phone - This is the main number for the company. You will enter a specific contact's phone number in a later step.
- Company Email - This is the primary email address that you will use for general correspondence.
- Click the Add a Contact button to begin adding the primary contact for this account.
Note: You will be able to add additional contacts to this record after the account is created.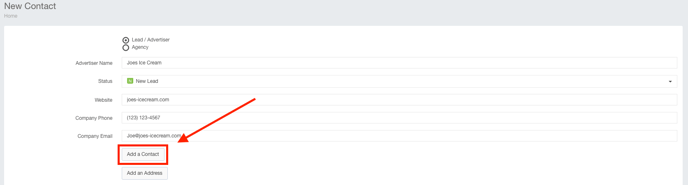
- First Name - This is the first name of the primary contact
- Last Name - This is the last name of the primary contact
- Title - This is the primary contact's title
- Phone Number - This is the primary contact's phone number. This number may be the same as the account's phone number, or it may be their personal number.
- Email - This is the primary contact's email address.
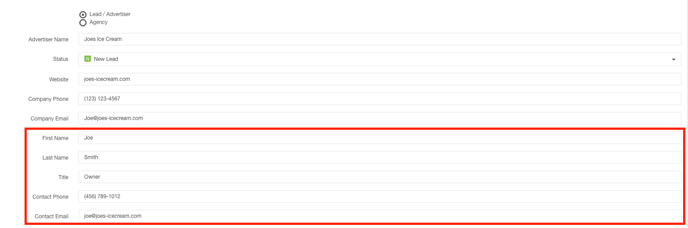
- Click the Add an Address button to add the primary address for this account.
Note: You will be able to enter additional addresses once the account is created if you need to.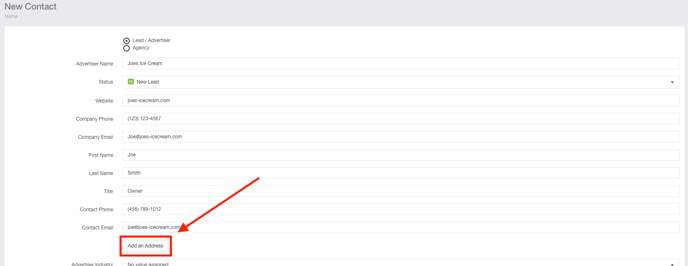
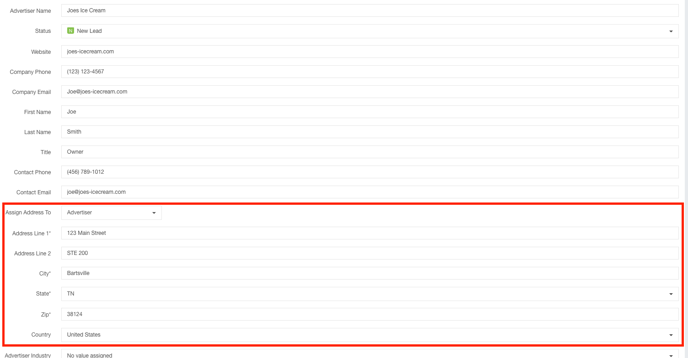
- Assign Address To - Use this drop-down menu to assign this address to either the company or the primary contact
- Address Line 1 - Use this to enter the street address.
- Address Line 2 - If the customer has a PO Box, Apartment number, or Suite, you can add that here.
- City - The city for this address.
- State - The state for this address.
- Zip - The zip code for this address.
- Country - The country where this address is located.
- Complete any additional custom fields.
Note: Your custom fields may differ from what is shown in the screenshot. - Click the Create button when you are satisfied with your selections.
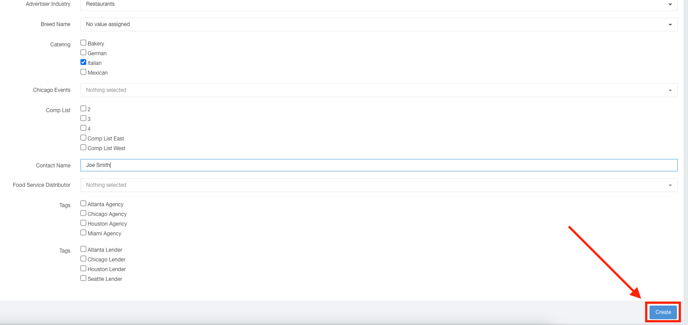
- Your account has now been created!
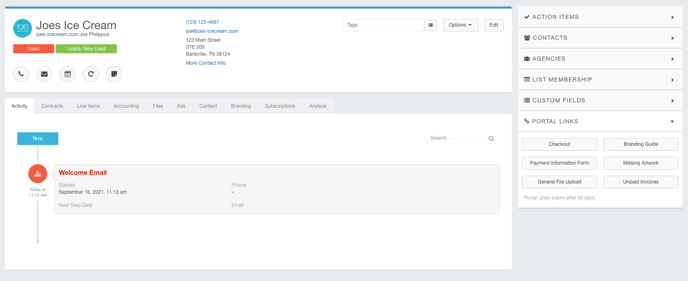
Now that the account has been created, you have several options including adding more contacts, adding this account to lists, creating proposals, and more. Check out this article for a full breakdown of what you can do on this page.