Ad Sales Genius gives you several options when it comes to creating a proposal. You can create one by using the Contract tab from the account details page or by adding one from the Sales page.
To Create a Proposal
- Either Use the +New menu or the Keyboard Shortcut or the steps below

- Navigate to Sales by using the left-hand navigation menu.

- Click the Contracts tab to see your contracts and proposals.

- Click the +Contract button to display the New Proposal dialog.

- Use this dialog to complete the following information:
- Account Name - This field will auto-fill as you begin typing the name of your account.
- Deal Stage - This is the status of this proposal. See the article about the Deals Pipeline for more information on Deals Statuses.
- Terms - Select the appropriate Terms & Conditions for the contract.
- Template - Use this pull down menu to select the appropriate Contract template.
- Turn on Copy Last Contract's Details to simply duplicate the contact information from the last contract produced.
- Click the Create button when you are finished with your selections.

- Use the Add Products or Packages to Get Started dialog to choose the product(s) that you would like to add to this proposal. You can choose as many as you would like. If you do not see your product listed, you can click the Add Product button to be taken to the Products page where you can configure a new product.

- Use the Top portion to choose the contact email and address for this proposal.

- Click the Show More button to choose the following info:
- Billing Email - The billing email address for this account.
- Billing Address - The billing address for this account.
- Production Email - This is the production contact.
- SMS Contact - If you have SMS capabilities configured for your system, you can include that number here.
- Terms - These are the contract terms that you would like to have included in your contract.
- Template - This is the template you would like to use for this contract.
- Status - if you have contract statuses configured, you can choose one here.
The Line Items Section
Use the line items view to view and edit any line items in this contract. In this view, you can see the included products, quantities sold, the ad rate, and financial information for the line items included in this contract.

Adding Products
Click the +Product button to display the Add Products or Packages dialog where you can add a new product to this contract.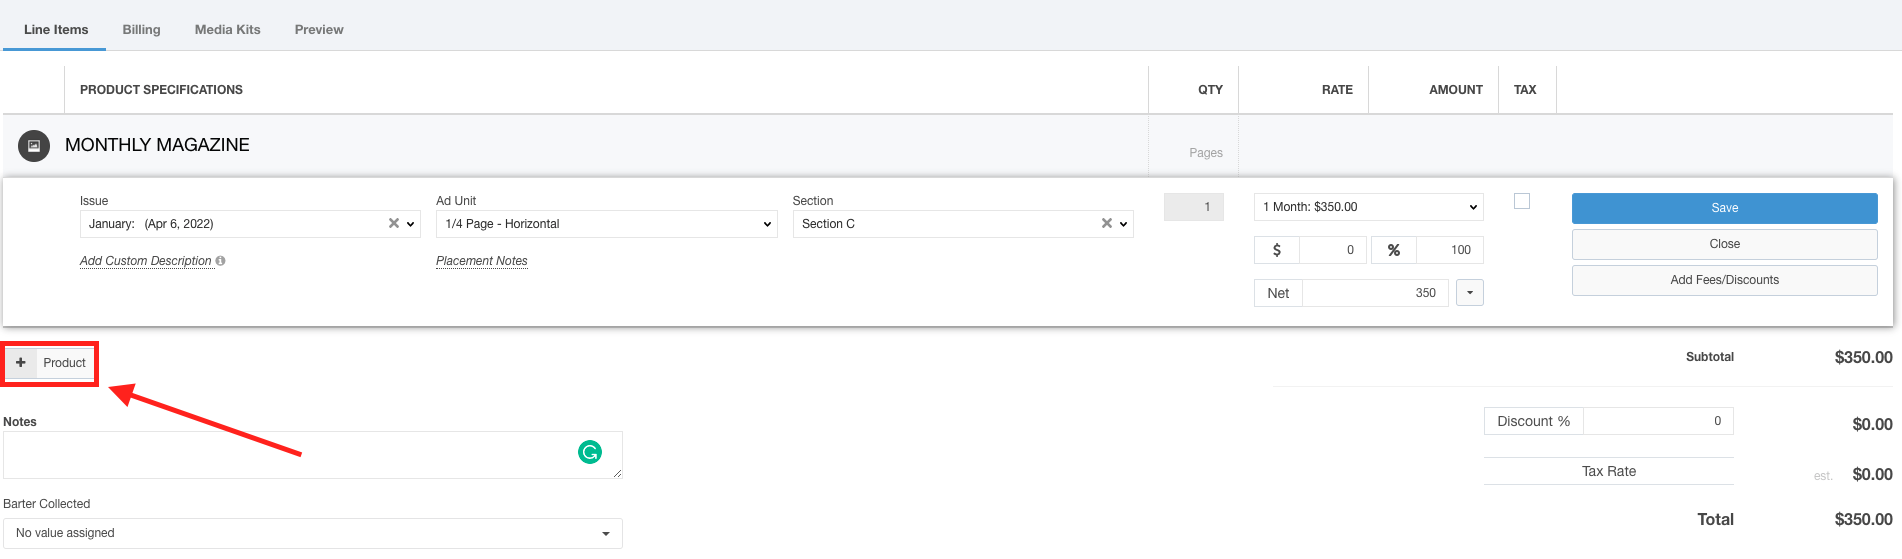
Upon clicking the +Product button, you will see the Add Products or Packages dialog. Here, you can add a product to this contract.

Use the navigation bar to choose between Products, Packages and Ad Servers if you are integrated with Broadstreet or Google Ad Manager.
Use the Search field to quickly search for your product.

Click the Add Product button to be brought to the New Product window where you can configure your products.

Click on a Product Line Item to display and edit the information for that line item.
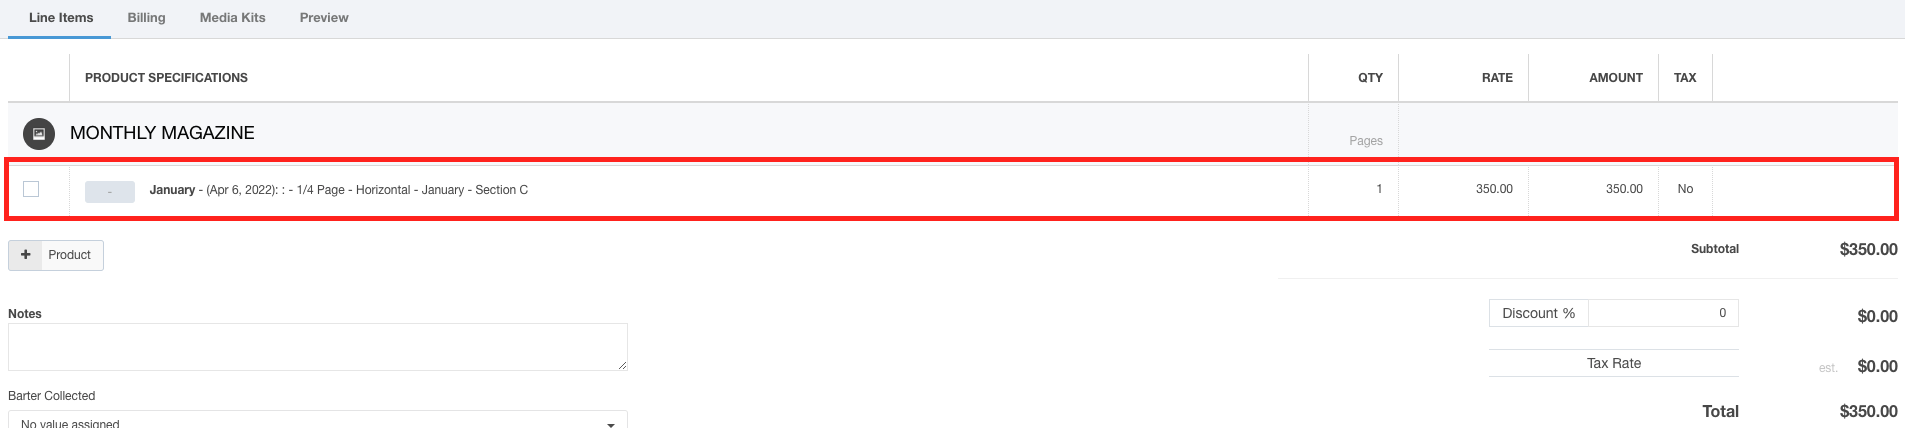
The following options are available upon clicking the line item:
- Issue - Use the drop-down menu to choose the issue included for this product in this contract.
- Unit/Size - Formerly Ad Size, use this drop-down menu to choose the Ad Unit for this product.
- Section/Zone - Use this drop-down to choose which section you are selling for, if applicable.
- Pages - This is the page count for this line item.
- Rate - Use the rate drop-down menu to choose the ad rate for this line item. You can also use the $ and % fields to discount the cost of this line item.
- Amount - The final Net cost will be in the Net field.
- Taxes - Select the Tax checkbox, if this item is taxable.
- Note: Taxes are not handled on payment plans. If you are not using QuickBooks Online with the new contract edit the payment plan will be updated to include calculated taxes.
You can add custom descriptions and add placement notes by clicking on their related links.

Click the  button on the line item to display the Ad Library where you can assign an ad to this line item.
Click the Add Fee/Discounts button to add a discount or fee as a line item to this contract.

Click the Save button to save your changes or click the Close button to close the edit menu without saving.
Hover your mouse over the product name to display options for managing the product and adding line items for this product.
Click the Manage Product button to display the product properties. Here, you can quickly add and edit your product, if needed.

The bottom portion of the line items section allows you to input notes, choose if barter is collected on this contract, add contract level discounts, and view the financials.

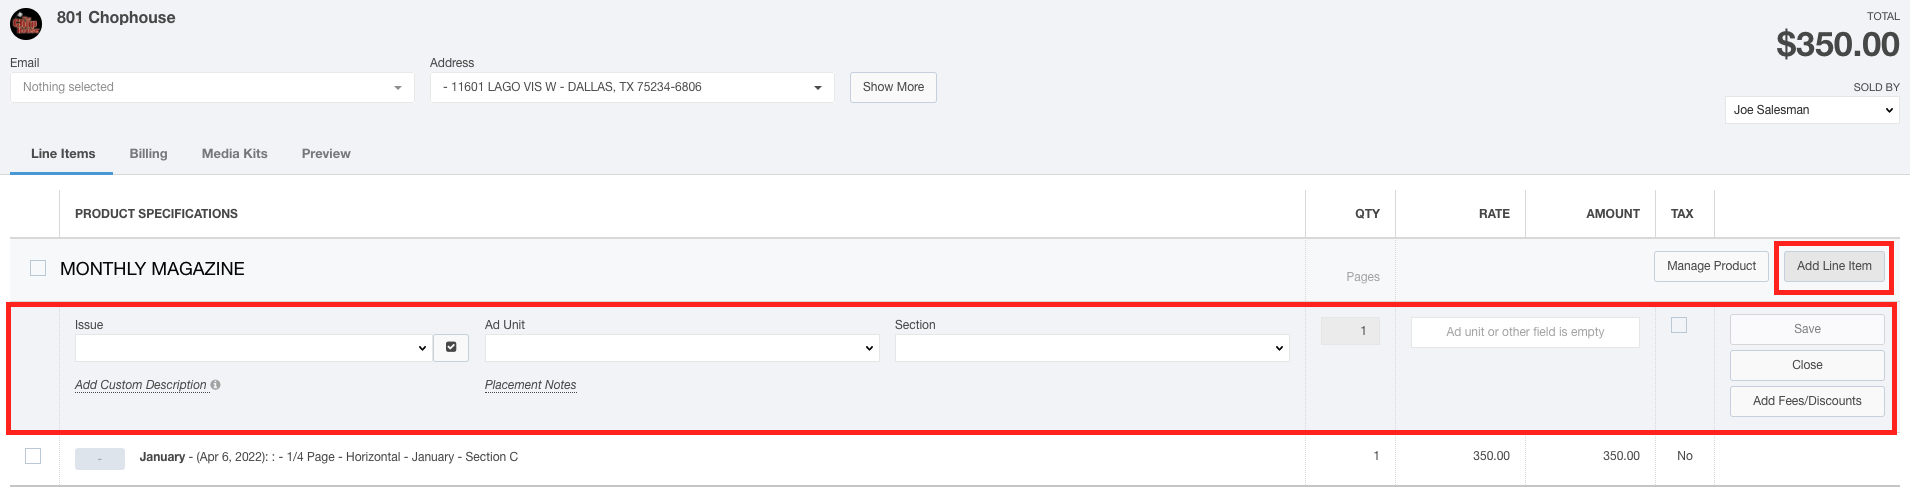
Adding Line Items
Click the Add Line Item button to add another line item for this product. Upon clicking this button, simply fill out the empty fields as described above.
Hover your mouse over the line item to display line-item specific options.
- Click the
 button to set up Auto-Renewals
 - Click the
 button to create an ad request or send to Studio Services
 - Click the
 button to display and create any custom fields
 - Click the
 button to remove this line item
DEMO VIDEO: HOW TO CREATE A CONTRACT
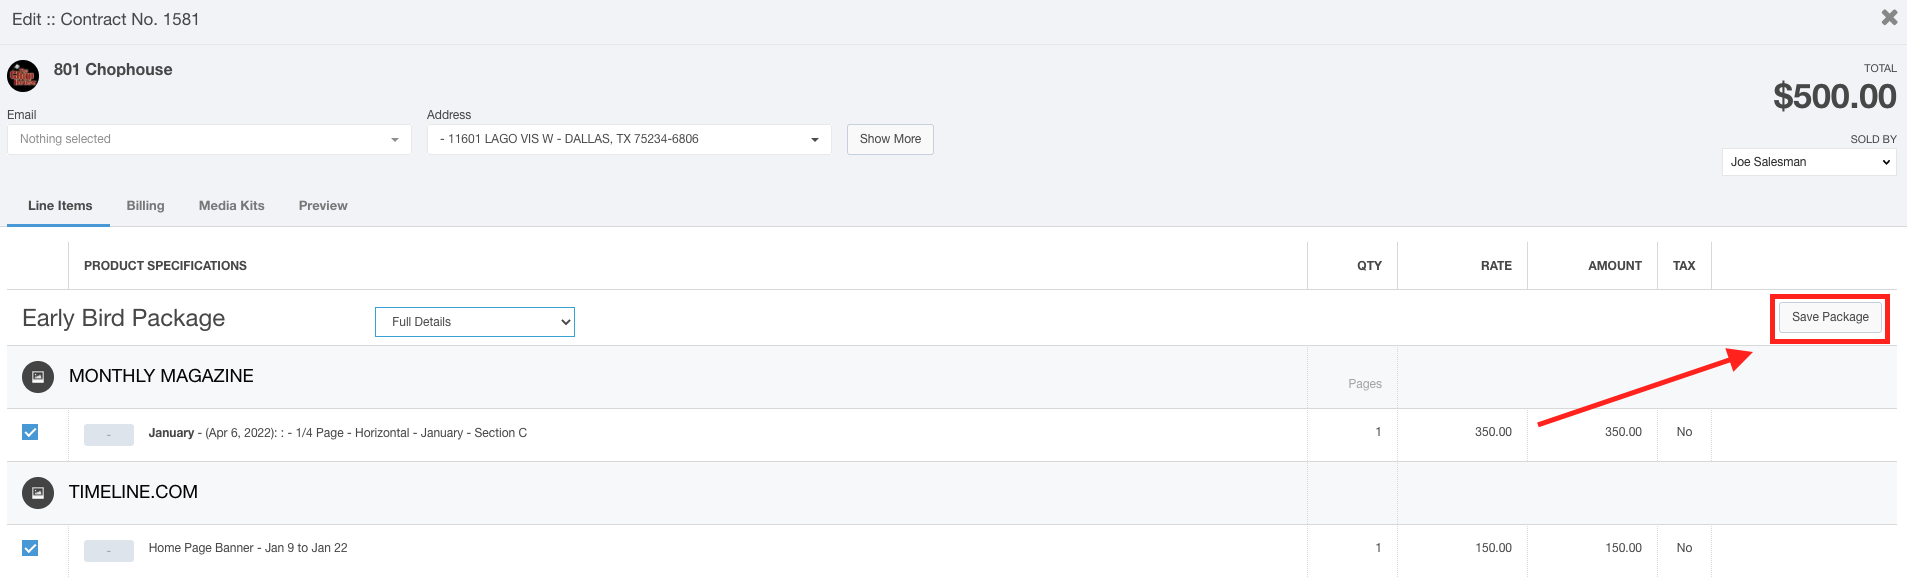
Creating Packages
You can create packages directly from the Contract Edit screen. Follow these steps to create a package:
- Click the checkboxes next to the line items you would like to be added to your package.
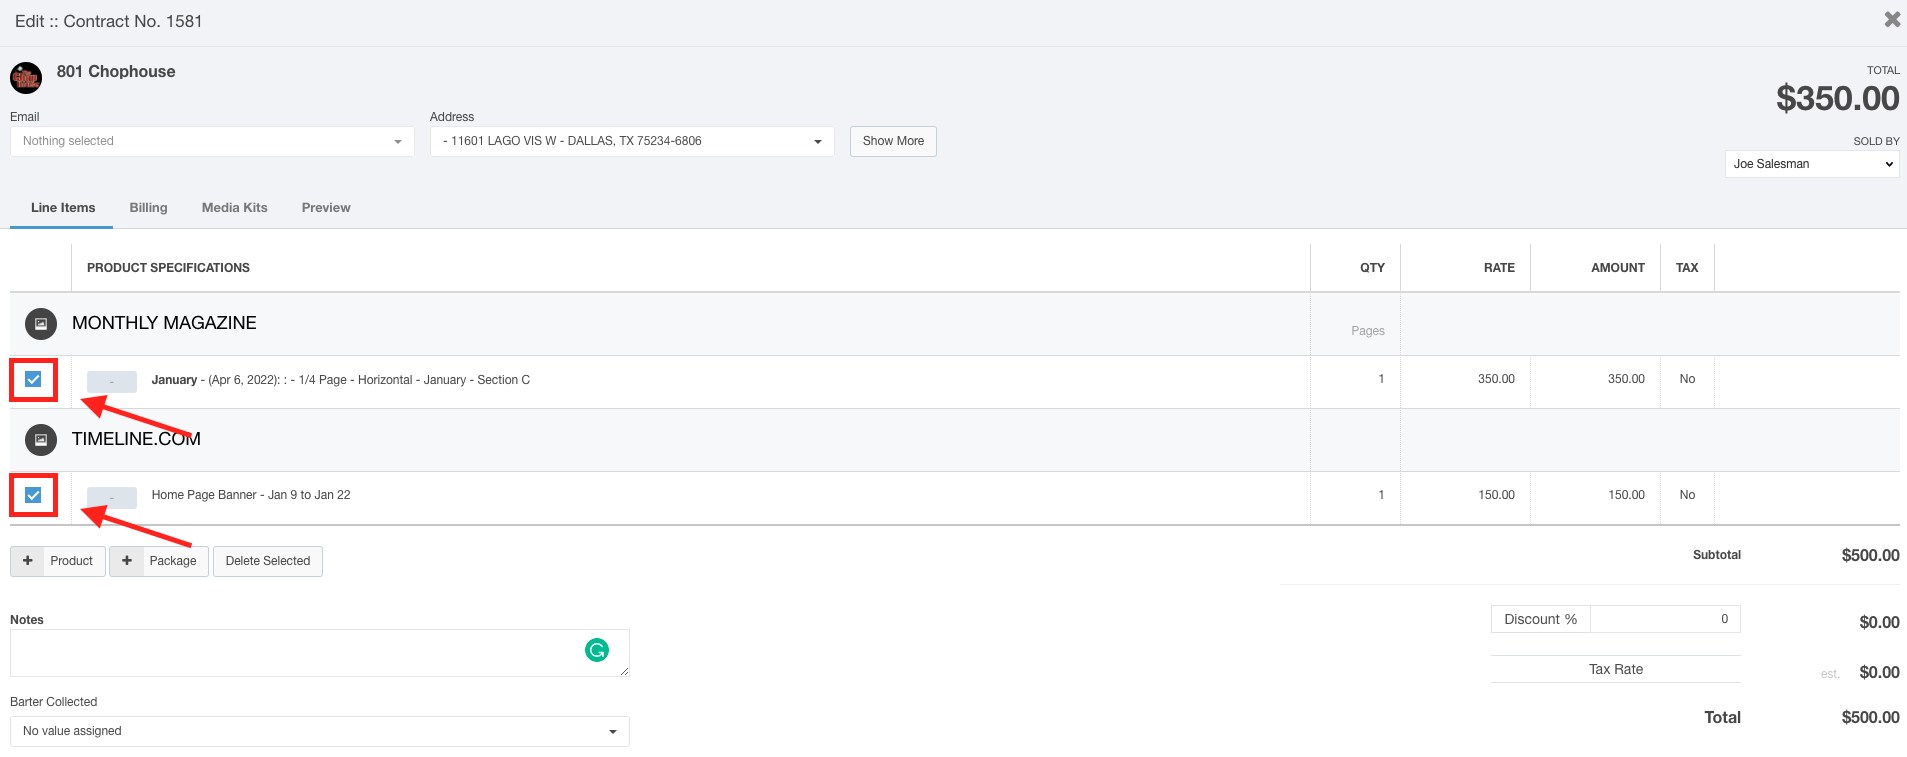
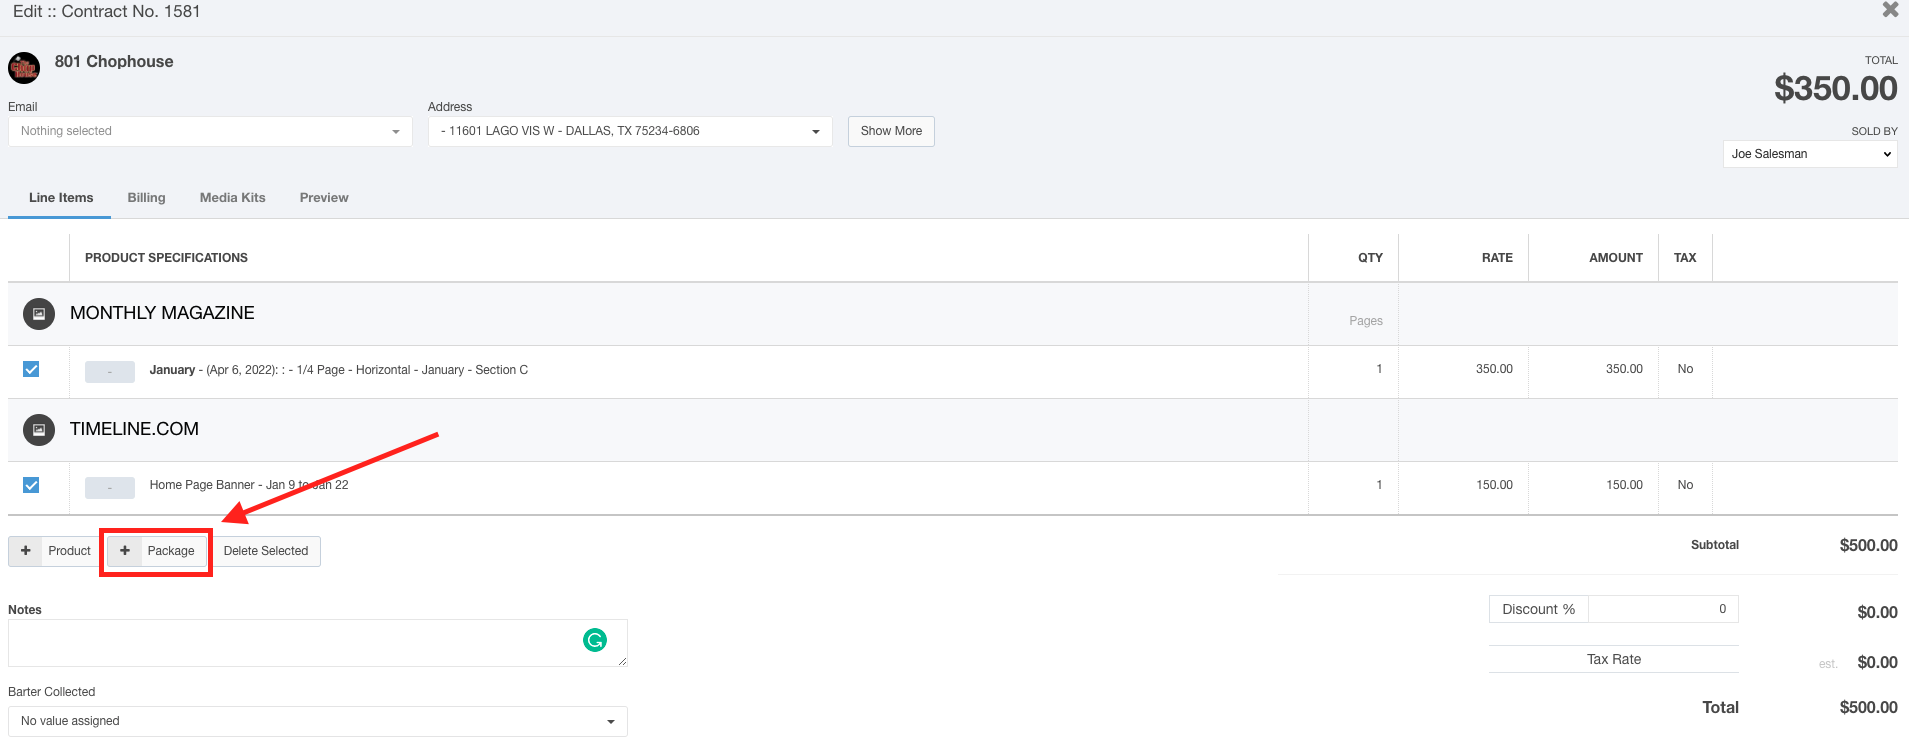
- Click the +Package button to display the Add Package dialog.
- Use the text box to name your package.
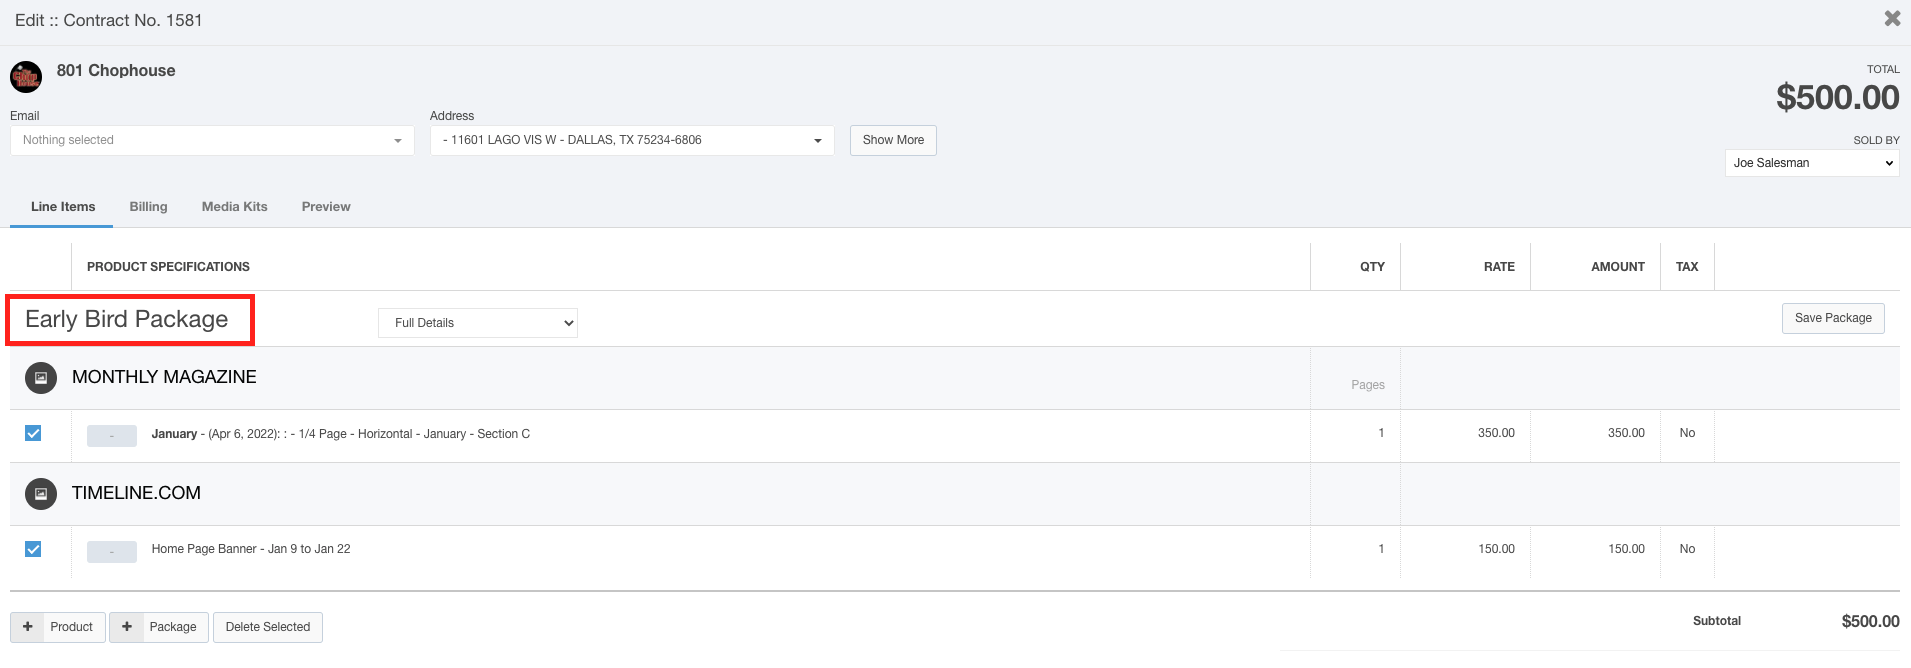
- Use the Details drop-down menu to choose what information you would like to display on your contract.
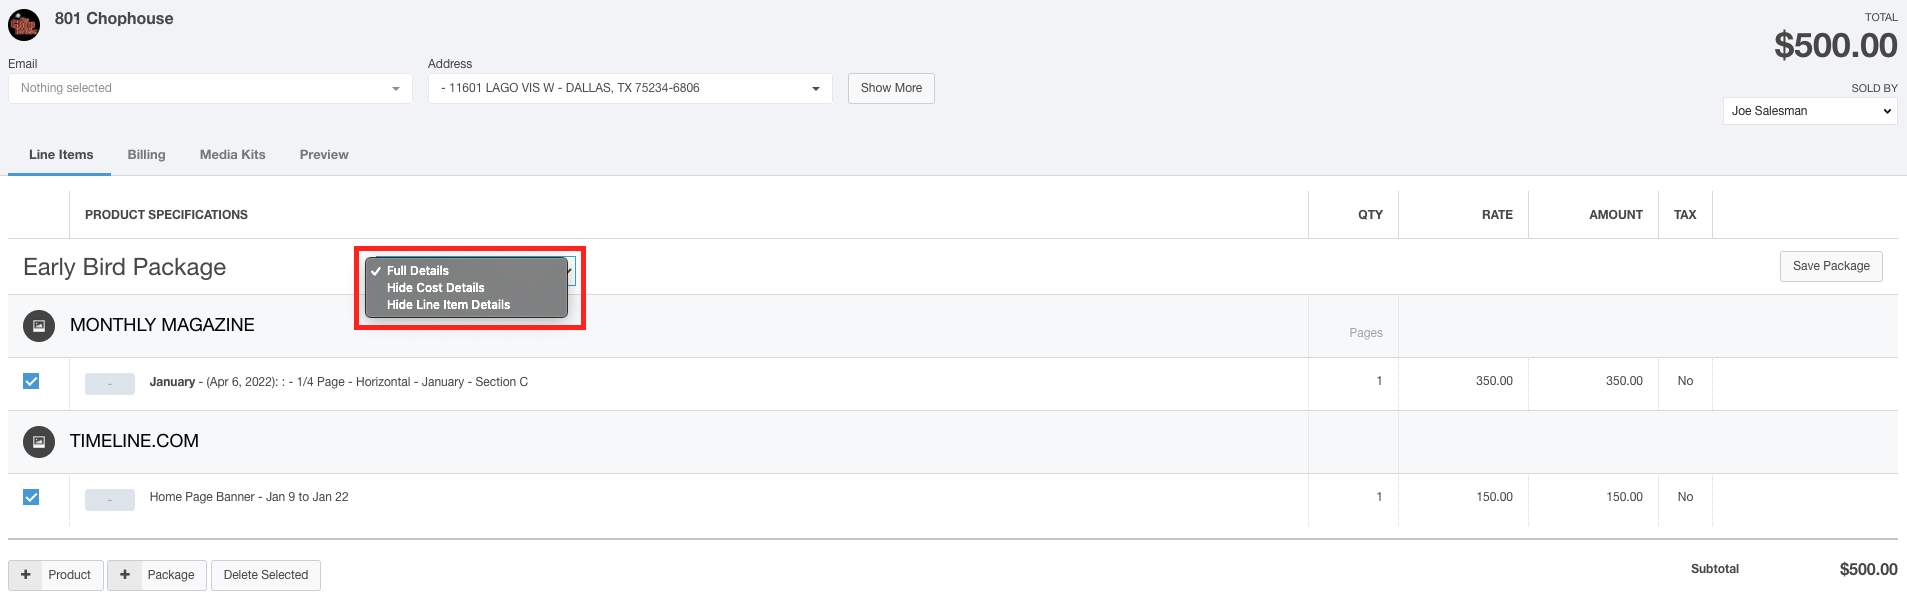
- Click the Save Package button when you have completed your selections.
The Billing Section
Click the Billing link on the navigation bar of the Contract Edit window to view and edit the billing information for this contract.
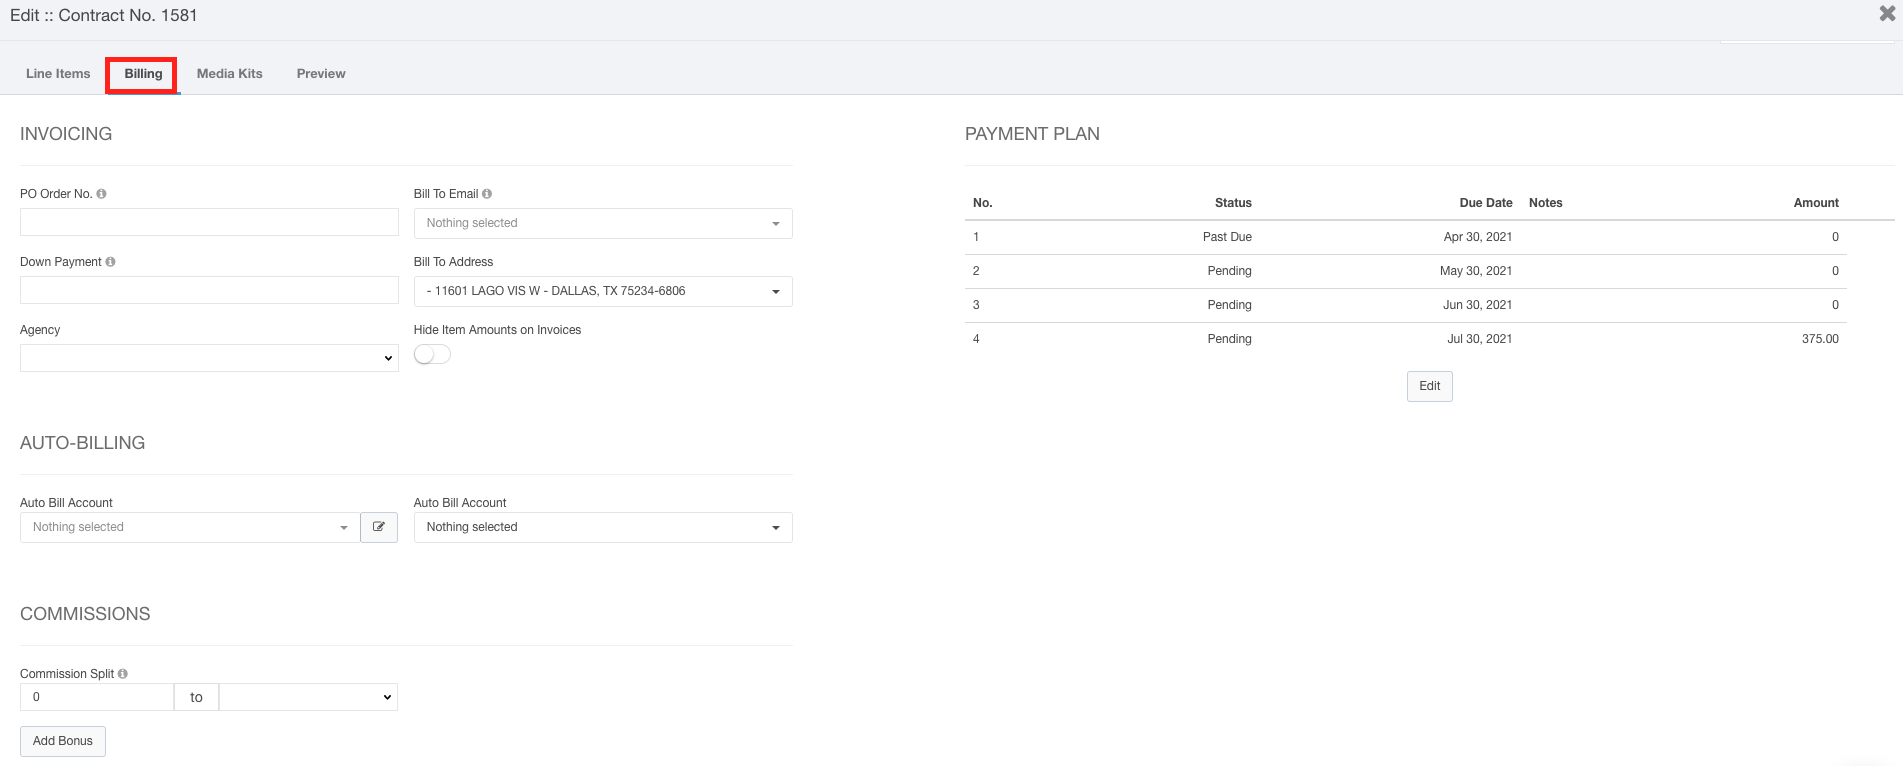
Invoicing
The invoicing section allows you to configure a PO number, choose a down payment, select which agency this contract is tied to, choose the Bill To address and email, and choose whether or not you want the line item amounts to display on the invoice.
Payment Plans
Use the Payment Plan section to view and edit the payment plan for this invoice. Click the Edit button to choose the payment dates and distribution of payment.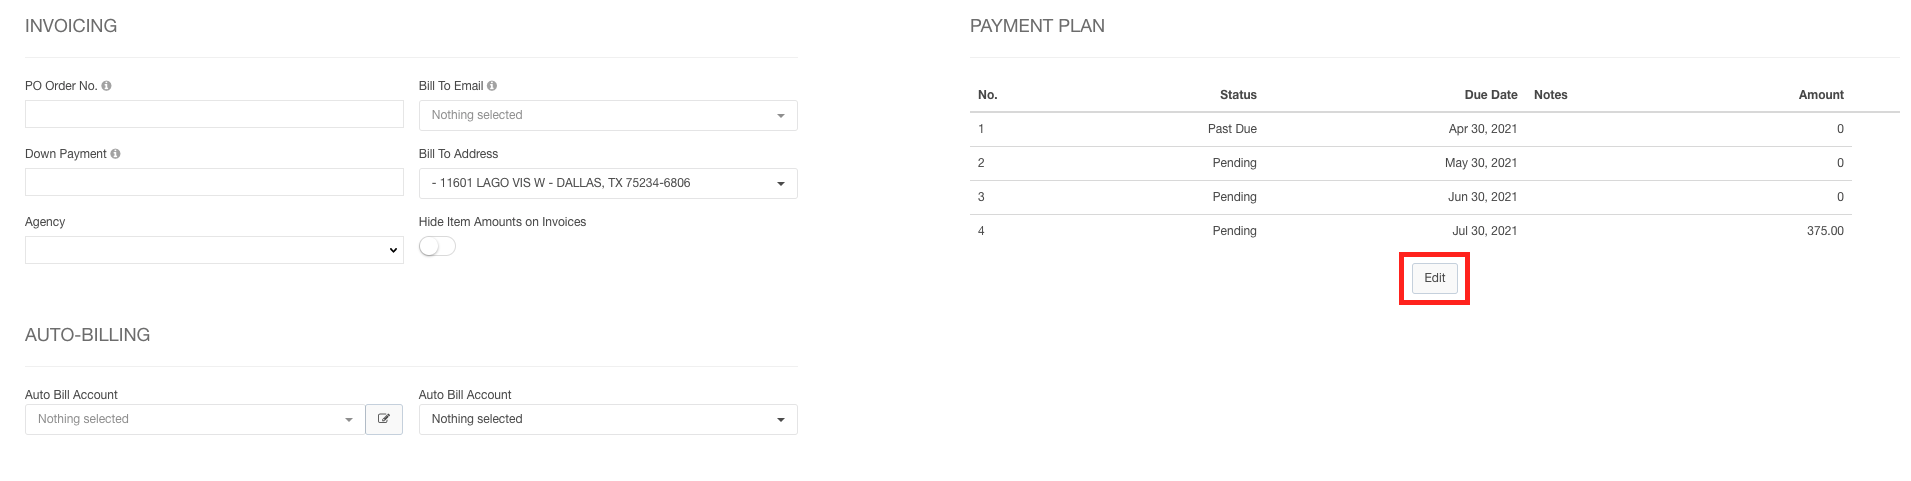
Upon clicking the Edit button, you will see that you can choose the dates you want the payments to be received, add notes for each payment, and choose the amount required for each payment.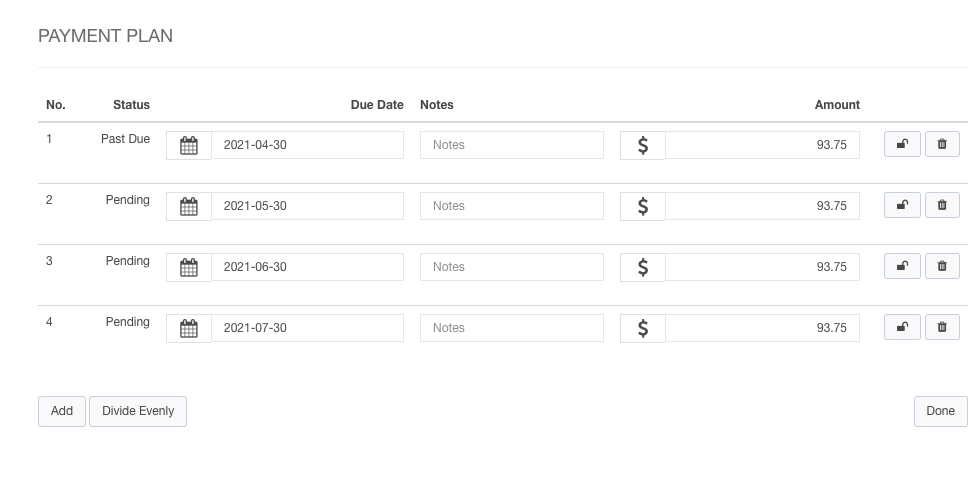
Click the  button to lock or unlock this row. This is especially helpful if you require the initial payment to be a certain amount.
Click the  button to remove this row.
Click the  button to add a payment.
Click the  button to divide the unlocked payments equally.
Click Done when you are finished configuring your payment plan.
Note: Taxes are not handled on payment plans. If you are not using QuickBooks Online with the new contract edit the payment plan will be updated to include calculated taxes.
Auto-Billing
Use the Auto-Billing section to configure your automatic billing schedule.
Use the Payment Account drop-down menu to choose which payment account to charge.
Click the  button to edit the payment account or add a new one.
Use the Auto Bill Account drop-down menu to choose when you are going to charge or invoice this contract.
Commissions
The Commissions section is where you can configure the Commission Split and Bonuses for this contract.
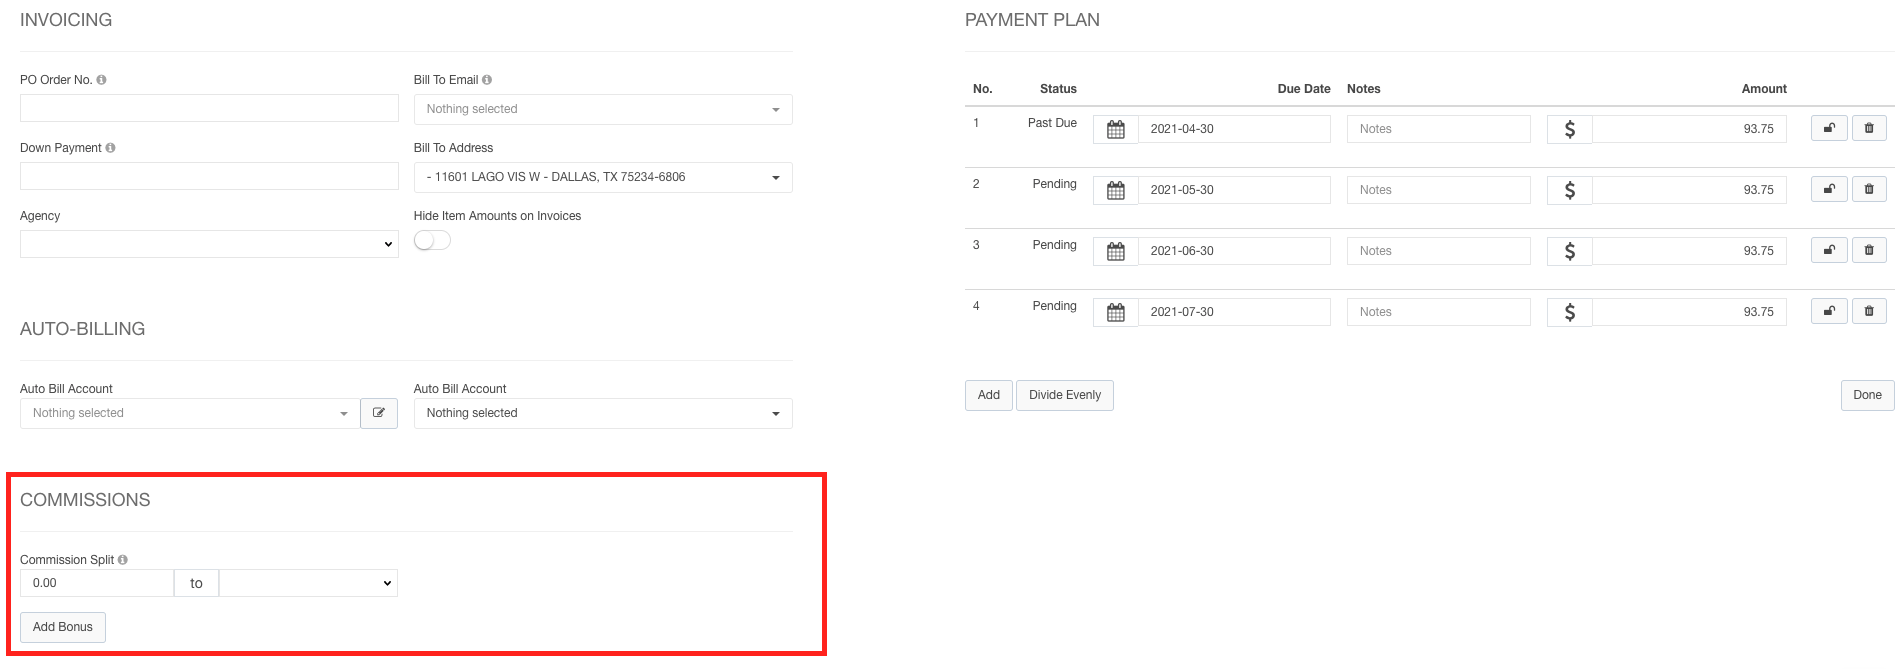
The Commission split section allows you to choose the percentage of total revenue to use to calculate the other user's commission tables and choose which user the commission will be split with.
Click the Add Bonus button to display the Commission Bonus drop-down menu where you can choose to add a commission bonus to this contract.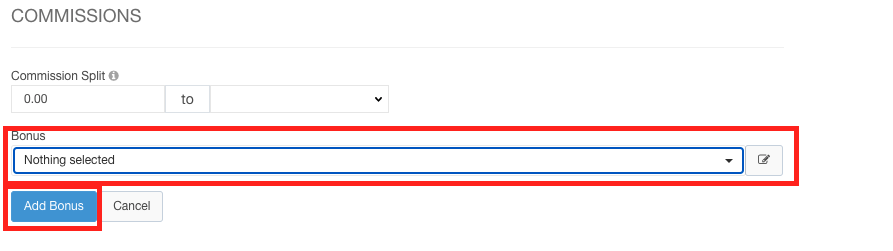
Click the  button to display the Commission Bonus Types window where you can configure your various commission bonuses.
The Media Kits Section
Click the Media Kits link on the navigation bar of the Contract Edit window to view and edit the media kit information for this contract.
Here, you will see each of your account's media kits.
The panel on the left displays a list of your kits, use the search field to quickly find your media kit.
The panel on the right displays the media kit preview.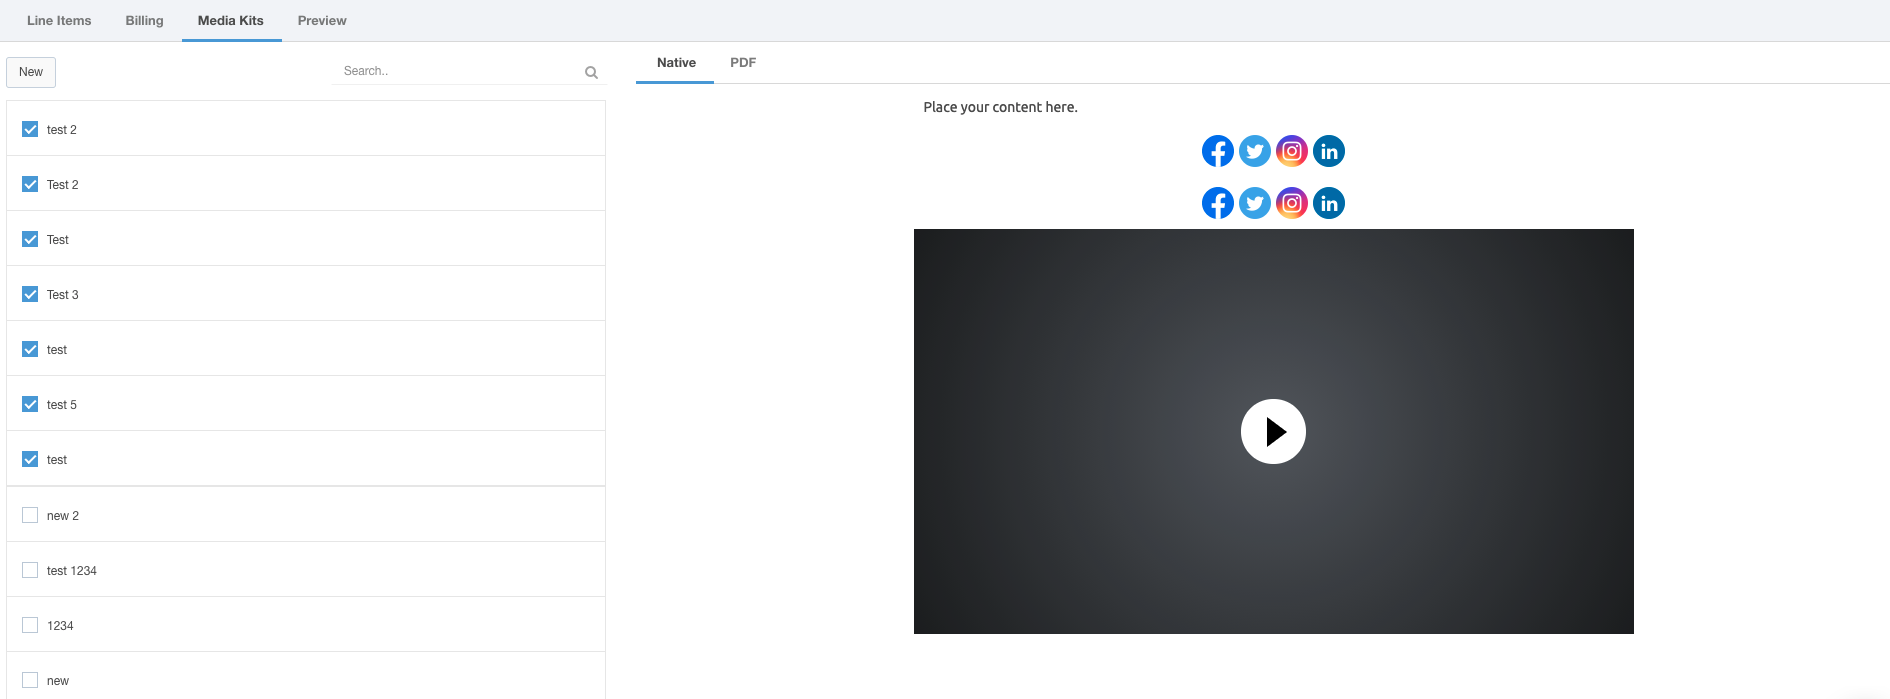
Click the New button to display the Media Kit Creator dialog. Here, you will configure your media kit. This process is similar to creating and editing an email template.
Hover your mouse over a media kit name to see the options button where you can edit, rename, archive, or duplicate the media kit.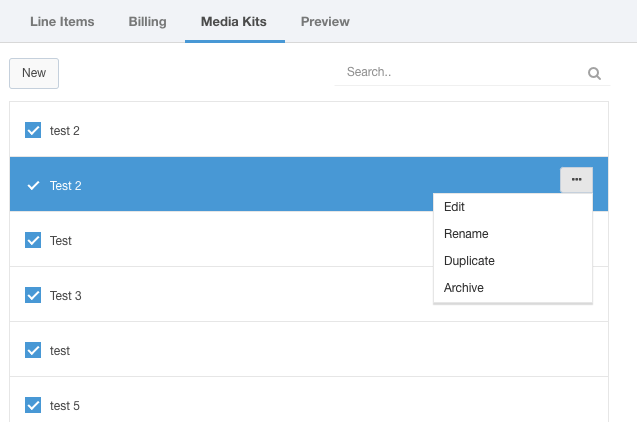
Use the Native or PDF links to switch between previewing the media kit from the native email client vs. the .PDF version of the media kit.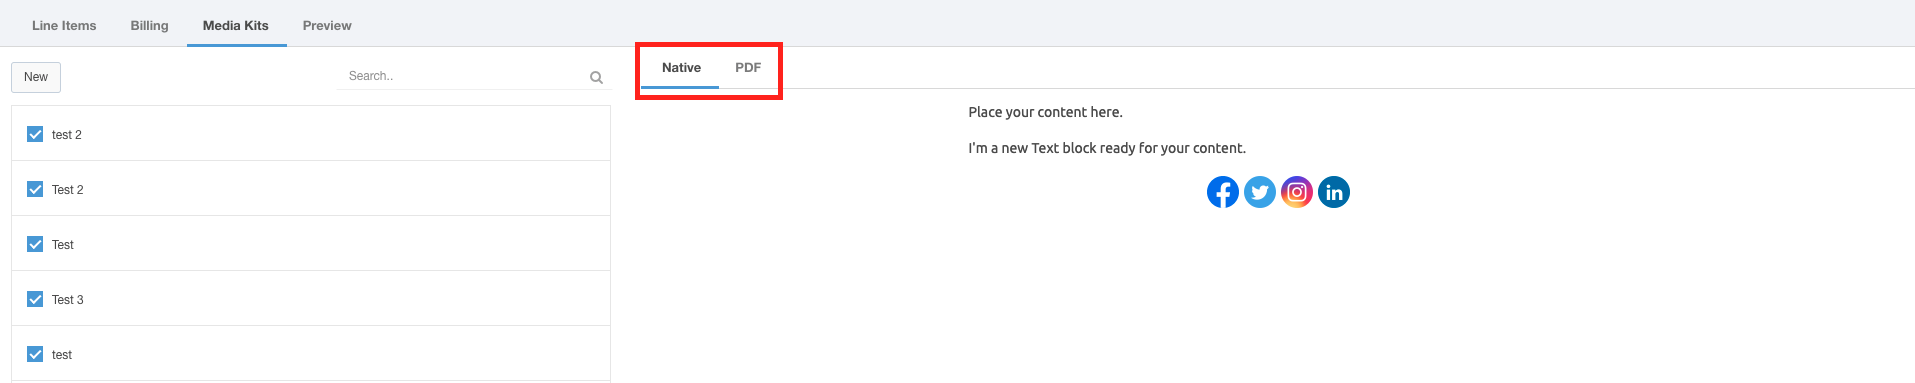
The Preview Section
Click the Preview link on the navigation bar of the Contract Edit window to preview, print, or download this contract.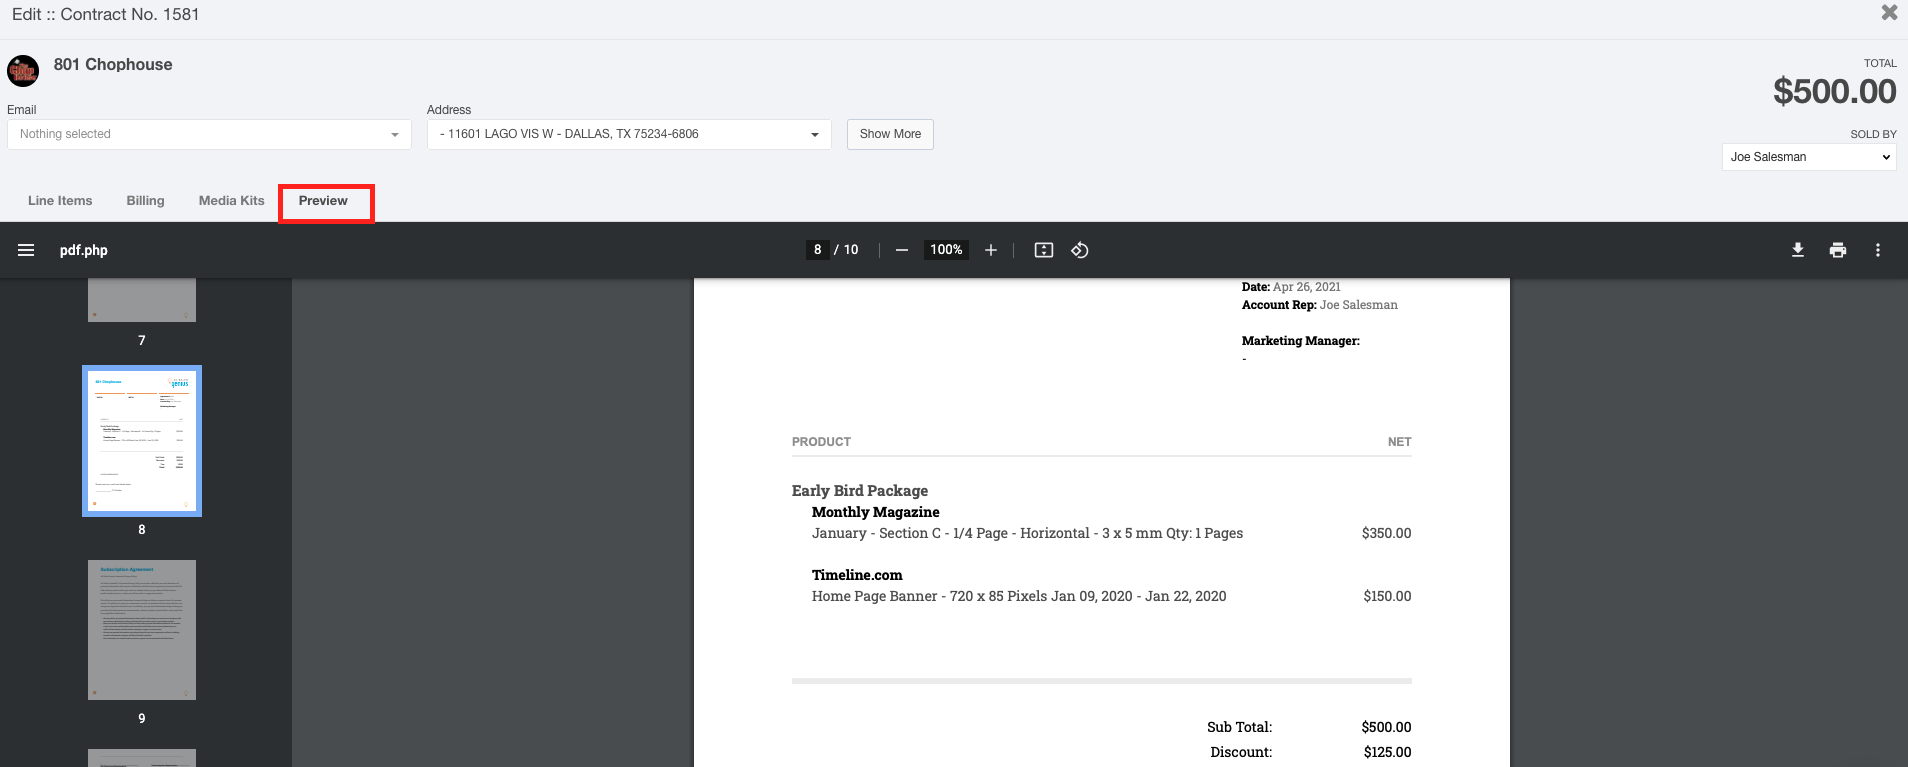
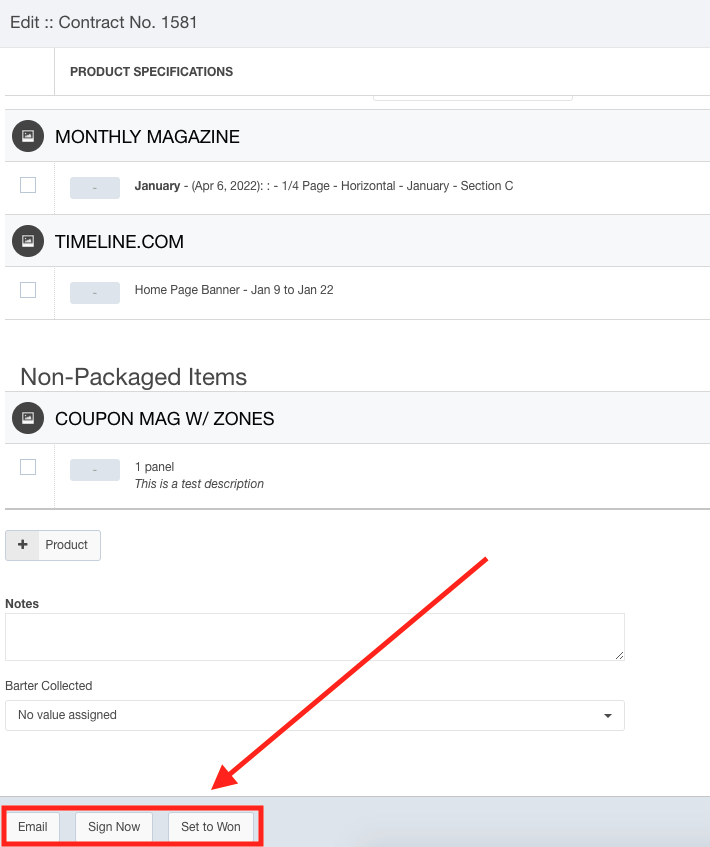
Emailing, Signing, and Winning Contracts
Once you have completed the details of your contract, you can use the buttons located on the lower portion of the screen to email the contract, begin the signature process, or set this contract to Won.