- Ad Sales Genius Knowledge Base
- Automation
- Accounting
Create an Auto-Invoice Template
If you utilize our powerful auto-invoicing tool, you will want to make sure that you have the appropriate template configured. This will provide consistency across all of your communications.
Follow these instructions to create your auto-invoice template:
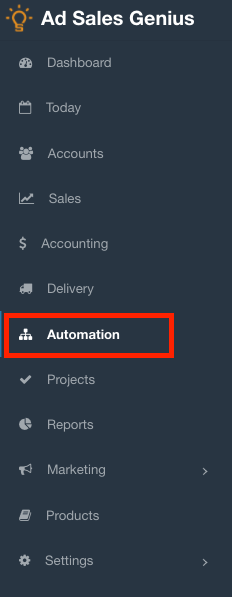
- Click Automation using the left-hand navigation menu.
- Click on the Accounting tab to see your accounting-related automation.
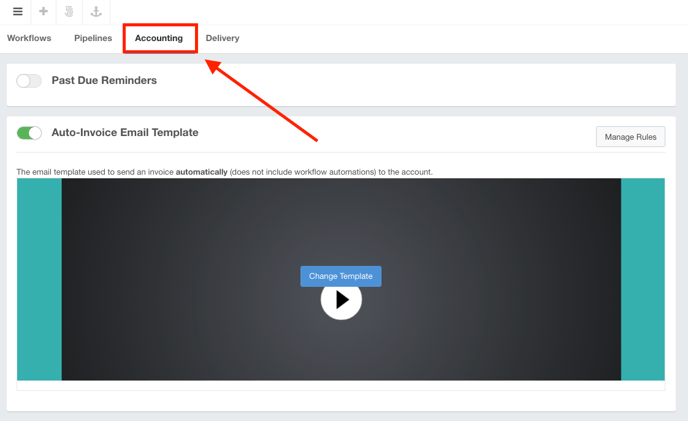
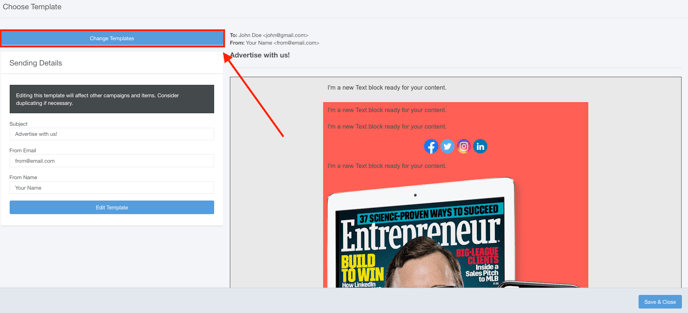
Here, you will the Auto-Invoice Email Template option located under Past Due Reminders. - Hover your mouse over the preview of the template and click the Change Template button.
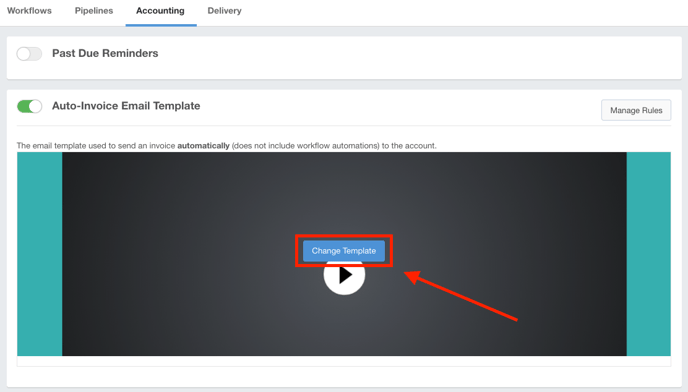
Here, you will be able to choose the template you would like to use for your auto-invoicing. - Click the Change Template button to choose one of your pre-determined templates or create a new template.
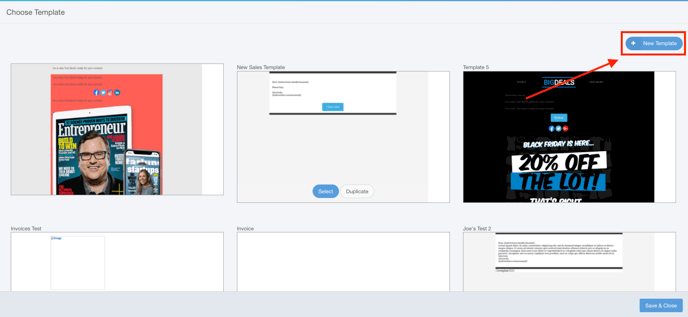
- Click the +New Template button to begin creating your new template.
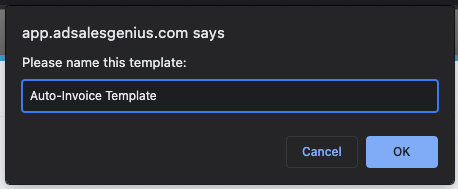
- Enter the name of your new template in the pop-up box that displays.
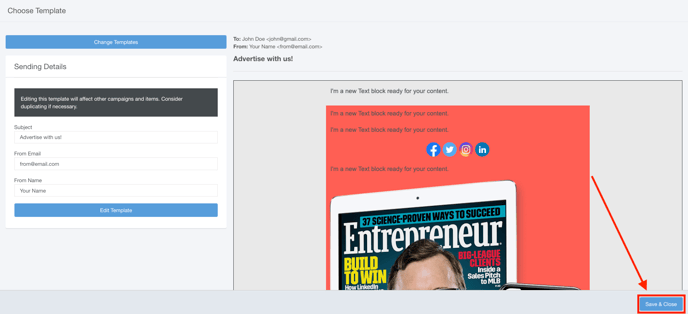
- Use the following text fields to update your sending details:
- Subject: This is the subject line of the email you are sending.
- From Email: This is the From email address that will appear on the email.
- From Name: This is the From name that will appear on the email.
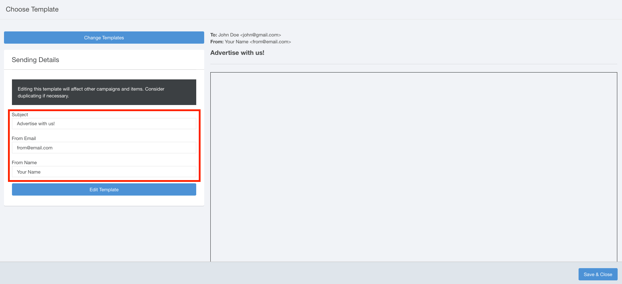
- Click the Edit Template button to make changes to your new template.
Note: Editing this template will affect other campaigns and items. Consider duplicating if necessary. This can be done by clicking the Change Template button and duplicating the template from there.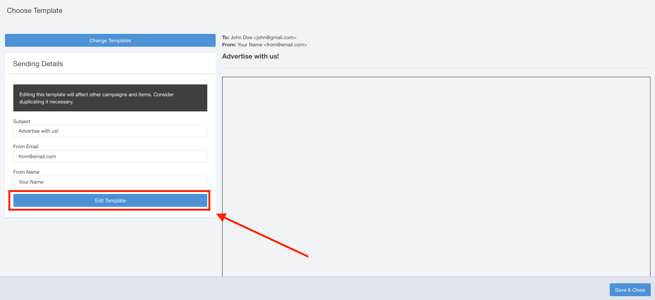
Clicking the Edit Template button will display the template editor. For more information on editing templates, check out this article. - When you are finished making your changes, click the Save & Close button.