
Line Item Campaigns inside of Ad Sales Genius allow you to send line item details to your customers in a quick and efficient manner. This is a great way to send artwork reminders that are coming due soon. In addition to sending out your campaigns, Ad Sales Genius will track email opens, clicks, and any errant email addresses you may have in your system.
To Create a Line Item Campaign
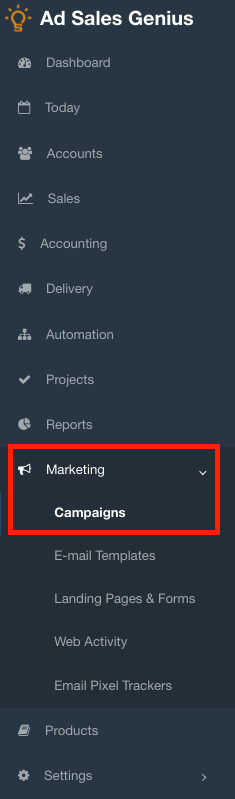
- Click Marketing > Campaigns using the left-hand navigation menu.
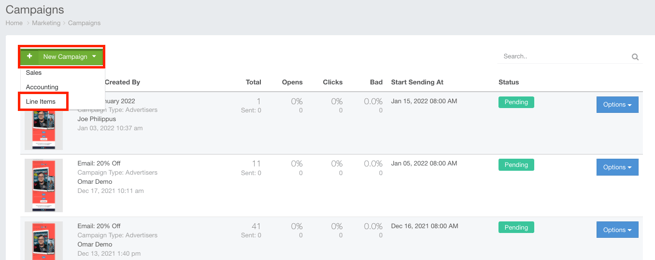
- Click the +New Campaign button and choose Line Items.
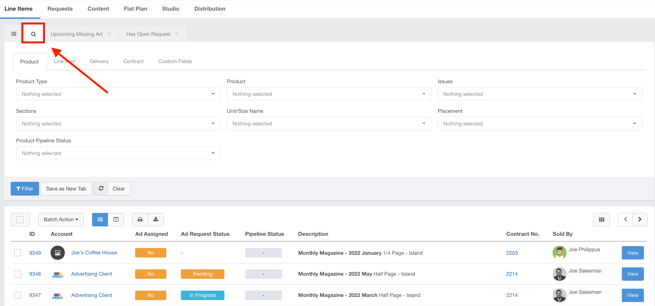
- Click the Magnifying glass to filter your line items to match the criteria for your campaign. Check out this article for more information about your various filter options.
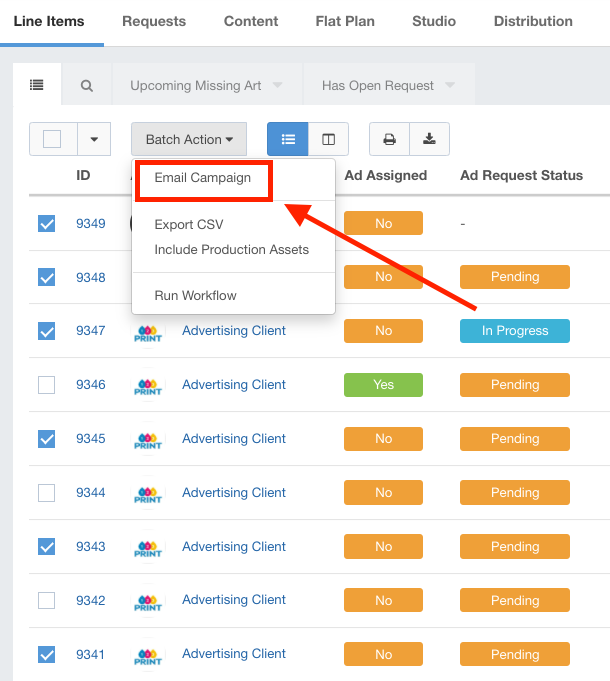
- Select the checkbox next to each line item you would like to include in your email campaign.
Note: If you want to select all of your line items, click the checkbox at the header level.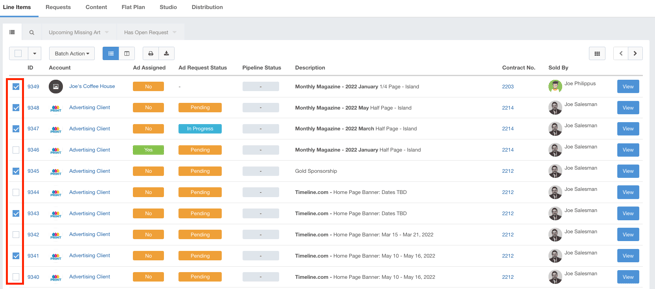
- Click the Batch Action button and select Email Campaign to display the Email Campaign wizard.
- With the Email Campaign wizard open, you now have to configure the settings of your email campaign.
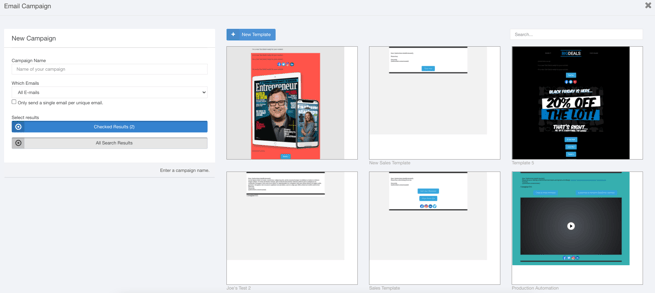
- Use the New Campaign section to complete the following information:
- Name - This is the name of your email campaign.
- Which Emails - Use this drop-down menu to choose which contacts on the account will be receiving the emails
- Select the 'Only send a single email per unique email' checkbox to ensure that your contact will only receive one unique email even if they are a contact for several insertions.
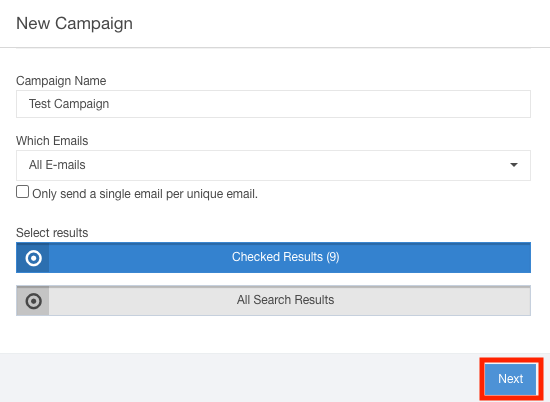
- Select Results - you can choose to send this campaign to the accounts you selected on the Accounts page or you can choose to send the campaign to all accounts that you searched for.
- Click the Next button to choose your email template.
- Choose your template using the right-hand window. Hover your mouse over the template and click the Select button.
Note: If you want to create a new template, check out this article for the complete steps.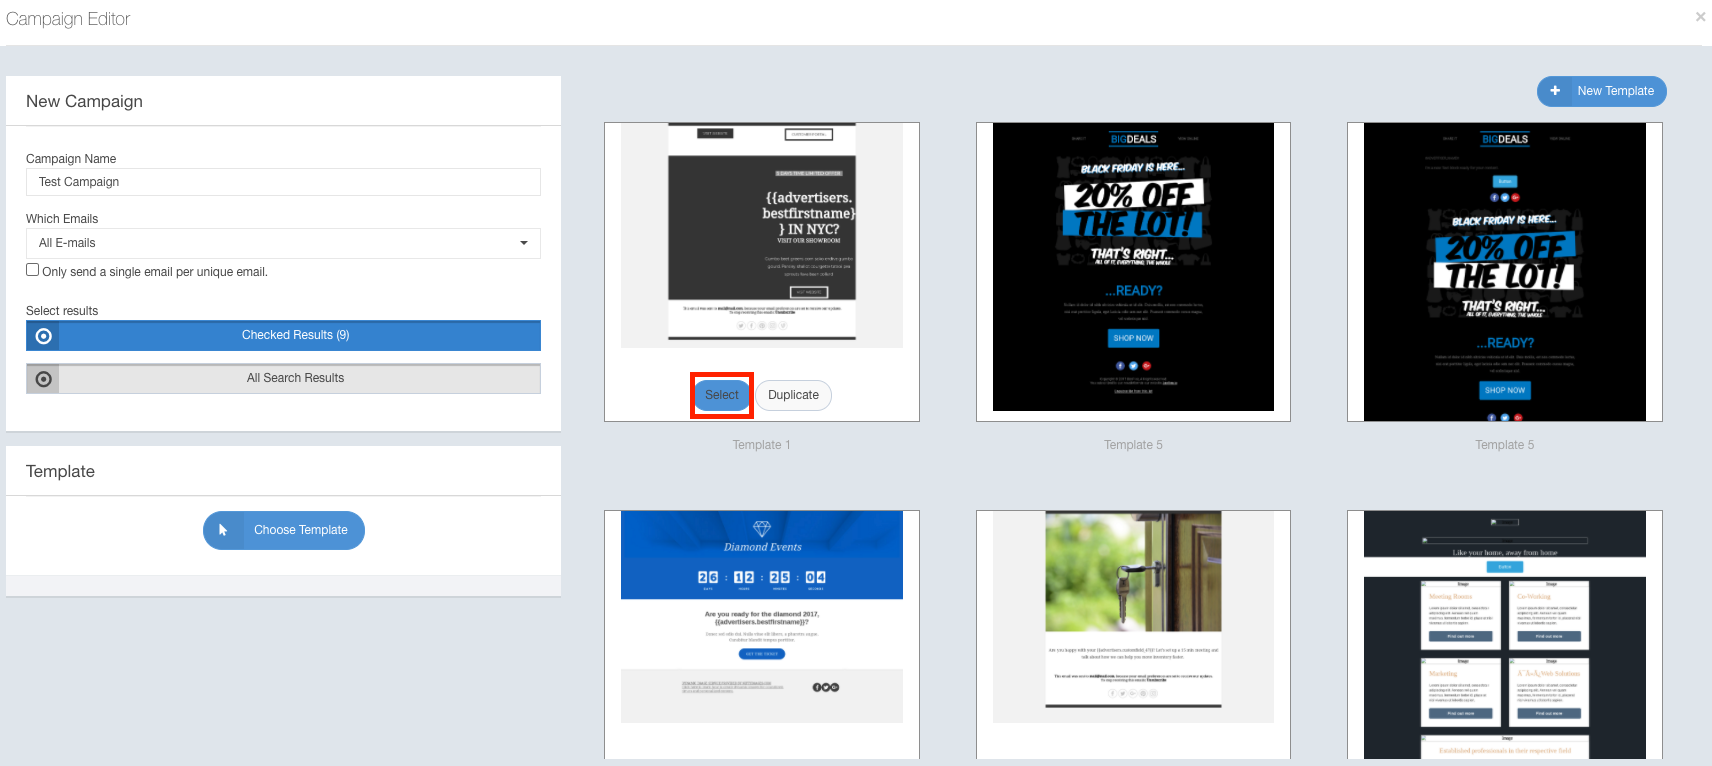
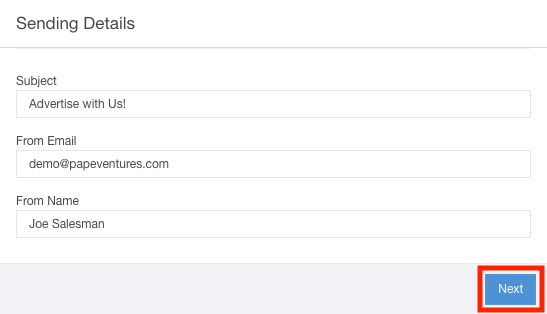
- Click the Next button when you have selected your template to input your sending details.

- Use the Sending Details section to complete the following information:
- Subject - This is the subject line of the emails you wish to send.
- From Email - This is the email address that you using to send this campaign.
- From Name - This is the name of the person that is tied to the email address for this campaign.
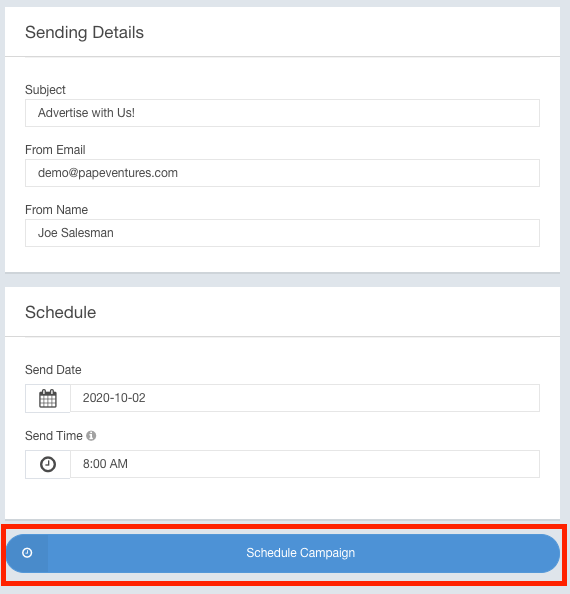
- Click the Next button to select the date and time to send out this campaign.
- Use the Schedule section to complete the following information:
- Send Date - This is the date that the email will be sent out.
- Send Time - This is the time that the email will be sent out.
- Click the Schedule Campaign Button to see an overview of the email campaign.
Use the Campaign Email List to add recipients to this campaign or select recipients and click the Remove Selected from Campaign button to remove recipients. 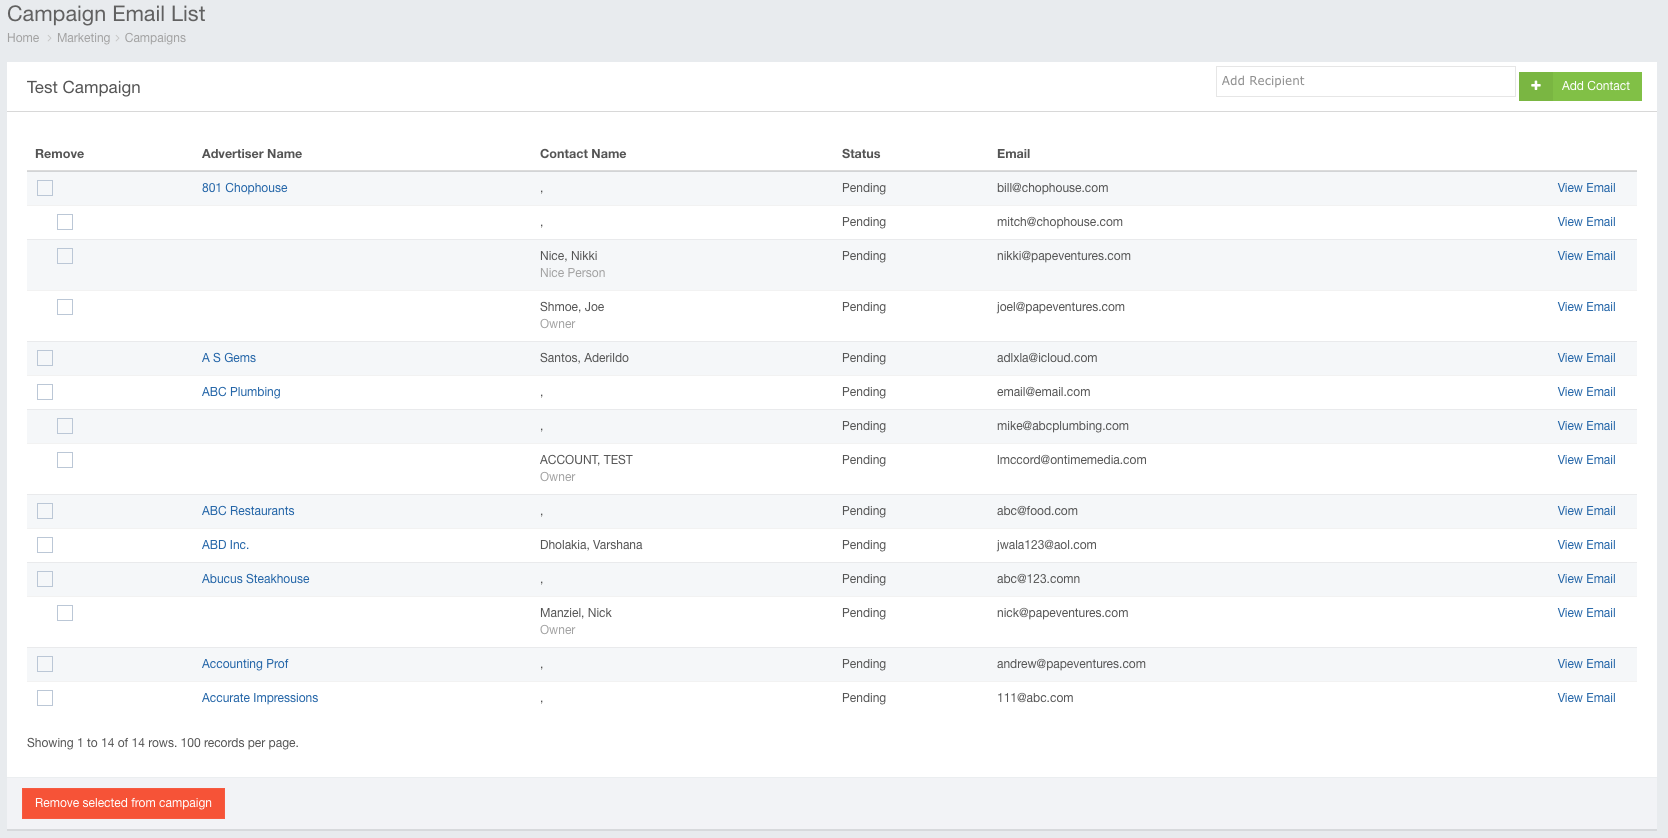
You have various tools and options at your disposal to help you track and manage your campaign. Check out this article for more information