
Adding Custom Fields to Templates
Adding a custom field to templates allows you to easily have space for notes or other information that you need to get to your customers on contracts, invoices, or emailed campaigns.
This article will discuss how to create a custom field and how to add it to a template.
Create a Custom Field
To add these to your templates you'll first need to add set up a Custom Field.
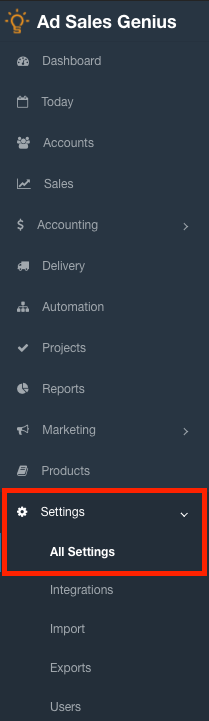
- Click Settings > All Settings using the left-hand navigation menu.
- Click the Custom Fields link to display the Custom Fields dialog.

- Locate the section that you would like to create your custom field for and click the Add Field button.
Note: Each section can have up to 5 custom fields.
- Use the New Custom Field dialog to configure the parameters for your custom field. Click the Save button when you are satisfied with your selections.

Add the Custom Field to Your Template
Now that you have your custom field configured, you can add it to your template.
- Click Settings > All Settings using the left-hand navigation menu.

- Click the Templates link to display your templates.

- Locate the template that you wish to add the custom field to, then click the Edit button.

- Drag-and-drop a text content block where you want the field to be placed.

- Click on the text field and select the Merge Tags option.

- Use the Merge Tags dialog to select the newly created custom field.

- Confirm that the bracketed field is displayed in the text box.
Click the Save button when you are satisfied with your template.