
Ad Proofing in the Client Portal
The advertiser can add comments, upload files and approve / reject Ad Proofs within the client portal. Using the client portal makes the proofing process more efficient, because all correspondence is automatically stored in Ad Sales Genius, and the Ad Proofs can easily be viewed by the advertiser from their mobile device.
- The designer will send an email to the advertiser that includes a link to access the Ad Proof
- Click on the link to be directed to the Client Portal
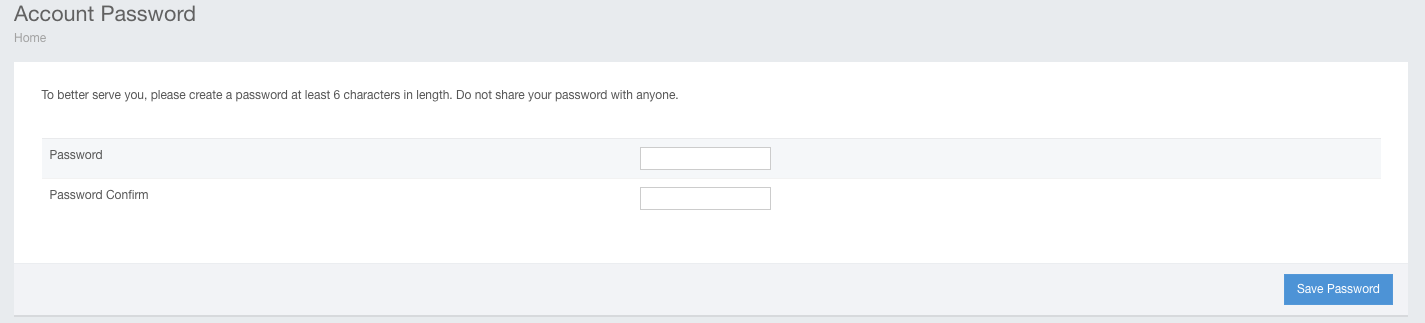
- If you do not have a login created for the Client Portal, the system will ask you to create a Password
- If you already have a login created for the Client Portal, the system will navigate you to the Ad Proofing page
- If you do not have a login created for the Client Portal, the system will ask you to create a Password
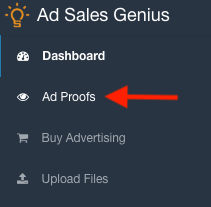
- Use the left Navigation Column to navigate through the Client Portal; here you will find your Ad Proofs
- Once the Ad Proof is opened, use the buttons in the upper, right corner to zoom in and shift the Ad Proof on the screen
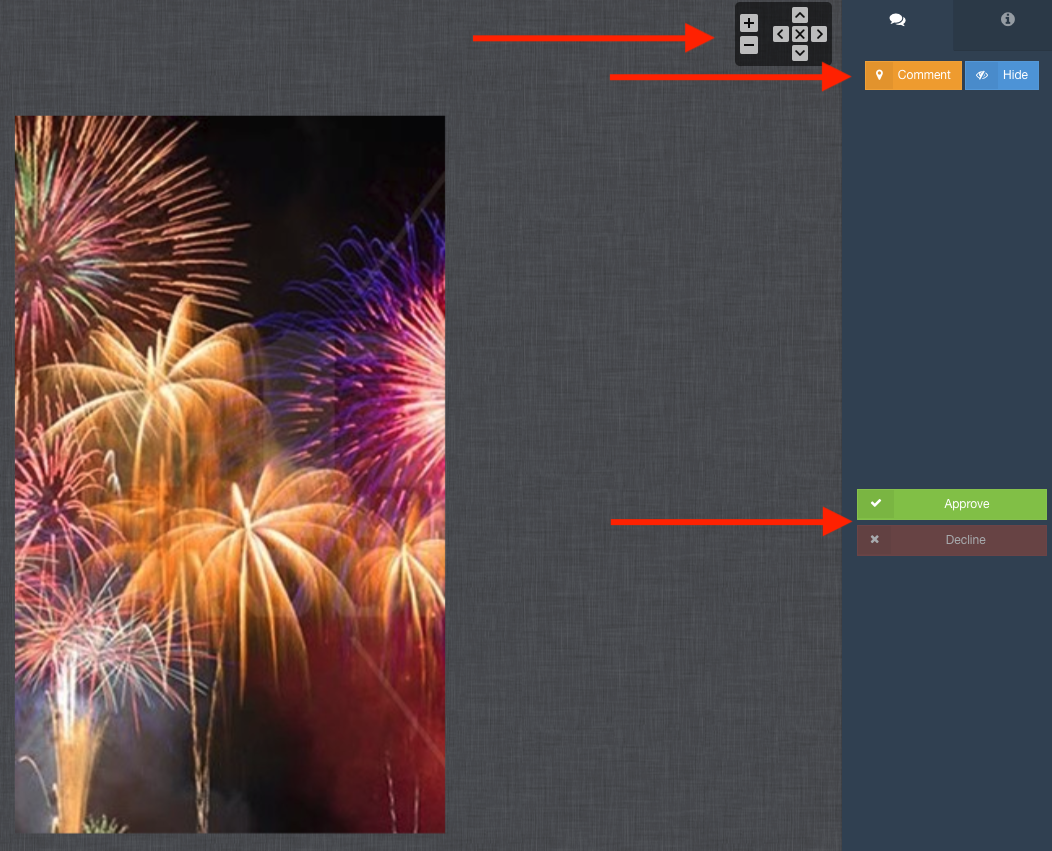
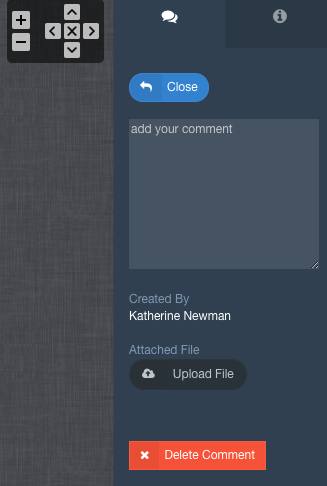
- Use the Add Comment button to drop a pin on the image and provide feedback
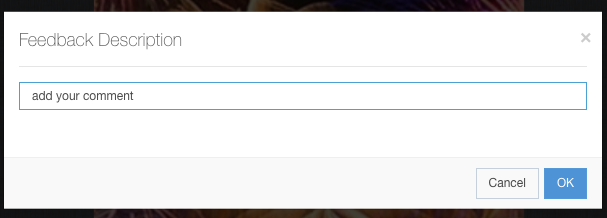
NOTE: If a Comment is not present on the Ad Proof, the DECLINE button is inactive. If a Comment is present on the Ad Proof, the APPROVE button is inactive - After adding feedback, the next screen allows editing / deleting of the comment and uploading of a file. Once finished, use the Close button to return to the main screen with the Ad Proof
- Numerous comments can be added, but once these are finished, it is important to click the DECLINE button to notify the Designer that there are updates on the Ad Proof
- If no changes are needed, use the APPROVE button to notify the designer that this is the print-ready Ad.