
Accounts Window
The Accounts Window is where you will find the records for your client accounts, agencies, and contacts. You can use this window to send email campaigns, assign accounts to users, assign accounts to lists, and more.
Navigating the Accounts Window
To access the Accounts Window, click the Accounts link from the left-hand navigation menu.
Upon accessing the Accounts Window, you will see a list of all of your client's accounts.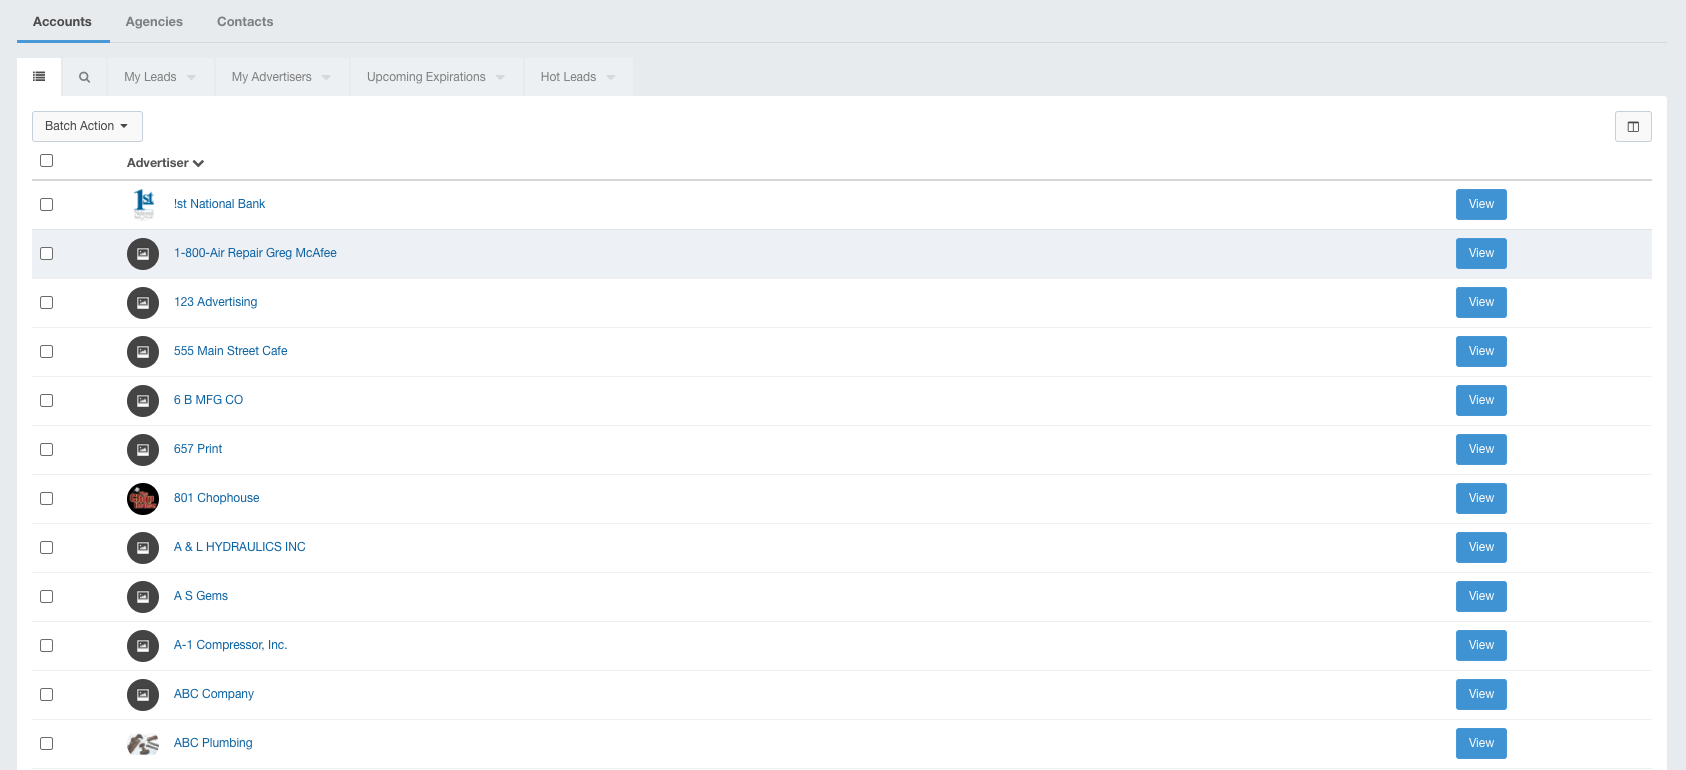
Use the Navigation menu located at the top of the window to switch between viewing your Accounts, Agencies, and Contacts.
Click the  button to filter your returned results.
Click the  button to display the Pick Columns dialog where you can enable or disable the columns in the returned results.
Click the Hidden fields to display them in your account view. Click the Visible fields to remove them from the view.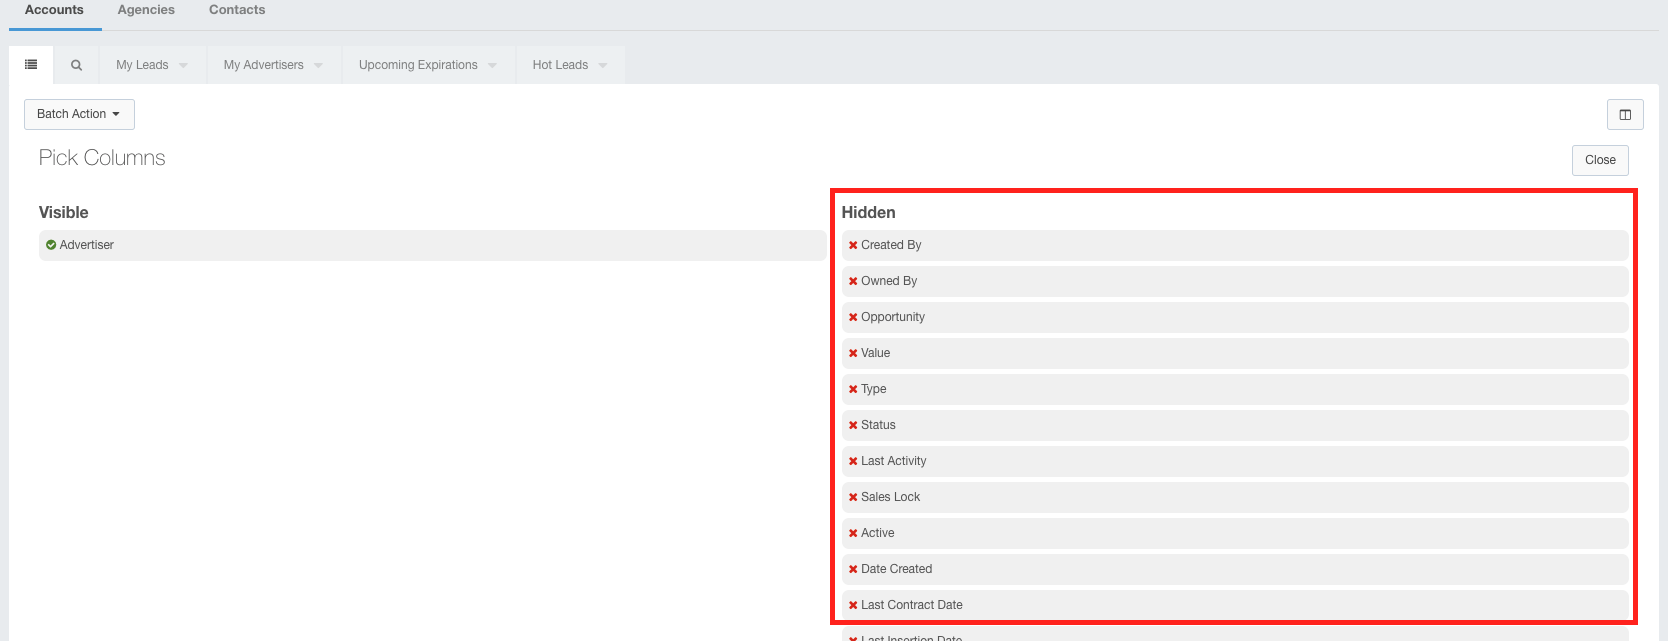
Click the View button to display the details for the desired account.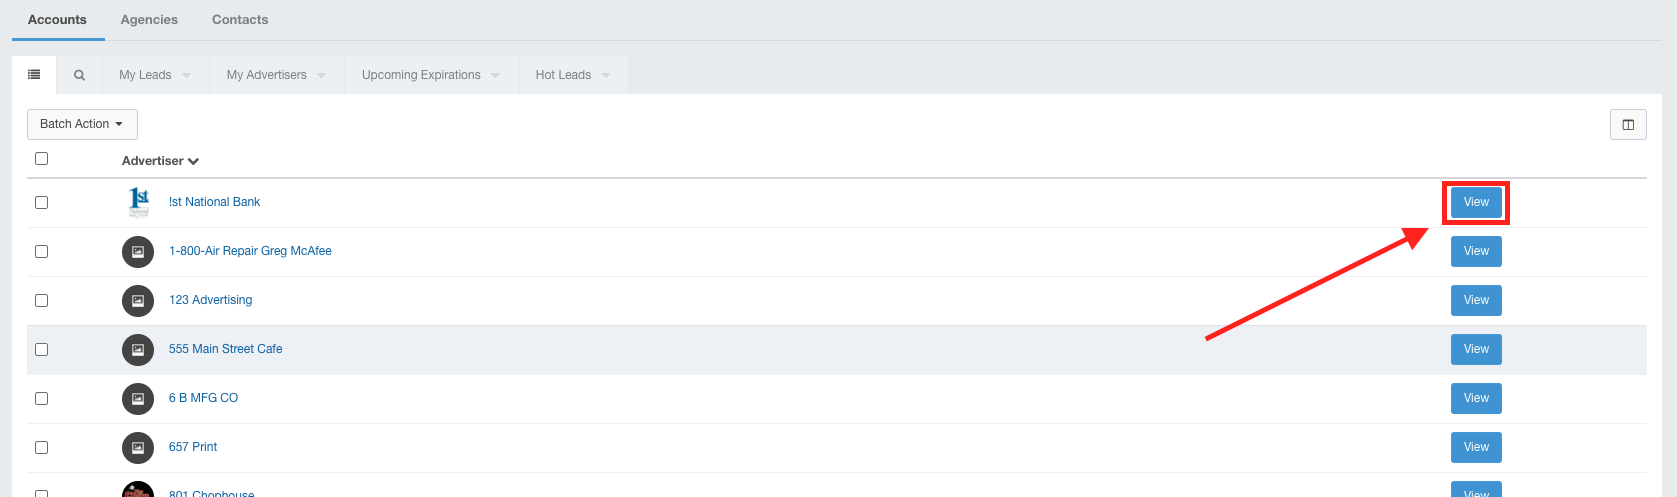
Batch Actions
Use the checkboxes to select accounts for your batch actions. You can click the checkbox at the heading level to select all results.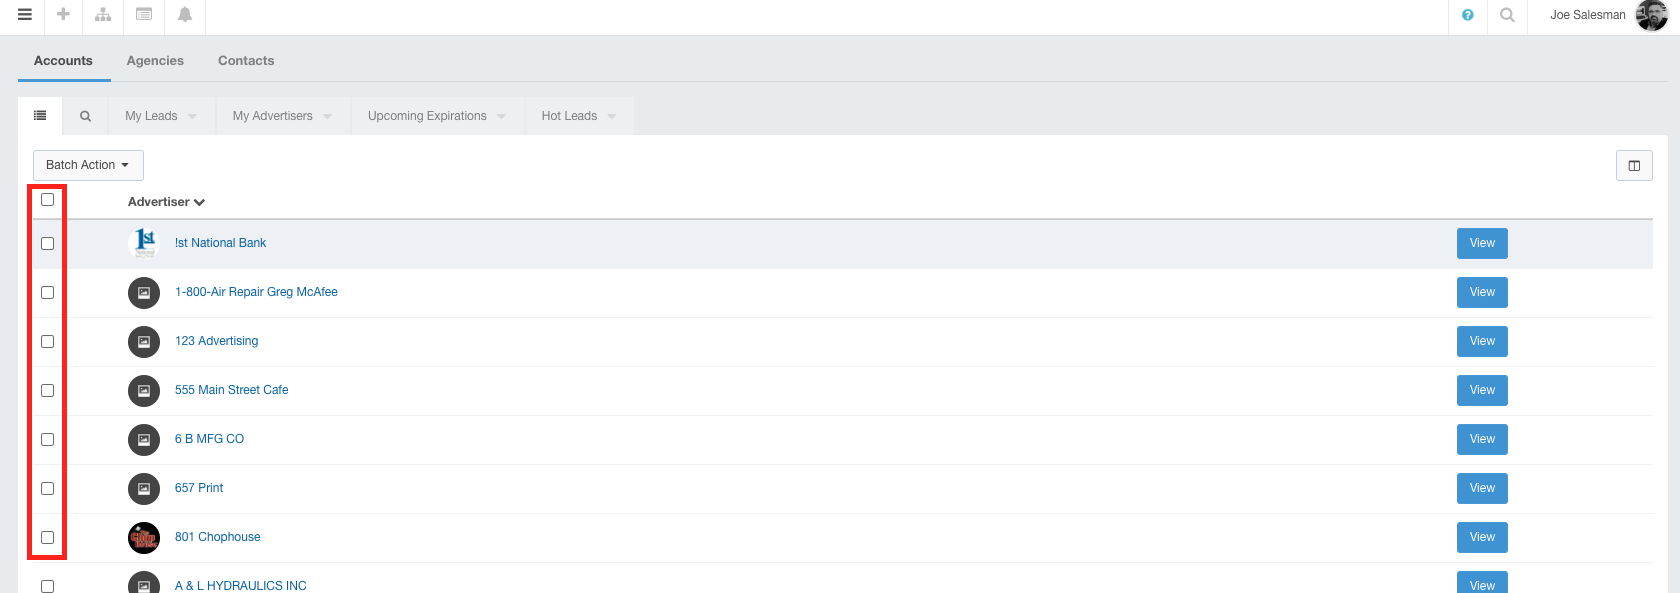
Click the Batch Actions button to complete the following tasks for your selected accounts:
- Email Campaign - Choose this option to email your selected accounts. Doing this will display the Email Campain dialog where you can configure your email to send.
- Add To List - Choose this option to add your selected accounts to lists.
- Remove From List - Choose this option to remove your selected accounts from lists they are a part of.
- Assign to Users - Choose this option to assign account ownership of the selected accounts to an Ad Sales Genius user.
- Remove Owners - Choose this option to clear account ownership from the selected accounts.
- Share with Users - Choose this option to choose which Ad Sales Genius user to share ownership of the selected accounts.
- Stop Sharing with Users - Choose this option to choose which Ad Sales Genius users to remove shared ownership of the selected accounts.
- Activate - Choose this option to activate the selected accounts.
- Deactivate - Choose this option de-activate the selected accounts.
- Show on Map - Choose this option to launch a map that displays where your selected accounts are located.
- Export - Choose this option to export the selected account details as a .CSV file.
- Export Contact Information - Choose this option to export the contact information for the selected accounts.
- Run Workflow - Choose this option to run workflows for the selected accounts.