The Account Page contains valuable information that you need to know about the account. You can use this page to view the account's contact information, view contracts and insertion orders, see a history of their payments and any outstanding invoices, create follow-ups, and more.
This article will provide an overview of all of the information you can find on the Account Page.
Click here for instructions on locating the Account Details Page.
If you need to edit account details, you can find instructions here.
Viewing the Account Page
The Account Page is broken into a few different sections.
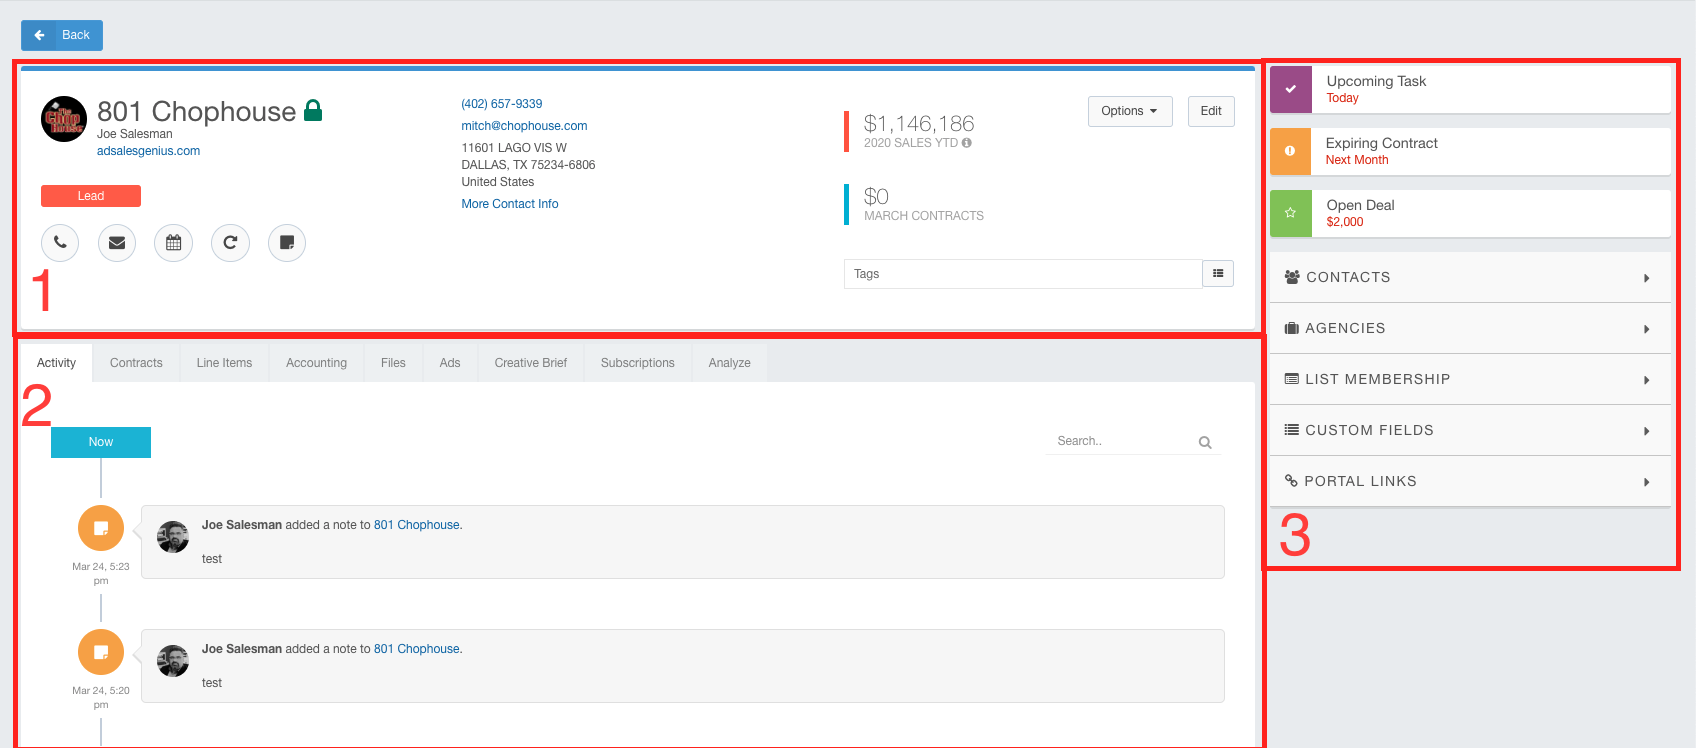
Section 1
Section 1, or the top portion of the page, is where you will find a high-level overview of the account. This section displays the name of the account, who owns it, primary contact information, sales, and contracts.
You can also assign tags to this account by entering them into the Tags field and pressing Enter. You can see a list of all your system's tags by clicking the button.
Use the activities icons to log various activities for this account.
- Click the
 button to log a phone call.
 - Click the
 button to send this account an email.
 - Click the
 button to create a calendar event for this account.
 - Click the
 button to create a follow-up reminder for this account.
 - Click the
 button to create a note on this account.
Click the Options drop-down button to merge this account with another, add an account owner, and transfer this account's ownership to another Ad Sales Genius user.
Click the Edit button to access the Account Details dialog. Here you can configure all of the details of this account.
Section 2
Section 2 is where you can track various activities completed for this account.
- Activity Tab - Here is where you can see the activity feed for this customer. This displays calls, emails, notes, and follow-ups.
- Contracts Tab - This tab shows all of the contracts for this account. You can view, sort, and manage your contracts using the table found in this tab.
- Line Items Tab - This tab displays all of the line items for this account. You can view, sort, and manage your line items using the table found in this tab.
- Accounting Tab - Use this tab to view and manage the invoices and payments for this account.
- Files Tab - Here is where you can view, download, and upload files to this account.
- Ads Tab - Here is the ad library for this account.
- Creative Brief Tab - Here is where you can view and manage the branding guide for this account.
- Subscriptions Tab - If you are integrated with Subscription Genius, you will see a list of your subscribers here.
- Analyze Tab - This tab shows the financial information for this account.
Section 3
Section 3 is where you can see any upcoming tasks, contracts, or deals 'at-a-glance.' Use the menus in section 3 to view and manage contacts, agencies, list membership, any custom fields you may have for this account, and view this account's portal links.
You can expand or collapse any section by clicking the  button.
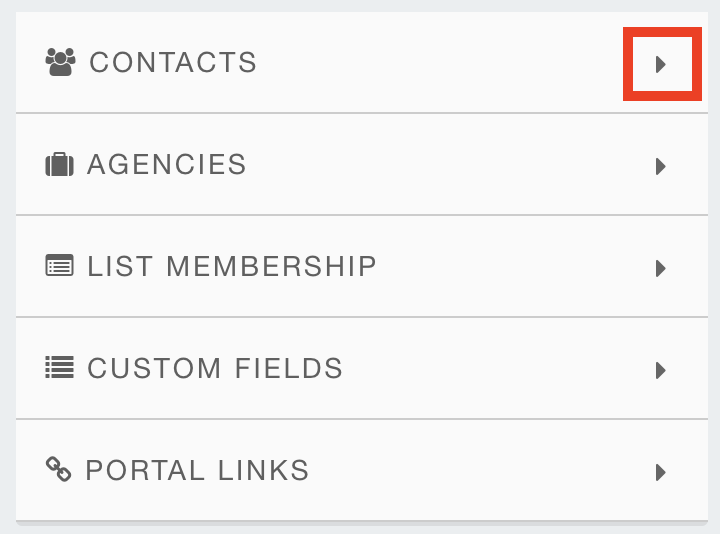
The top portion displays any follow-ups and/or deals.
Click the drop-down arrow to access additional options for this item.
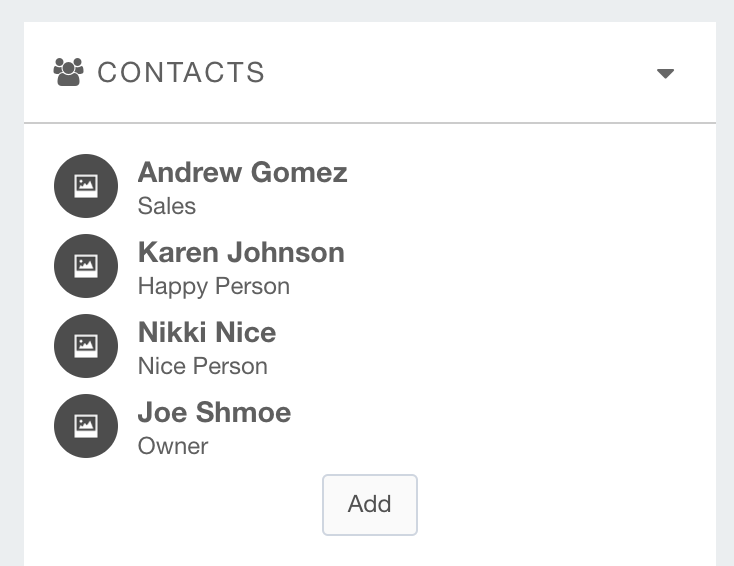
Next, we have our contacts panel. Using this panel, you can do the following:
- Hover your mouse over the contact's name to access their primary phone, email, address, and any custom fields you may have configured for this contact.
- Click the Add button to add a new contact for this account.
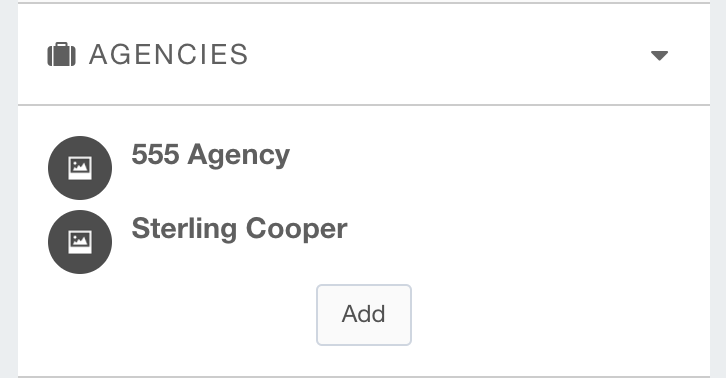
The Agencies panel is where you can link this account to an agency within the system.
- Hover your mouse over the agency name to display the Account Details Quick View for this agency.
- Click the Add button to add this account to an agency.
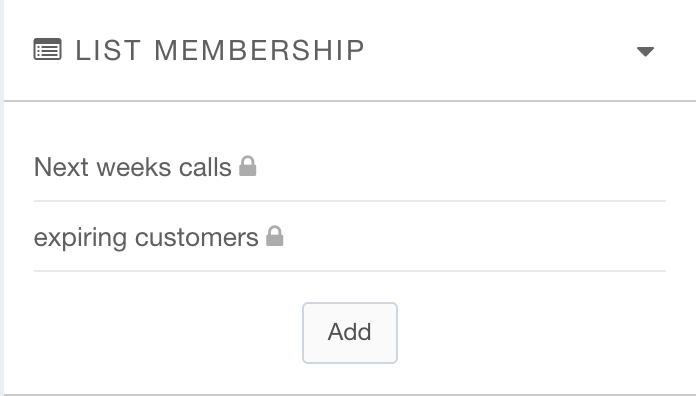
Use the List Membership panel to view, add, and remove which lists this account belongs to.
- Hover your mouse over a list to display the
 button where you can remove this account from that list.
 - Click the Add button to add this account to a list.
The Custom Fields section is where you can view and manage the custom fields for this account. Click the Edit button to modify the fields.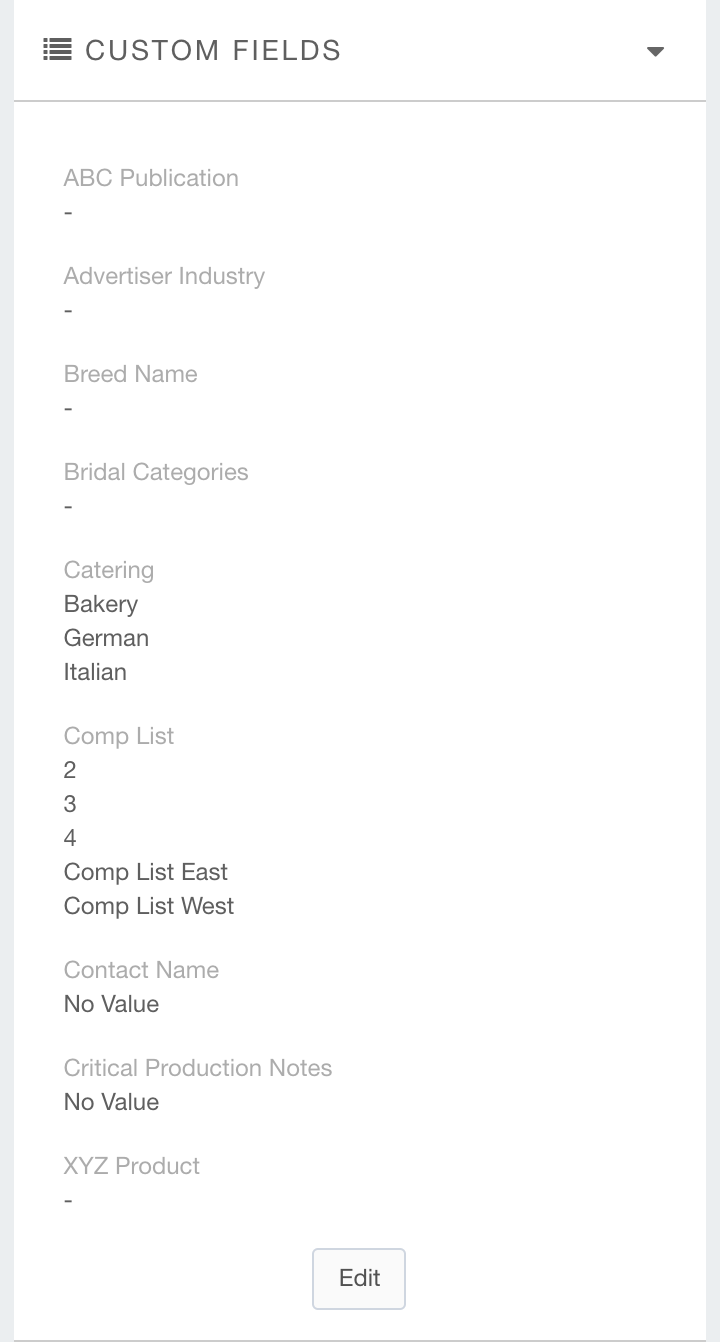
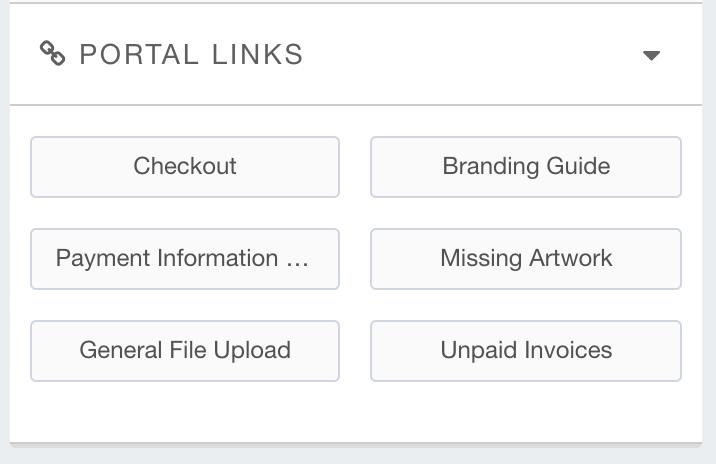
Use the Portal Links section to copy a corresponding portal link to your clipboard to send to your customer.
Click on the portal that you would like to send to your clipboard.