The Account Edit window is where you can configure an account's contact information, addresses, forms of currency, status, and more. This article will walk you through how to access the Account Edit window, and how to configure an account.
Accessing the Account Edit Window
To find the Account Edit window, complete the following steps:
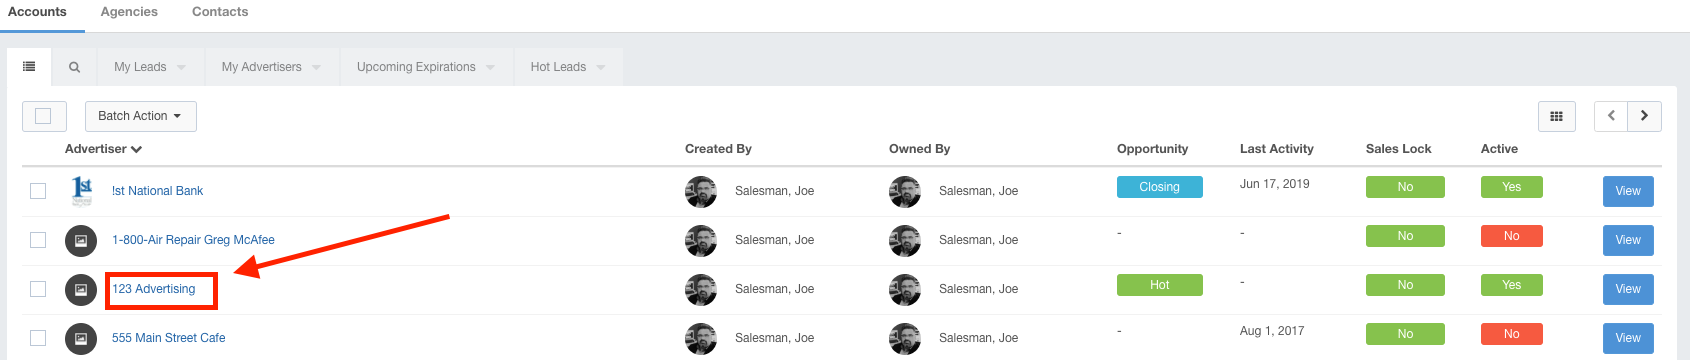
- Click Accounts using the left-hand navigation menu.

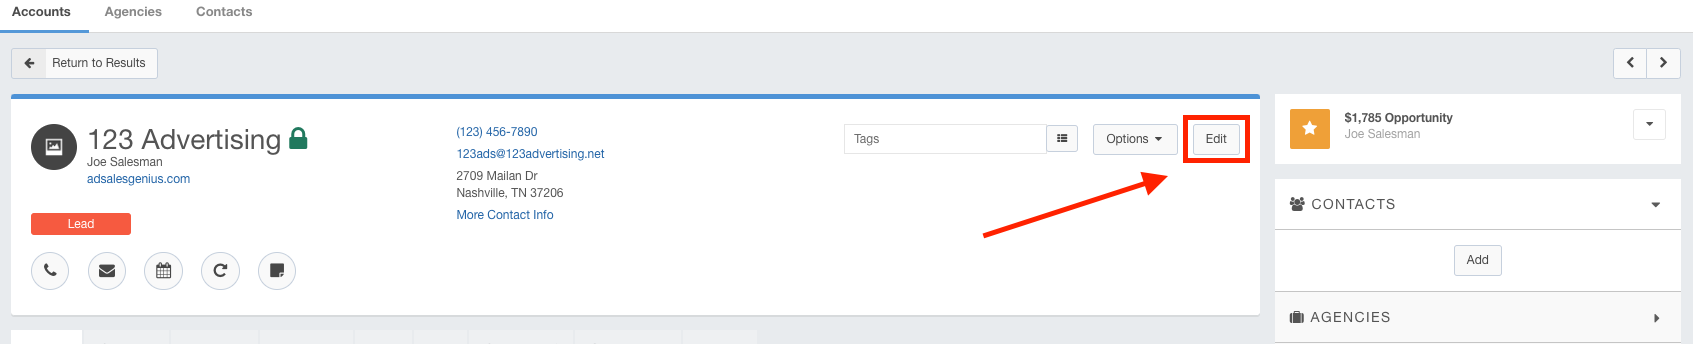
- Click the account that you wish to edit from the accounts list to display their Account page.
- Click the Edit button to display the Account Edit window.
Using the Account Edit Window
Upon launching the Account Edit window, you will see that this window is divided into three functional areas: General, Accounting, and Production. You can navigate between each section by clicking the corresponding name in the top navigation bar.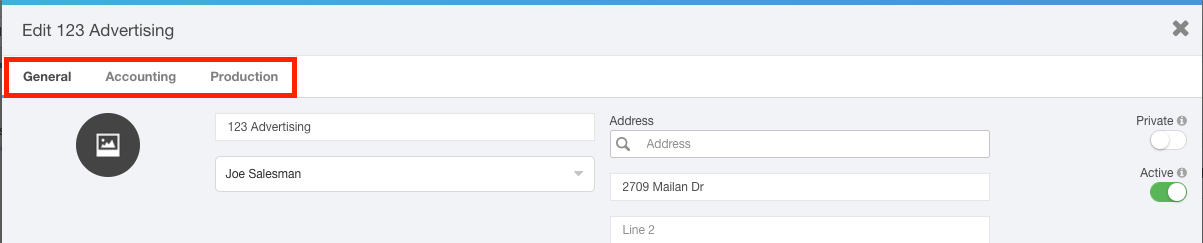
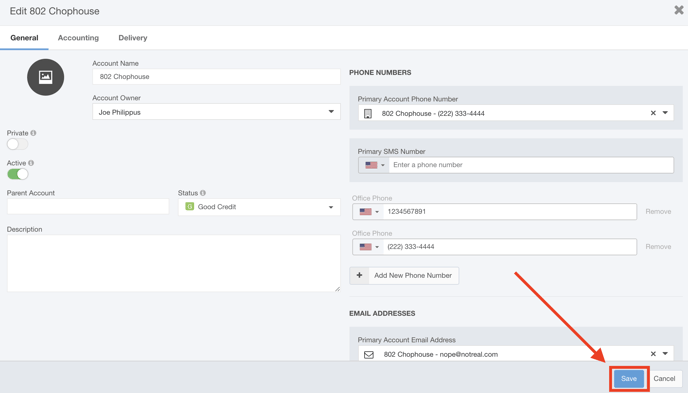
The General Section
The general area is where you will see this account's general details. Use this screen to configure the account's profile picture, name, sales rep, address, contact info, and more.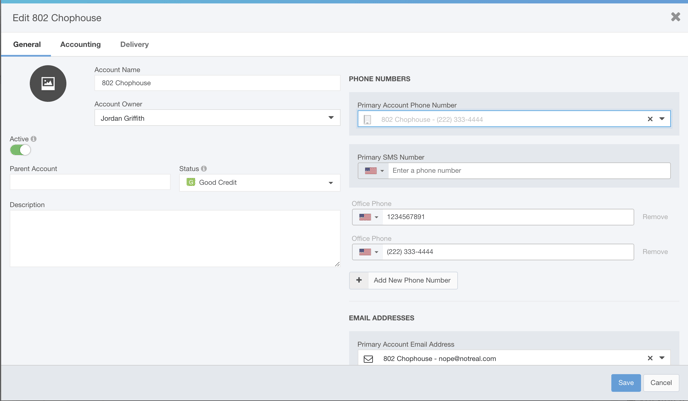
Click on the profile picture icon to upload a picture for this account.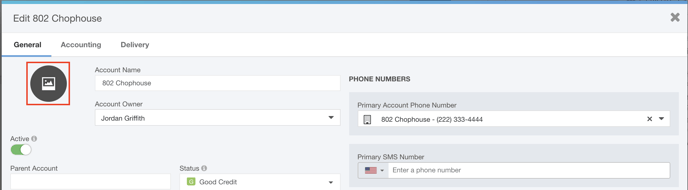
Use the Account Owner drop-down menu to choose which user this account belongs to.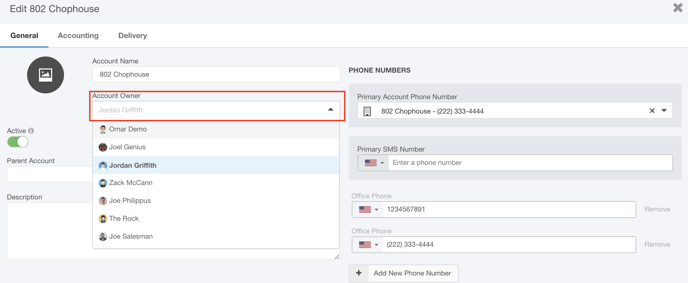
Use the Address lookup field to auto-fill a primary address for this account or you can manually type in the address in the subsequent fields.
Note: Please ensure all required fields are completed prior to updating the address information. This includes Address, City, State, Postal Code, and Country. 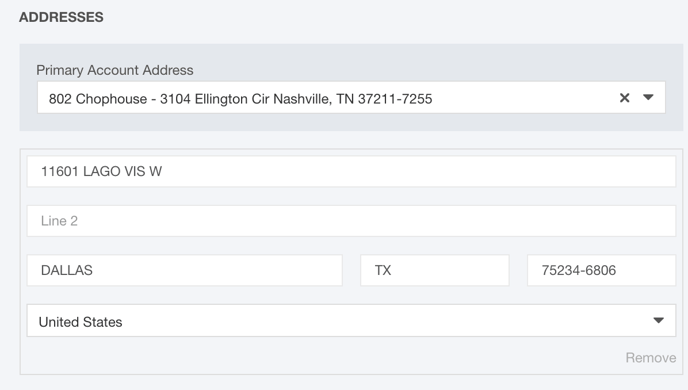
If you have multiple addresses associated with this account, for example, if your individual contacts have their own addresses associated with them, you can use the Primary Account Address drop-down menu to choose which address you would like to designate as your primary address.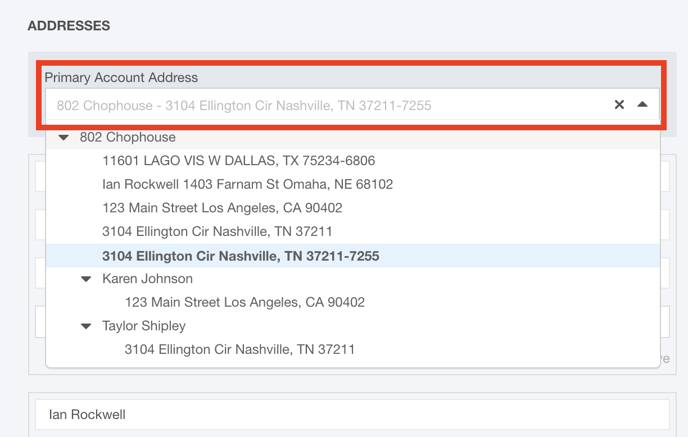
Use the Phone Numbers fields to input the various phone numbers associated with this account.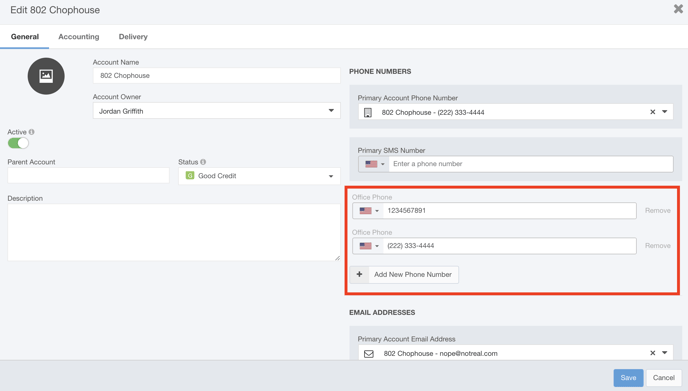
You can designate which phone numbers you would like to be designated as the Primary Account Phone Number and the Primary SMS Number by choosing them from the drop-down menu.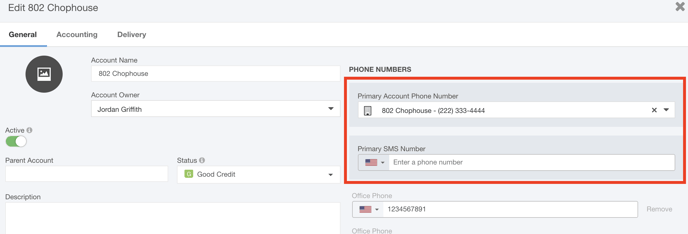
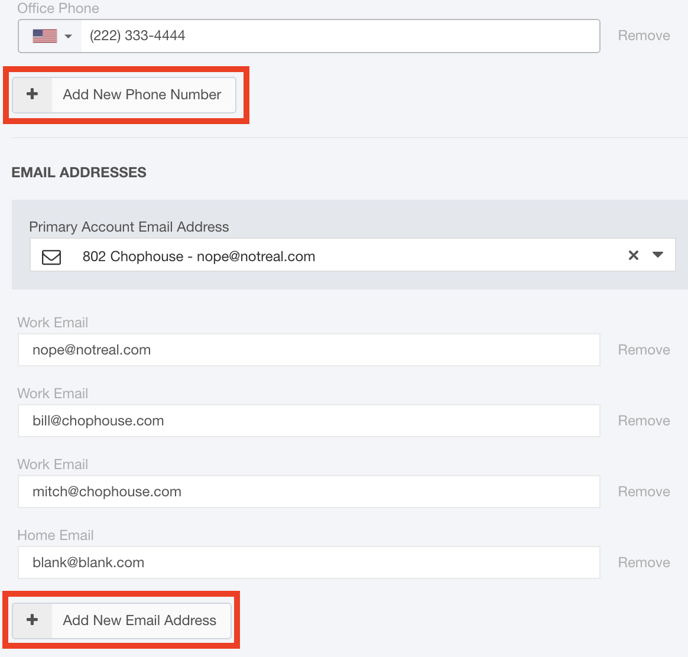
Click the Add buttons for each of the contact methods to add secondary contact information.
Use the Parent Account field to input the parent account name if necessary.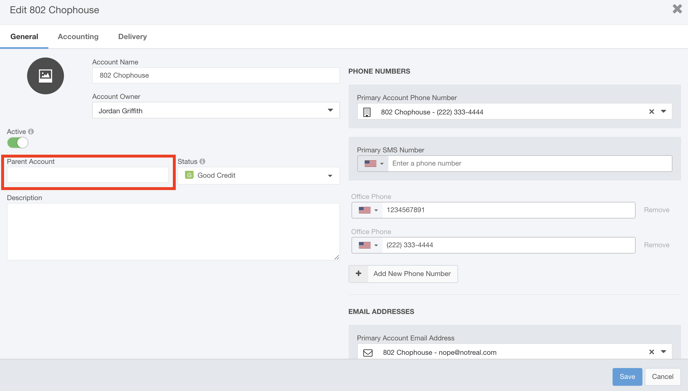
Use the Status drop-down menu to choose a status for this account.
Note: Statuses are customizable and are configured by an Administrator in the Automation > Pipelines module.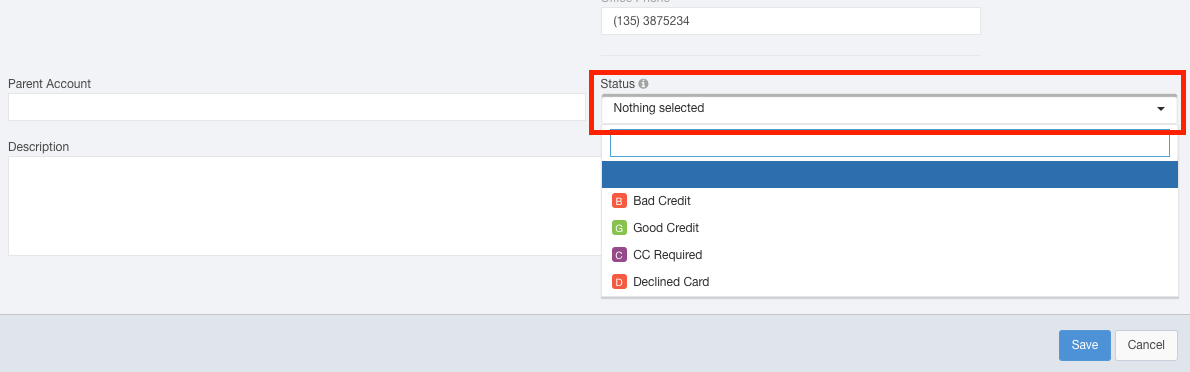
You can add a description of this account using the Description field.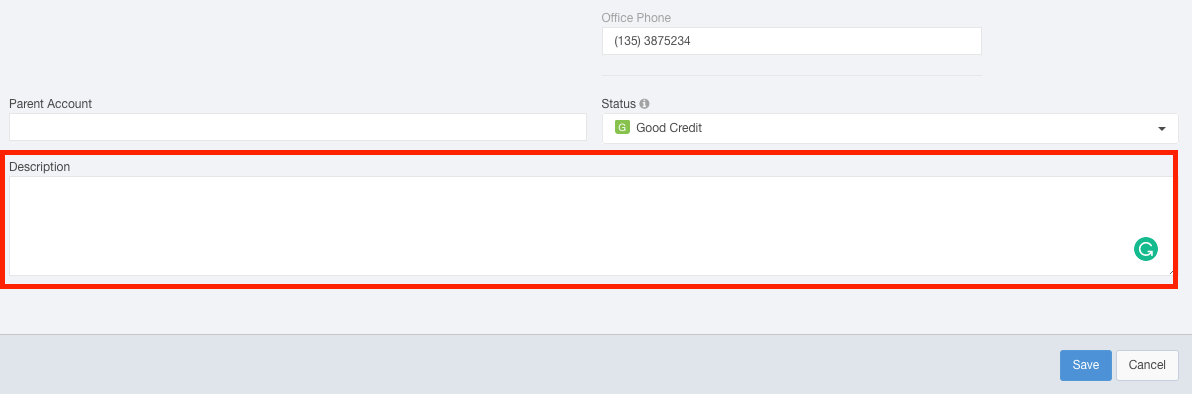
Use the Private toggle switch to allow the account owner to view that record.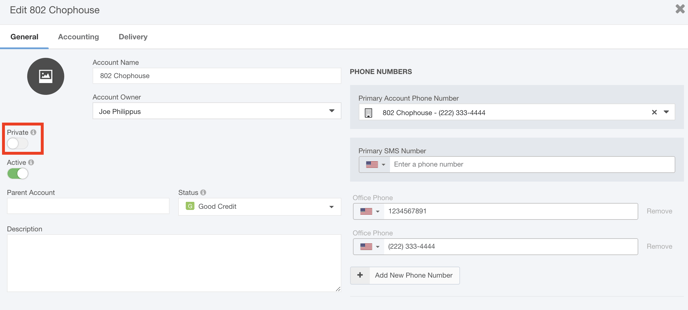
Use the Active toggle switch to designate this account as active or inactive. Toggling this off will prevent this account from being displayed in the lists, but it can still be found via a manual search.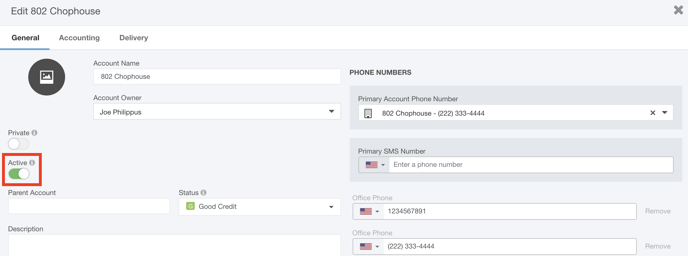
The Accounting Section
The accounting section is where you will find the billing email cc, currency options if you're multi-currency, credit limits, sales locks, and more.
Use the Billing Email cc field to send a carbon copy of all automated billing emails to this address.
If your system is set up for multi-currency, use the Currency drop-down menu to choose which currency this account uses.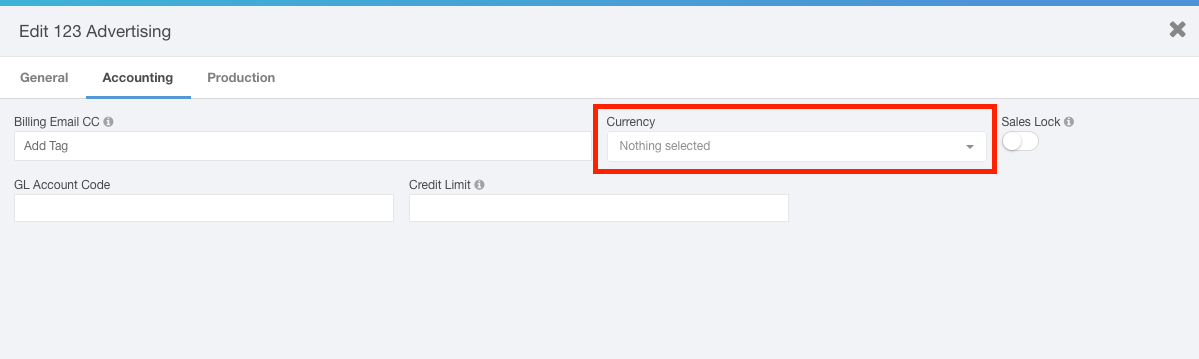
Use the Sales Lock toggle to enable or disable the ability to set proposals to won.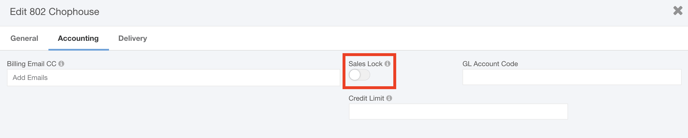
If you have the General Ledger setting enabled, you can enter this account's GL code in the GL Account Code field. 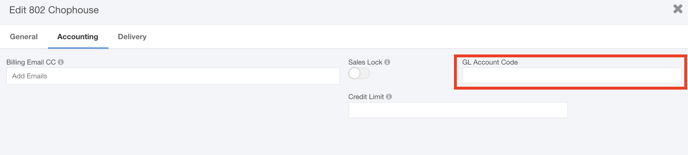
Use the Credit Limit field to designate a credit limit for this account. This will prevent any new sales if the balance of the new proposal plus any outstanding invoices exceeds this limit.
The Delivery Section
The delivery section is where you configure your Delivery CC email.
Use the Email cc field to send a carbon copy of all automated production emails to this address.
Click the Save button when you are finished configuring the account details.